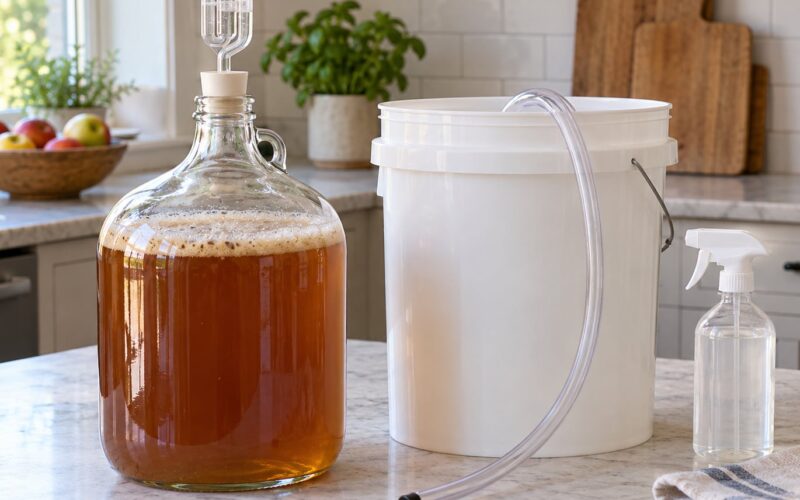
What causes gushing bottles in homebrew beer? Usually one of three things: more sugar than you meant to add, fermentation that had not actually finished, or contamination that kept working inside a sealed bottle. Temperature decides how dramatic it looks when you crack the cap.
A little foam that falls back into the glass after a few seconds is normal homebrew behavior, not a fault. Foam that climbs the bottle, keeps coming after the cap is off, or leaves caps loose and bottles damp is a real problem worth diagnosing before you drink the batch.
Most brewers hit this at least once, usually in their first few batches, and almost always it traces back to a number on a gravity reading that looked settled but wasn’t. Here’s how to tell the harmless version from the dangerous one.
Table of Contents
- What Does It Mean When a Homebrew Bottle Gushes?
- What Causes Gushing Bottles in Homebrew Beer?
- Incomplete or Unintended Fermentation
- Overcarbonation, Warm Storage, and Packaging Errors
- Contamination and Refermentation in the Bottle
- How to Tell Whether Your Beer Is Gushing Safely
- What to Do With Gushing Bottles Right Now
- How to Prevent Gushing Bottles in Homebrew Beer Next Time
- Frequently Asked Questions
- Is it normal for a homebrew bottle to gush when opened?
- Why is only one bottle from my batch gushing?
- Can gushing homebrew be caused by bottling too early?
- How cold should homebrew be before opening it?
- Does sediment at the bottom of a homebrew bottle cause gushing?
- Can I rescue a batch of over-carbonated homebrew?
- Conclusion: Start With Temperature and Final Gravity
What Does It Mean When a Homebrew Bottle Gushes?
Bottle gushing is the rapid formation of foam when a sealed bottle releases pressure. Dissolved carbon dioxide escapes the beer at the moment the cap comes off, and if there is more gas than the beer can hold, bubbles nucleate everywhere at once.
Two things can be coming out of that bottle. Sediment is yeast and protein settled at the bottom, and it can make the first pour cloudy without meaning anything is wrong. Foam is gas turning into bubbles, and that is the part worth measuring.
Foam can keep rising after the cap is off because the beer is still releasing dissolved gas, and warmth speeds that up considerably. A warm bottle pours like champagne. The same beer at cellar temperature pours like beer.
Then there is the version that is not a gusher at all. If a cap is visibly pushed up, a bottle is weeping around the crown, or a bottle hisses hard enough that you flinch, treat it as overpressured. Put it down, back away, and handle it outside. That is a bottle bomb, not a rough pour.
What Causes Gushing Bottles in Homebrew Beer?
The short answer is that there is more fermentable sugar or more active yeast in the bottle than you planned for. Ranked by how often they turn up, the causes are: fermentation that never finished, too much priming sugar, contamination, warm storage, and a handful of nucleation sites that make a normal bottle pour badly.
Incomplete or Unintended Fermentation
The classic cause is bottling on a gravity reading that looked stable when it wasn’t. A reading taken on one day and repeated the next can match while yeast is still slowly working through the last of a high-gravity wort, especially in a strong ale or a big imperial.
Slow attenuating strains make this worse. English ale yeasts such as London Ale III and WLP002 are known to finish late and can leave more residual sugar than the label suggests. It helps to know what your yeast is actually doing, and what yeast does in beer explains the attenuation side of it.
Unintended fermentation is the same math with a different ingredient. Any wild yeast or bacteria that gets into the beer keeps producing gas in a sealed environment, and nothing warns you because the bottle looks exactly like a healthy one.
Overcarbonation, Warm Storage, and Packaging Errors
Too much priming sugar is the most straightforward mistake, and brewers make it constantly by reading a recipe written for a five gallon batch while brewing a one gallon kit. Sugar is measured by volume, and the difference between a rounded teaspoon and a heaped one is roughly a quarter gram per bottle. Across twelve bottles that compounds.
Bottling before final gravity is genuinely stable is the same problem wearing a disguise. You think you measured carefully, the number looked right, and the batch still gushes because the yeast had not stopped.
Storage temperature decides how much of that gas you see. Cold beer holds carbon dioxide in solution. Warm beer holds less, so the same bottle pushes foam across the kitchen. Bottles stored near a furnace or in direct sun over a few summer weeks can go from pleasant to dangerous without anything being added to them.
Uneven carbonation within one batch usually means uneven distribution. Sugar poured straight into the bottle settles at the bottom, so the bottle with the most undissolved sugar at the base carbonates hardest. Bottles filled at different points in the same transfer can also end up with different dissolved oxygen and different yeast counts.
Contamination and Refermentation in the Bottle
Bacterial contamination changes the smell before it changes the pour. Acetic sharpness, nail polish solvent, or a sour character that was never in the recipe are stronger signals than foam. If the aroma is fine, look for visible strands, a film that forms on the surface after sitting, or sediment that looks stringy rather than powdery.
Refermentation shows up as bottles that behaved perfectly for weeks and then started popping. Compare an early bottle with a late one from the same batch, because gushing in the first three or four weeks of bottle conditioning is common and not on its own a sign of infection.
One bottle gushing while its neighbors pour normally usually points at something local to that bottle. A missed sanitation step during packaging, a crown cap that seated badly, or sugar that stuck to that one bottle rather than dissolving is a lot more likely than a batch-wide failure.
How to Tell Whether Your Beer Is Gushing Safely
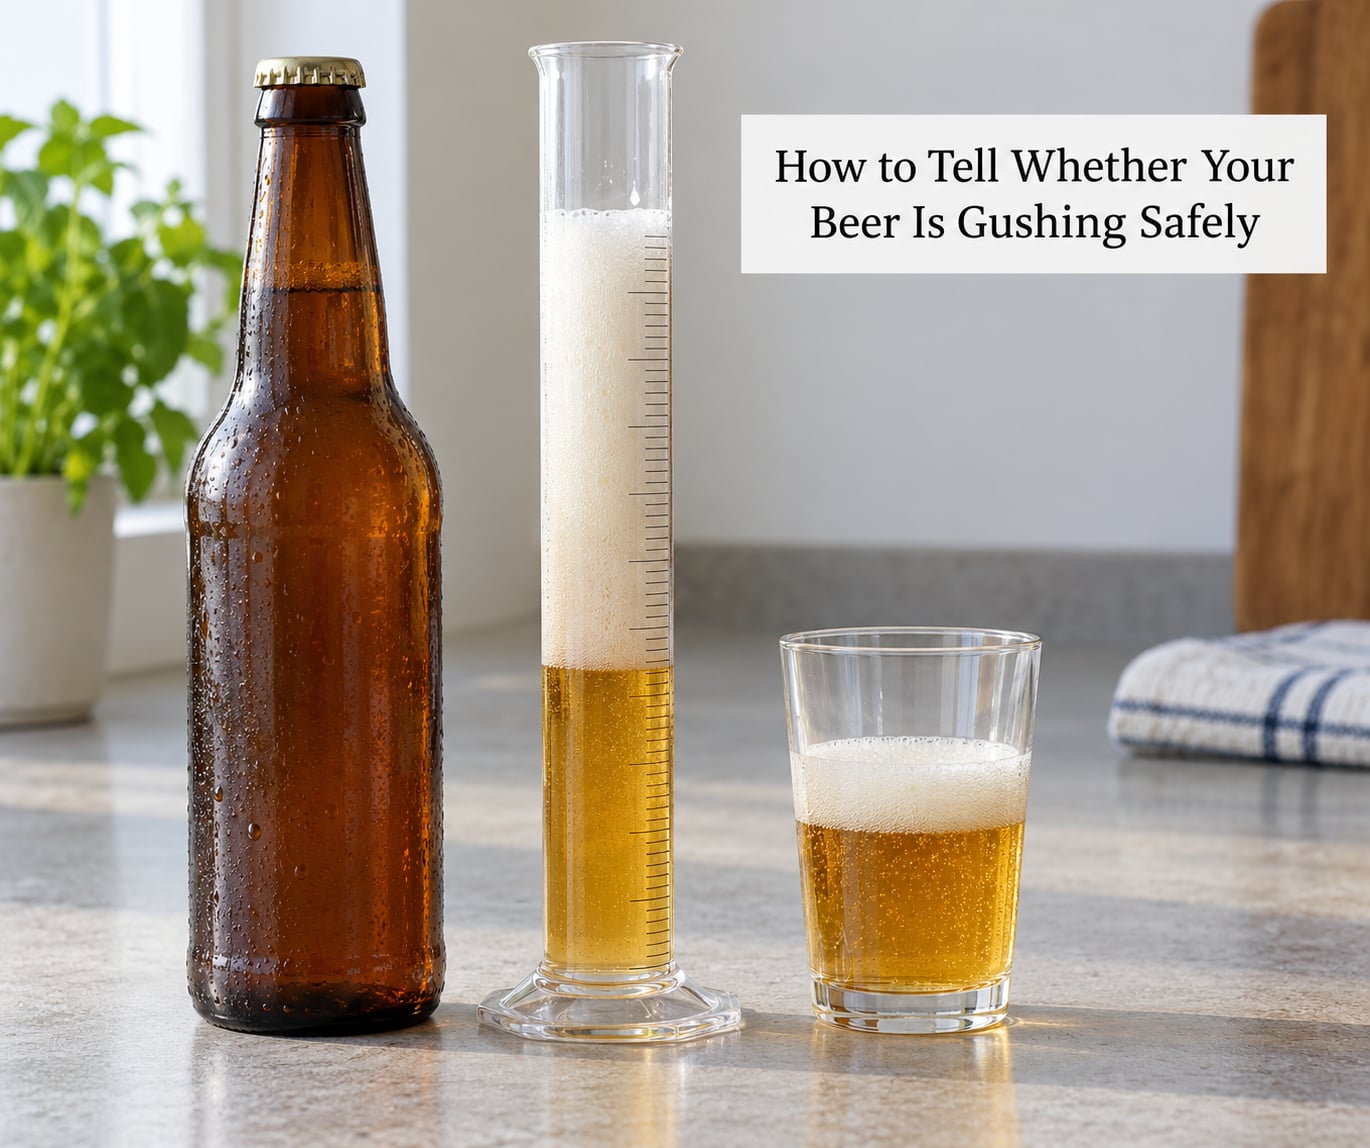
Work through these in order before you open anything.
- Check the age. Under four weeks of bottle conditioning, a gusher is usually carbonation and timing rather than contamination.
- Check the temperature. Compare a warm bottle with one that has been cold for several hours. A big difference in pour points to temperature, not to a fault in the batch.
- Inspect the crown. A seated, flat cap with no seepage is reassuring. A raised, tilted, or stained cap means overpressure.
- Compare across the batch. Open the calmest bottle and the gushiest one back to back. Uniform behavior suggests a batch-wide cause; one bad bottle suggests a packaging slip.
- Look at the sediment. Fine and powdery is normal yeast. Stringy, film-forming, or oddly colored is not.
- Smell before you drink. Sour, solvent-like, or rotten smells mean the batch is not worth pouring, gushing or not.
Pour slowly down the side of a glass. That alone cuts the foam dramatically and lets you taste the beer before you commit to a full glass.
What to Do With Gushing Bottles Right Now

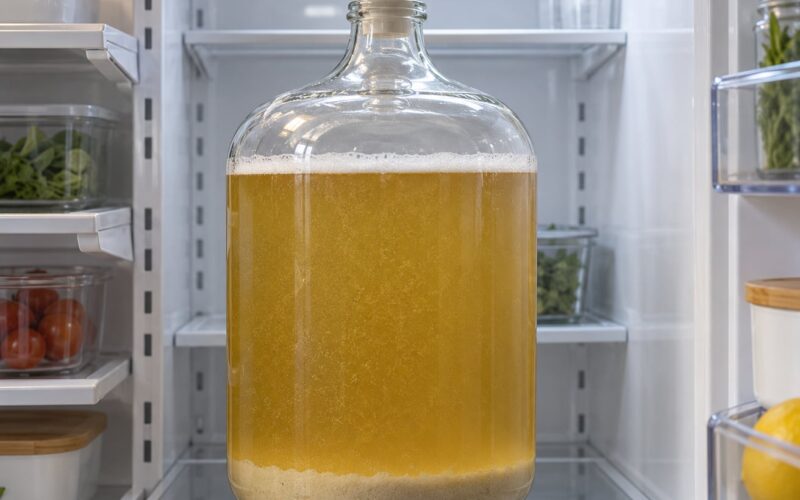
Chill first. A few hours in a refrigerator or an ice-water bucket slows gas release enough that most gushers become pourable. If bottles have been warm for a long time, cool them gradually rather than shocking cold glass straight out of a hot room.
Never shake, puncture, or freeze a bottle that is already hissing or leaking. Open it over a sink or outside, point it away from your face, and keep a towel handy.
Cracking the cap slightly lets pressure bleed off over a few hours and often saves a beer you were about to pour down the drain. Do that in a sink, upright, with the bottle cold, and loosen it only a quarter turn at a time. If the cap lifts with a pop, stand back and let it vent.
Stop handling any bottle with a visibly displaced cap or a wet ring around the crown. Move it somewhere it cannot be knocked over and deal with it outside.
How to Prevent Gushing Bottles in Homebrew Beer Next Time
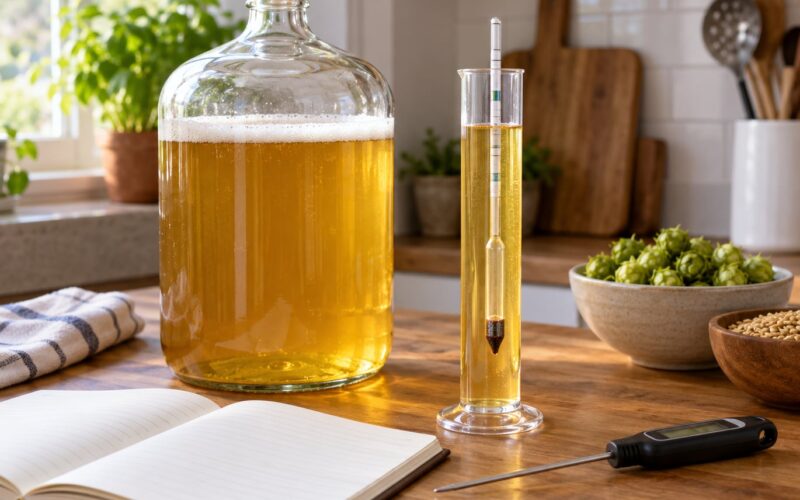
Confirm fermentation is genuinely finished. Wait at least three days after a reading looks stable, then read gravity again. If two consecutive readings several days apart match and the beer has been held at a single temperature, you have a real final gravity.
Calculate priming sugar from that actual final gravity rather than from the original gravity on the recipe. Measure by weight if your kitchen has a scale, and remember that the dose changes with the residual extract the yeast left behind, not with the size of the boil.
Mix sugar thoroughly into the batch before bottling, or dissolve it in a small amount of wort first. Undissolved sugar at the bottom of a bottle is a gusher waiting its turn.
Give the beer time. Three weeks at cellar temperature is the widely used floor for bottle conditioning, and four is better for anything hoppy, spicy, or high gravity.
Keep packaging day boring and clean. A plain sanitize-and-rinse pass beats scrubbing that leaves scratches in plastic, since those scratches hold bacteria. Keep bottles at one consistent temperature, ideally in a cellar or the coolest dark corner of the house.
And if a strain keeps under-attenuating in your setup, stop fighting it. Why homebrew goes flat covers the opposite failure mode, and both problems usually trace back to the same place: your fermentation did not finish where you thought it did.
Frequently Asked Questions
Is it normal for a homebrew bottle to gush when opened?
A mild gush in the first three to four weeks of bottle conditioning is common and usually harmless. Foam that settles within a minute or two, clean aroma, and a flat cap all point to normal carbonation. Gushing paired with sour or solvent smells, a film on the surface, or a raised cap is a different problem and should not be drunk.
Why is only one bottle from my batch gushing?
A single bad bottle usually means something happened to that bottle rather than to the batch. Sugar that settled undissolved at the bottom, a missed sanitation step at packaging, or a cap that seated badly are the usual suspects. If most of the batch pours fine and only one misbehaves, pour the rest normally and keep the odd one out of the way.
Can gushing homebrew be caused by bottling too early?
Yes, and it is one of the most common causes. Bottling before fermentation has truly finished leaves fermentable sugars in the beer, and the yeast keeps working inside a sealed bottle where every bit of carbon dioxide is trapped. The result is more pressure than a crown cap was ever meant to hold. Waiting for a confirmed, stable final gravity fixes it.
How cold should homebrew be before opening it?
As cold as your storage allows. Refrigerator temperature is ideal, and an ice-water bath chills a bottle far faster than the fridge alone. Cold beer holds dissolved carbon dioxide in solution, so chilling a gusher for a few hours usually cuts the foam dramatically. Let warm bottles cool gradually rather than shocking the glass.
Does sediment at the bottom of a homebrew bottle cause gushing?
Sediment itself creates nucleation sites, tiny surfaces where bubbles form more easily, so a bottle with heavy yeast sediment can foam harder than its cleaner neighbors. But sediment alone rarely causes a violent gush on its own. If foam is out of control, the cause is excess gas in the bottle, not the yeast on the bottom.
Can I rescue a batch of over-carbonated homebrew?
Yes, in most cases. Chill every bottle first, then crack each cap a quarter turn and let pressure bleed off over a few hours, opening slowly over a sink. Store bottles upright and cold so the beer stays dissolved. For the next batch, recalculate priming sugar from the real final gravity or switch to carbonation drops, which are far harder to overdose.
If the smell is off rather than just the foam, read why homebrew tastes like cider, since contamination is the usual reason.
Conclusion: Start With Temperature and Final Gravity
If you remember one thing about what causes gushing bottles in homebrew beer, make it this: put a bottle cold and open a second one at room temperature before you conclude anything. Temperature alone explains a surprising share of dramatic pours.
After that, look at the batch record. What did your gravity read, and how many days apart were the two matching readings? A reading that only looked stable is the single most common root cause, and an over-measured priming dose is the most common second.
Confirm final gravity with a repeat reading after several days of stability, and calculate priming sugar from that number next time. Those two habits fix most gushing before it starts.