Designing a tasting glass for an event is a seven-step process, and it starts with the pour rather than the logo. Set the sample volume and flight length, match the bowl and rim to the beverages, size the capacity so a full pour never reaches the rim, test the grip in a real hand, and only then decide how the event name or sponsor mark goes on it. The whole cycle usually runs four to eight weeks, and the real skill is judgment about shape and volume rather than anything technical.
The payoff is bigger than one nice-looking glass. The vessel is the only object every guest touches, holds, looks through, and photographs all evening, so its design controls aroma perception, the pace of the flight, the layout of the table, and what the brand is remembered by when everyone goes home.
Table of Contents
- What You Need
- Step-by-Step: How to Design a Tasting Glass for an Event
- 1. Define the tasting and pouring requirements
- 2. Choose a glass shape for aroma and drinking
- 3. Set safe dimensions and capacity
- 4. Make the glass comfortable and stable
- 5. Prototype and test the design
- 6. Add event branding without harming the experience
- 7. Validate production and venue use
- Common Mistakes
- Frequently Asked Questions
- What size tasting glass is best for a craft beer event?
- Should a beer tasting glass have a stem?
- How can I put a logo on a tasting glass?
- What is the minimum order for custom tasting glasses?
- Are tasting glasses safe to reuse at multiple events?
- Start With the Pour, Not the Logo
What You Need
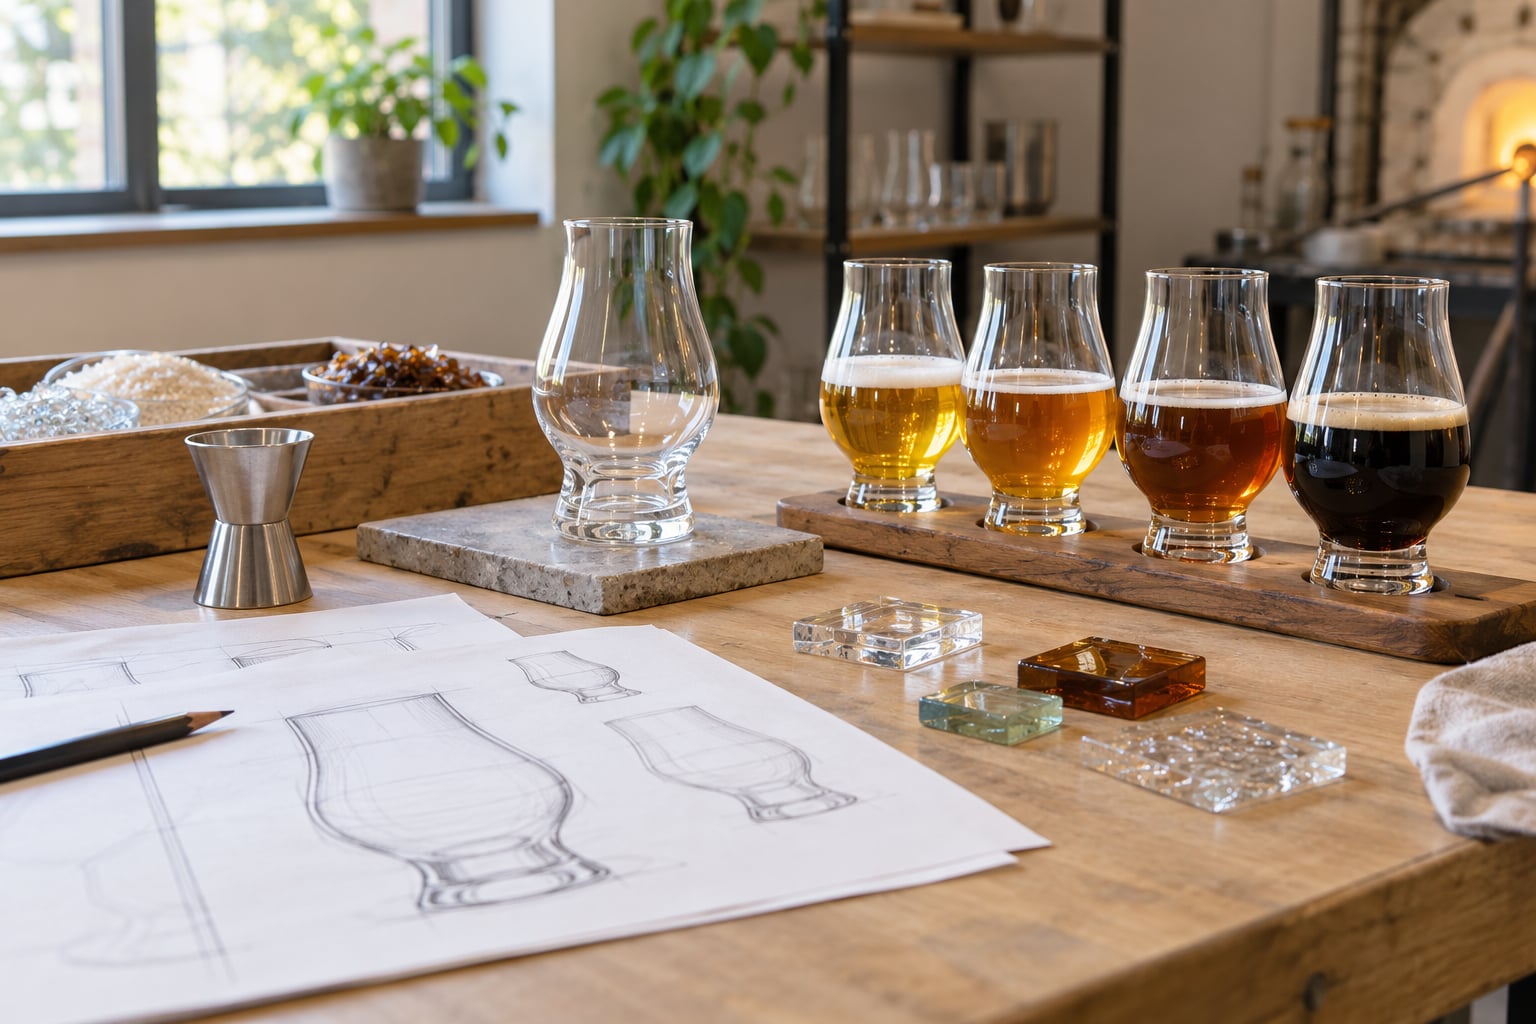
You need four things before the first sketch: a written event brief, dimension targets, material samples, and a test kit. Here is what goes in each pile.
- Event brief. Guest count, pours per guest, service format (flight paddle, one stem per pour, or a communal tumbler), session length, number of tasting stations, and whether the glass is used once or washed and reused across sessions.
- Dimension targets. Working capacity in milliliters, overall height, rim width, base diameter, and a target fill line marked at roughly two-thirds of capacity so there is always headspace for aroma and foam.
- Food-safe material samples. Soda-lime glass, lead-free crystal, and borosilicate, with written confirmation from the supplier that the finish is food-contact safe and free of lead and cadmium, especially if the event is in California.
- Design tools. A sketch pad or vector app, a caliper and ruler, a jigger or small volume measure, and printed reference photos of the glass shapes already used by comparable venues.
- Supplier contacts. Two or three glassware vendors, one decorator or silkscreen shop, and one packaging supplier, so quotes can be compared line for line.
- Test beverages. A pale lager, a dark stout, a highly aromatic IPA, a carbonated pour, ice, and a sink with hot water. Testing with a single amber lager hides every problem a mixed lineup will cause.
- Safety kit. A non-slip bar mat, cut-resistant gloves for handling blanks, a closed bin for broken pieces, and closed-toe shoes for any grinding or trimming.
Success check: you can state the guest count, the number of pours per guest, and the total number of glasses required in one sentence. If you cannot, the design step will be guesswork.
Step-by-Step: How to Design a Tasting Glass for an Event
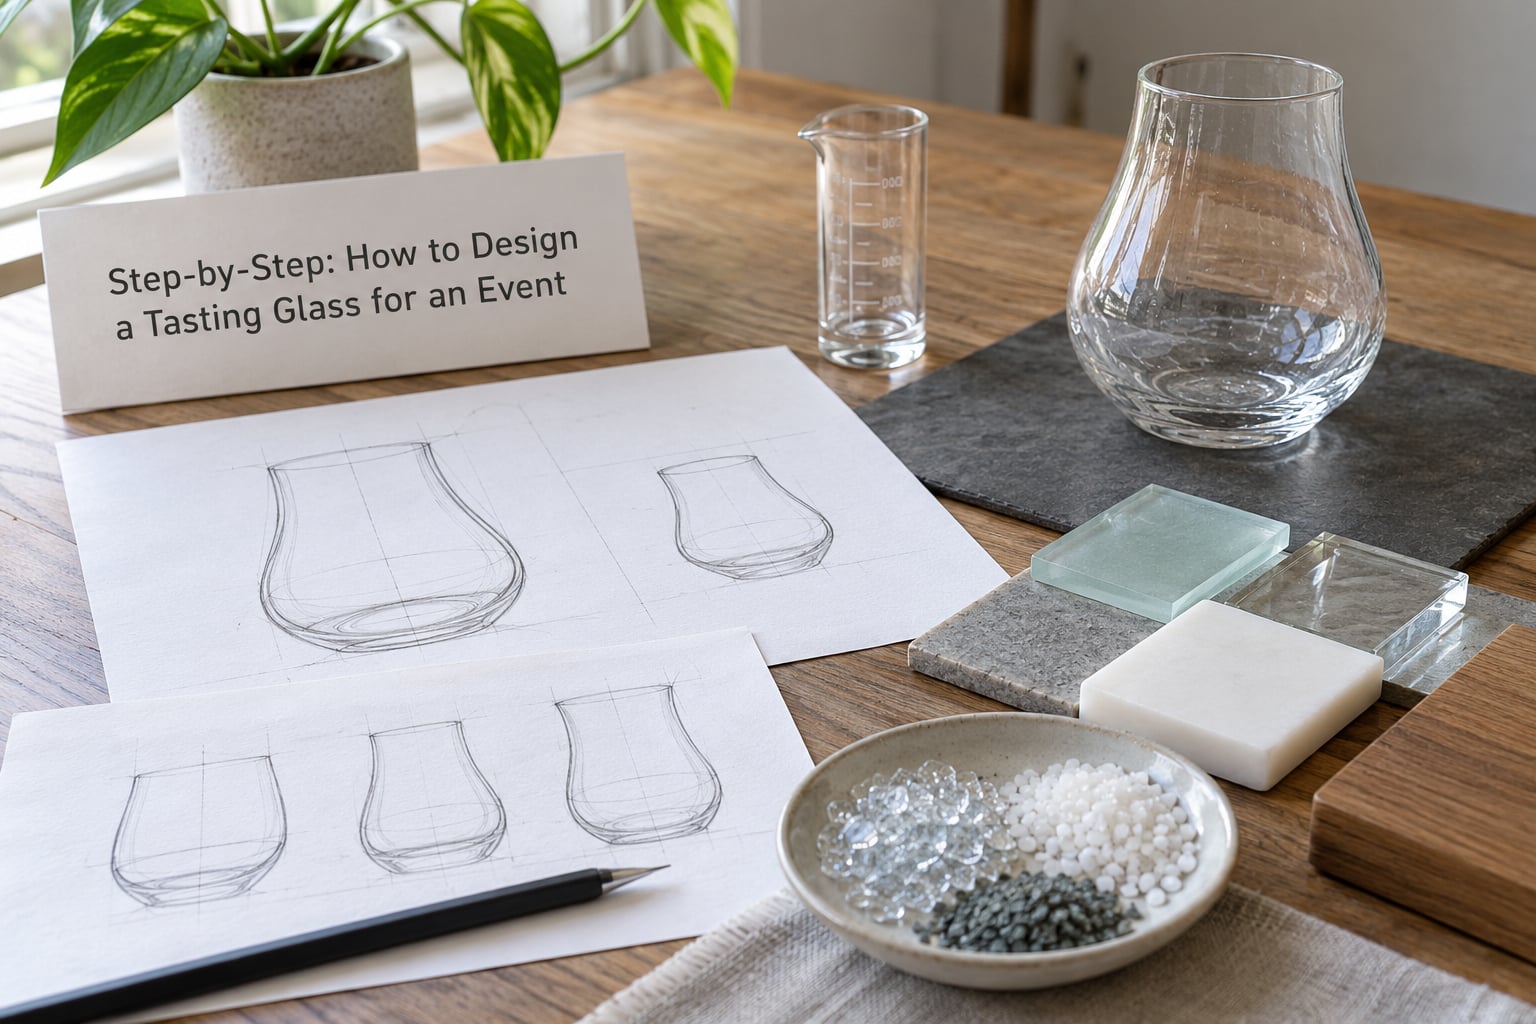
1. Define the tasting and pouring requirements
Sample volume sets everything downstream, so fix it before you draw anything. A four-pour beer flight at a taproom runs about 45 to 60 ml per pour, a festival booth serving several hundred people drops to 30 to 45 ml, spirits flights sit at 20 to 30 ml, and an olive oil or coffee tasting is smaller still at 5 to 15 ml. Multiply your per-guest pour by the number of samples in the flight, then by guests, to get the base count before any buffer.
Two realistic scenarios: a 40-guest pub evening with five samples each needs 200 glasses before breakage is considered, and a 300-person festival with three samples each needs 900. Add 10 to 15 percent for breakage, dropped glasses during transport, and one spare set for the volunteer team.
Success check: every pour fits the intended glass with visible headspace and no overflow when poured by a volunteer who does not pour for a living.
2. Choose a glass shape for aroma and drinking
Bowl width, rim shape, taper, stem, and foot each change how the liquid behaves, so pick the shape to match the lineup. A wider bowl gives delicate aromas more surface to open up, a narrower rim concentrates them toward the nose, and a taper pulls liquid back toward the center of the tongue. A stem or foot lets the taster hold the glass without warming the bowl, and a foot that is wider than the bowl keeps the glass from tipping on a crowded bar.
For beer specifically, a tulip bowl suits hop-heavy IPAs, a snifter protects a dark stout from warming too fast and traps its roast character, and a tall narrow flute or pilsner shape keeps a lager cold and shows carbonation. Wine flights want a larger tapered bowl, spirits want a narrow copita or short snifter, and olive oil tasting wants a small plain cup with no aroma trap so the polyphenols can be compared cleanly.
Success check: with your own test lineup, you can pick out the stout and the IPA blind and say what shape told you so.
3. Set safe dimensions and capacity
Capacity is a safety question, not a preference. Leave headspace above the largest pour so the glass never reaches the rim, and avoid thick bases that tip hard when a bar is bumped. Use these as starting targets, then adjust to your lineup.
| Event format | Glass style | Capacity | Height | Rim width | Base diameter |
|---|---|---|---|---|---|
| Wine flight, 3 to 4 reds | Stemmed tapered bowl | 350 to 450 ml | 190 to 210 mm | 80 to 90 mm | 75 to 85 mm |
| Beer flight, 4 to 5 styles | Stemmed tulip | 250 to 350 ml | 150 to 175 mm | 65 to 75 mm | 65 to 75 mm |
| Spirits flight | Copita or short snifter | 120 to 180 ml | 95 to 115 mm | 55 to 65 mm | 55 to 65 mm |
| Olive oil, grappa, or digestif | Small plain copita | 30 to 60 ml | 80 to 100 mm | 40 to 50 mm | 40 to 50 mm |
| Coffee or cacao tasting | Small bowl cup | 60 to 90 ml | 70 to 90 mm | 50 to 60 mm | 50 to 60 mm |
| High-volume public tasting | Stemmed tumbler | 250 to 300 ml | 140 to 160 mm | 70 to 80 mm | 65 to 75 mm |
Success check: fill each candidate to the highest pour you plan to use and confirm the level sits at least a centimeter below the rim.
4. Make the glass comfortable and stable
Comfort is about the grip. A stem between 55 and 80 mm gives most hands something to pinch without sliding, and a stem that is too thin or too short becomes uncomfortable after the fourth pour of a long session. Keep the point where the glass meets the hand away from any decoration, and check that a server can carry two glasses plus a bottle without a juggling routine.
Stability matters more in a crowd. Give the foot a diameter at least as wide as the bowl, and keep the base flat rather than domed, so a bumped bar top does not send a full glass over. Outdoors, on rough ground or in wind, a wider foot and a heavier base also help, and a stemless tumbler is a common accommodation for guests with limited grip, provided you test it in the lineup rather than assuming it works.
Success check: a volunteer carries a full glass across a busy floor one-handed, and the glass stays put when the bar is knocked.
5. Prototype and test the design
Produce two or three prototypes. A digital render settles proportions cheaply, but a physical mock-up made from a similar base glass settles everything else, because thickness and weight only exist in the hand. Take one undecorated prototype through the full evening conditions before any artwork is approved.
Run it against the awkward cases: a pale lager that shows cloudiness, a dark stout that hides sediment, a hop-heavy IPA where foam climbs, a carbonated pour that fizzes over the rim, ice dropped straight into the bowl, and then five wash cycles. Score each on aroma delivery, color visibility, pour control, grip comfort, and whether the rim chips or the base cracks.
Success check: no overflow with a carbonated pour, no heat transfer through the bowl in a 40-minute session, and no new chips after repeated washing.
6. Add event branding without harming the experience
One brand mark, one message. The decoration should sit where the hand is not, stay out of the sightline through the bowl, and survive the dishwasher if the glass will be washed. Place a logo on the base, the lower band of the bowl, or opposite the stem, and keep numbers or fill lines in a high-contrast color so they read against both pale and dark pours.
| Method | Look | Relative cost | Typical minimum | Lead time | Durability |
|---|---|---|---|---|---|
| Laser etching | Frosted, permanent, one color | Medium | 50 to 100 | 2 to 3 weeks | Very high |
| Acid etching | Soft etched finish | Medium | 100 or more | 3 to 4 weeks | High |
| Screen printing | Crisp colored ink | Low at volume | 100 to 250 | 2 to 4 weeks | Medium |
| UV or digital print | Full color artwork | Medium to high | 24 to 100 | 2 to 3 weeks | Medium |
| Vinyl decal | Removable, seasonal | Low | 12 to 50 | 1 to 2 weeks | Low |
| Neck or hang tag | No decoration on the glass | Low | 25 to 100 | 1 to 2 weeks | Tag wears first |
| Printed tasting mat | Branding stays off the glass | Low | 50 to 100 | 1 to 2 weeks | Very high |
Etching wins when the glass is a keepsake, because it cannot scratch off. Screen printing and UV print suit short campaigns and photo-driven artwork. A printed tasting mat is the cheapest way to carry the event name, the numbered position, and a note area without touching the bowl at all.
Success check: guests can tell which glass is which from two feet away, and the logo does not sit where fingers cover it.
7. Validate production and venue use
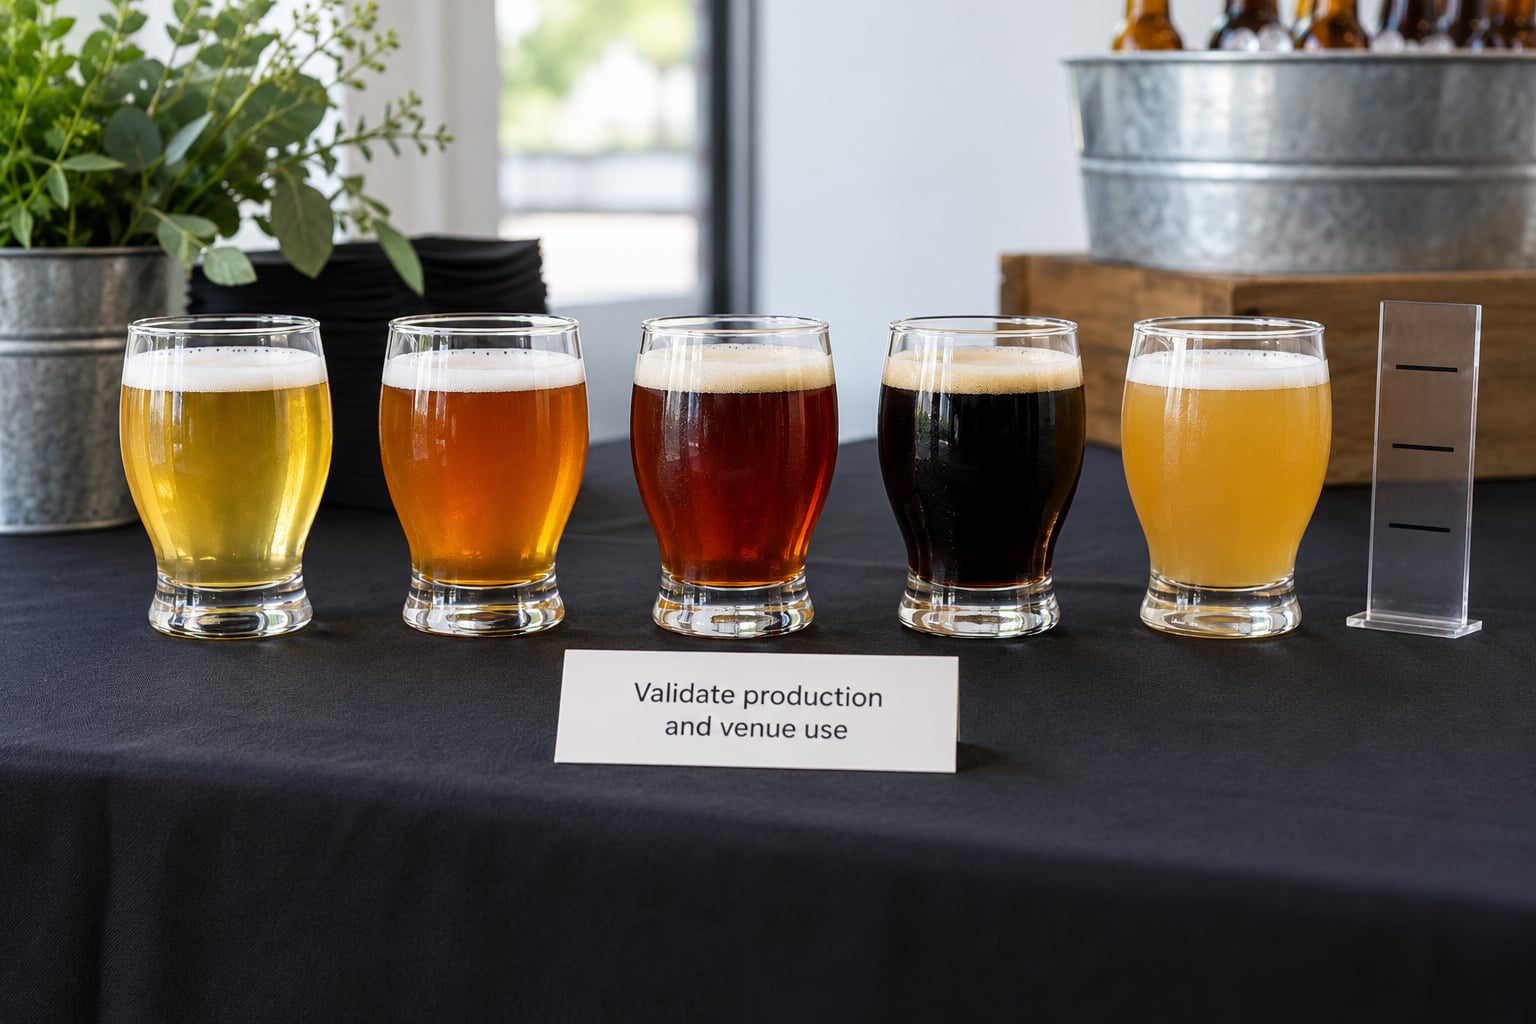
Custom glass runs on a calendar, not on optimism. Work backward from the event date: 12 weeks out for the brief and quotes, 10 weeks to place the order and send artwork, 8 weeks to approve the proof, 6 weeks for decoration to finish and a sample to be sent to you, 4 weeks to inspect that sample, 2 weeks to confirm the final count and packaging, and the event week for cleaning, polishing, inspecting, and packing. Custom decoration lead times typically run three to eight weeks, plus one to two for artwork approval, so anything tighter belongs to a printed mat or a neck tag instead.
Ask the supplier for written confirmation that the glass is food-contact safe and lead- and cadmium-free, request a decorated sample before the full run, and confirm the minimum order quantity before approving artwork. Package in molded dividers rather than loose cartons, and plan a replacement set of roughly 10 to 15 percent for breakage, which is normal on a first event in an unfamiliar room.
Finally, run one complete rehearsal pour per glass using the actual beer lineup, the actual pitcher, and the actual volunteer staff. On the day, keep glassware in divided crates during transport, pour onto a non-slip mat, and keep the water glass visibly different from the tasting glass so nobody sips the wrong one.
Success check: the full count arrives intact, the food-safety paperwork is in hand, and the rehearsal ran without a single overflow.
Common Mistakes
| Mistake | Why it fails | Fix |
|---|---|---|
| Pour size larger than capacity | Overflow onto the table or the guest’s hand | Mark a fill line at two-thirds and pour to it |
| Thick or heat-sensitive glass | Cracks under a hot wash or a warm pour | Specify a tested borosilicate or soda-lime body and test five wash cycles |
| Base narrower than the bowl | Tips on a crowded bar | Make the foot at least as wide as the bowl and keep it flat |
| Stem too short or too thin | Uncomfortable after the fourth pour | Aim for 55 to 80 mm and test with real hands |
| Branding across the bowl | Blocks the view and hides the color | Move the mark to the base, lower band, or opposite the stem |
| Decal or paint on a washed glass | Lifts or turns cloudy after a few cycles | Choose etching or print rated for repeated washing |
| Untested capacity | Guests hold a full glass that is too large | Fill the mock-up to the biggest pour before ordering |
| Low-contrast numbers | Flight order breaks down on a dark stout | Use one dark and one light color in the number set |
| Fragile glass outdoors | Loss on wind-blown tables and uneven ground | Choose a thicker base, divided crates, and a spare set |
Frequently Asked Questions
What size tasting glass is best for a craft beer event?
A stemmed tulip of 250 to 350 ml suits most craft beer flights, and a 150 to 175 mm height keeps a five-sample evening comfortable. Pour 45 to 60 ml per sample so there is headspace for foam on an IPA. For a high-volume public tasting, a 250 to 300 ml stemmed tumbler is easier to handle and cheaper to replace. Whatever the shape, mark a fill line at two-thirds capacity before the doors open.
Should a beer tasting glass have a stem?
Usually yes. A stem keeps your hand away from the bowl, so the beer does not warm and the aroma stays intact through a long flight, and it leaves fingers clear of any logo. Stemless tumblers are worth offering for guests with limited grip or for very casual settings, and they also stack and pack into crates more easily. Test both in your actual lineup before committing a full run.
How can I put a logo on a tasting glass?
Laser or acid etching gives a permanent frosted mark that survives repeated washing, and it suits a keepsake or a multi-event run. Screen printing is crisper in color and cheaper at volume, while UV printing carries full-color artwork. For short campaigns, a printed tasting mat or a neck tag puts your mark on the table without touching the bowl at all. Place any mark away from the sightline through the bowl.
What is the minimum order for custom tasting glasses?
Minimums depend on the decoration method. Decals can often start near a dozen pieces, tags around 25 to 100, UV and laser printing commonly start at 24 to 100, and screen printing usually starts at 100 to 250. For an event, order your base count plus 10 to 15 percent for breakage, and ask whether the supplier will split a single order across two decoration runs to reach a minimum more cheaply.
Are tasting glasses safe to reuse at multiple events?
Yes, as long as you inspect and wash them between events. Check for rim chips and base cracks, wash in a commercial dishwasher, and replace anything chipped rather than putting it back in service, because a chipped rim is a cut risk. A reusable program usually becomes cheaper than single-use serving ware after a handful of events, and the glasses double as take-home favors for guests.
Start With the Pour, Not the Logo
Lock the pour volume and the number of samples per guest first, because those numbers decide capacity, glass count, and budget. Match the shape second, using the bowl, rim, and foot to suit the lineup and the grip of your guests. Prototype third, testing against the hardest beverages you will actually serve. Add branding only after the glass passes in the hand, in the wash, and at a full pour.
Do the arithmetic before you fall in love with a shape: guests multiplied by pours per guest, plus 10 to 15 percent for breakage, gives you the count to order. Send that brief to two or three glassware vendors along with your dimension targets, ask for food-safety certification and a decorated sample, and give yourself eight weeks. Get the volume right and the branding becomes a detail; get the branding right first and you will spend the whole evening apologizing for a glass nobody can hold.