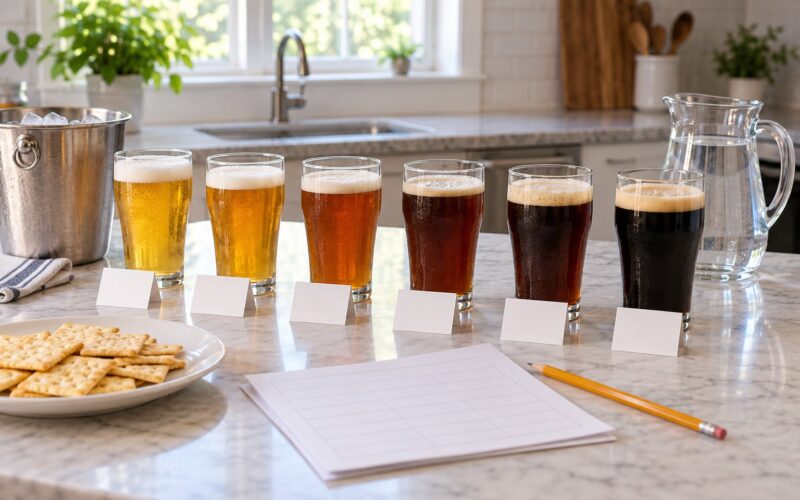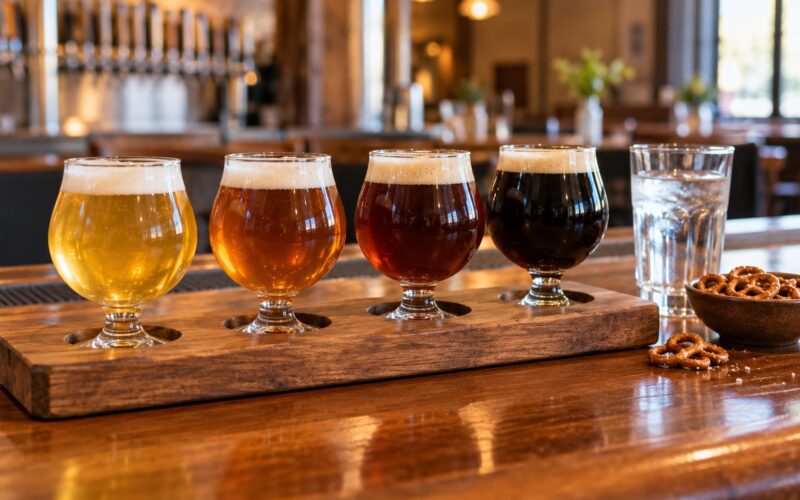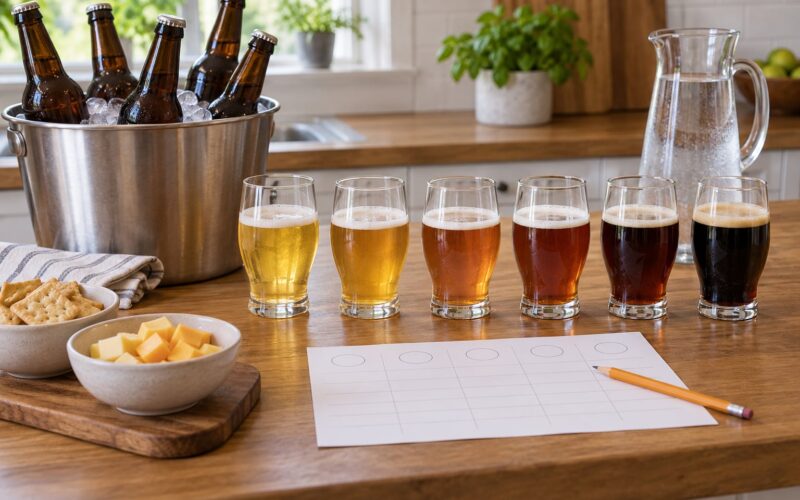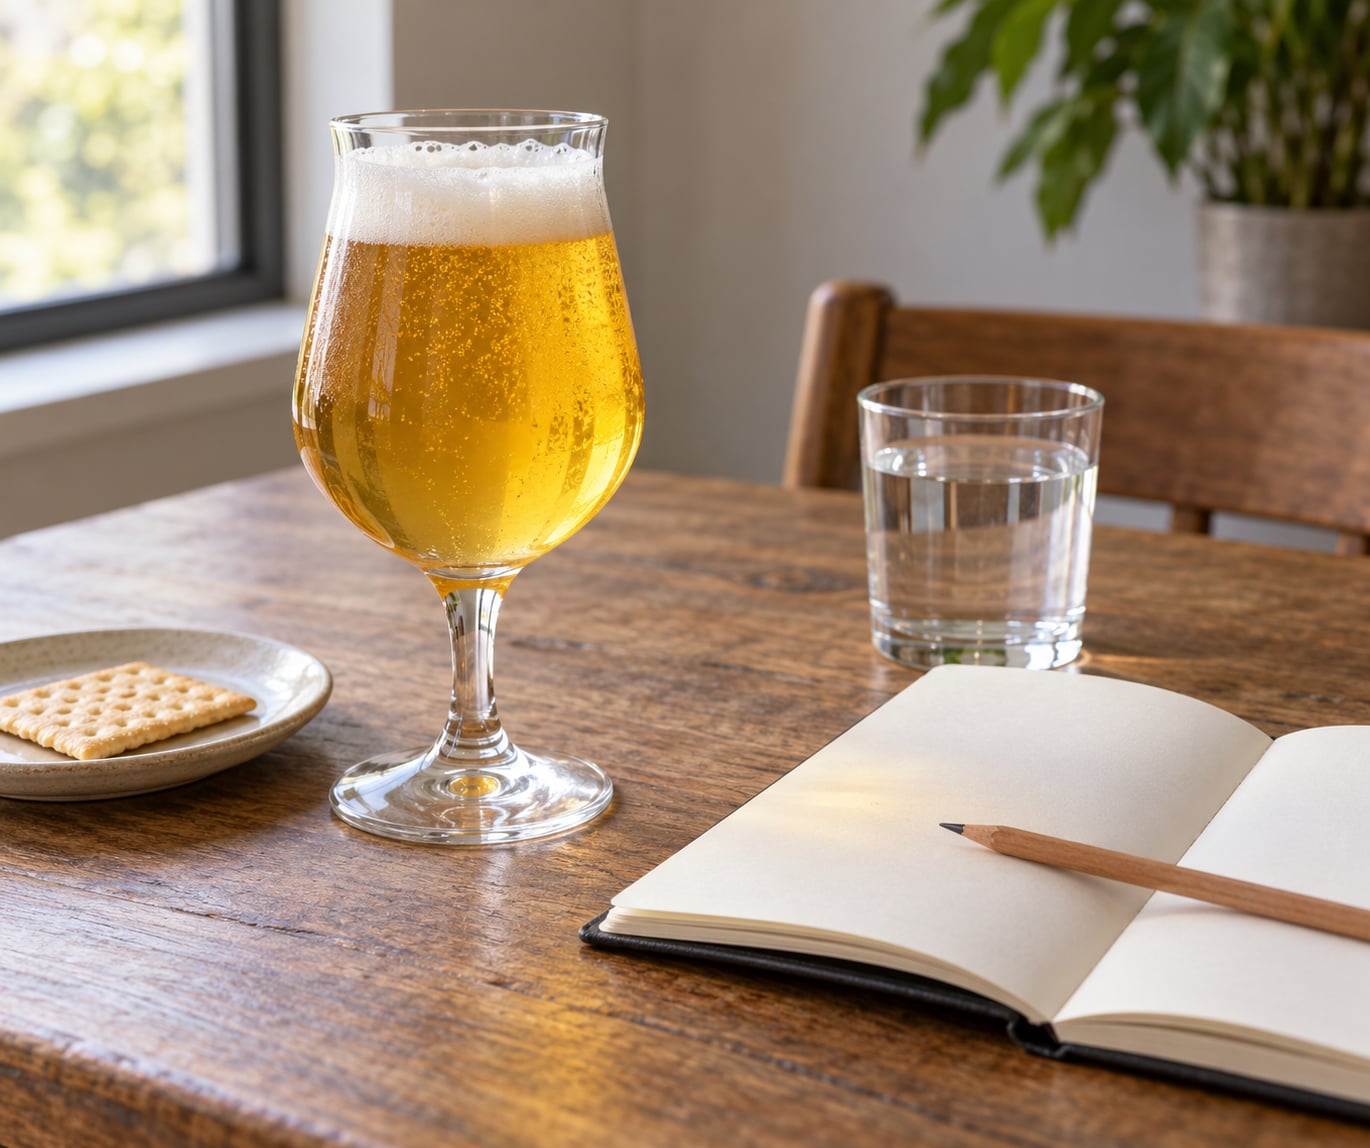
Learning how to taste beer step by step takes about five minutes per glass and nothing more than a clean glass, water and a pen. Pour it, look at it, swirl it, smell it, take a small sip, and write down what you actually noticed. Most people who decide they hate beer never gave it a fair shot, because they drank it instead of tasting it.
The whole method, condensed:
- Set up your space with a clean glass, cool water and neutral light.
- Look at the beer for color, clarity and foam.
- Smell it before you sip, twice, without diving straight into the glass.
- Take a small unforced sip and let it spread across your tongue.
- Swirl, sip again, and compare it with your first impression.
- Write down your impressions before you pour the next beer.
Tasting is a skill, not a personality trait. You get better at it the same way you get better at recognizing a bad bottle of water: by paying attention on purpose, a few times a week.
Table of Contents
- What You Need
- Step-by-Step: How to Taste Beer Step by Step
- 1. Set Up Your Tasting Space
- 2. Look at the Beer
- 3. Smell the Aroma
- 4. Take a Small Taste
- 5. Swirl, Sip, and Compare
- 6. Record Your Impressions
- Common Mistakes
- Frequently Asked Questions
- Should I taste beers in a particular order when comparing them?
- How do I describe beer flavors without using technical tasting terms?
- What is the best palate cleanser between beers?
- What is the most common mistake beginners make when tasting beer?
- How can I practice tasting beer without buying a large variety?
- Conclusion
What You Need
Short answer: a glass, a notebook, water and good light. Everything else people tell you to buy is optional.
- A glass. A stemmed tulip or a small wine glass is the most useful thing on this list, because the bowl gives the aroma somewhere to collect. A pint glass works fine, and a stemmed glass beats an opaque mug because you can see the beer.
- A tasting mat or notebook. A blank page per beer matters more than a fancy printed score sheet. Label the top before you pour, because once you have written “the pale one” and “the dark one,” memory starts rewriting itself.
- Cool water. Not ice cold, just cool. You will sip it between steps and between beers.
- A neutral food pairing. A plain cracker or a few pieces of unsalted bread. Something salty or fatty works too, but plain is better for a first pass.
- A light source. Daylight from a window, or a lamp positioned behind the glass so haze and clarity are visible.
Skip the aroma wheel, the beer-specific spreadsheet, and the temperature probe until you have ten tasting sessions behind you. Beginners who start with gear end up measuring instead of noticing.
Step-by-Step: How to Taste Beer Step by Step
1. Set Up Your Tasting Space
Pour one beer at a time into a clean glass, about a third full, and have water within reach before you start.
The fill level is not fussiness. A full glass leaves no room for the swirl that lifts aroma compounds to the surface, and a warm glass kills aromatics faster than any bad batch of yeast ever did.
Rinse the glass with water and shake it dry. Any detergent or yesterday’s pilsner residue throws off your first impression, and you will mistake it for the beer’s character.
You know the setup worked when the beer smells the same whether you lean into the glass or hold it at arm’s length. If the second whiff smells like nothing at all, the glass was dirty.
2. Look at the Beer
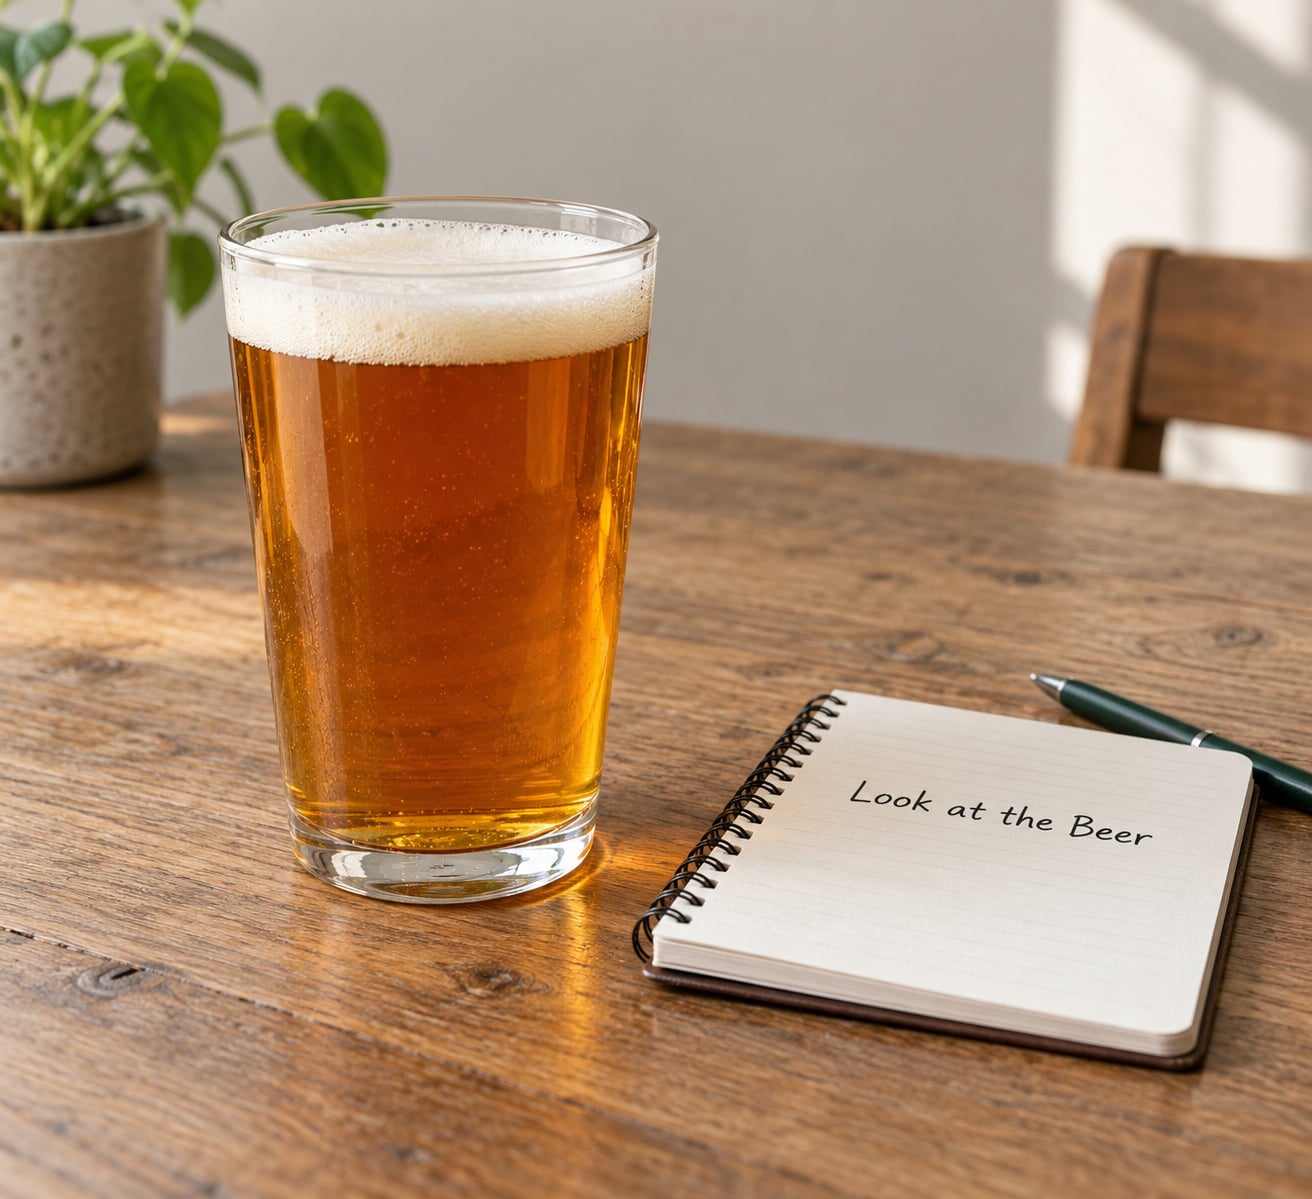
Hold the glass up to the light and note three things: color, clarity and foam.
Color ranges from pale straw through gold, amber, copper and brown to near-black. Clarity is the one that gets over-read. A hazy beer is not a flawed beer; unfiltered and hazy styles such as New England IPAs and many wheats are meant to be cloudy.
Foam tells you about carbonation and protein. A dense, creamy head that clings in lacy streaks down the glass usually means a fuller body. A thin, fast-collapsing foam points to a lighter, better-carbonated style.
Treat all of this as context, not a verdict. You are not scoring the beer here. You are building a baseline you will compare flavor against in step five.
3. Smell the Aroma
Swirl the glass gently, then smell it with your nose a few inches above the rim. Take a short sniff rather than a deep inhale.
Short sniffs work better because your nose stops noticing a strong smell after a second or two. A slow inhalation trains your brain to switch off the signal. Sniff, wait a moment, sniff again.
As you warm the beer in the glass, keep sniffing and note what shifts. Citrus, pine, grass, bread crust, banana, pepper, clove, roast coffee, vanilla, stone fruit. Pick whatever you genuinely smell and do not worry about whether the word is correct.
A single timing cue from professional tasting programs is worth remembering here: the 3:30-300 rule, meaning about three seconds to swirl, thirty seconds to smell, and three hundred seconds of total attention for the beer. Beginners usually quit smelling after the first ten seconds, which is precisely where the good notes stop.
Smell again after you swallow, too. Aroma perceived from inside the mouth, with your nose pinched, is called retronasal aroma, and it is where the difference between a lager that smells bready and one that smells of nothing at all becomes obvious.
4. Take a Small Taste
Take a sip no bigger than a mouthful of coffee, and let it sit on your tongue for about ten to twenty seconds before swallowing.
That pause is the whole method. Warm liquid registers sweetness and bitterness differently from cold liquid, and rushing the sip is why beginners describe every beer as bitter.
While it sits, check for the basic tastes: sweetness, bitterness, sourness, saltiness and umami. Bitterness registers at the back and sides of the tongue, sweetness at the front, sourness at the sides, saltiness broadly across the tongue, and umami through the middle.
Note carbonation as a physical sensation. Fine, sharp prickling means lively carbonation; a soft, flat tingle means a gentler one. Note body too: is the beer thin like tea, or thick and slick like cream soda?
If you get nothing but bitterness on the first sip, you have usually taken too big a sip or held it too short. Go back to step three and try again.
5. Swirl, Sip, and Compare
Take a second sip with a slight swirl, return to the aroma, and check whether the beer still matches your first impression.
Good beers usually deepen on the second sip, because the palate is warmer and better lubricated. If the second impression is worse than the first, the beer is probably oxidized, served too warm, or past its window.
Watch where bitterness lands in time. Bitterness that arrives politely and fades is well-integrated bitterness. Bitterness that sharpens over the last ten seconds and dries the back of your throat is astringency, which is a texture rather than a taste, and it is a fault in most styles.
Finish with water, then sit for a few seconds. Whatever lingers is the aftertaste, and it is where a trained palate spends real time. A dry, resinous pine note is a completely different beer from a lingering caramel sweetness.
6. Record Your Impressions
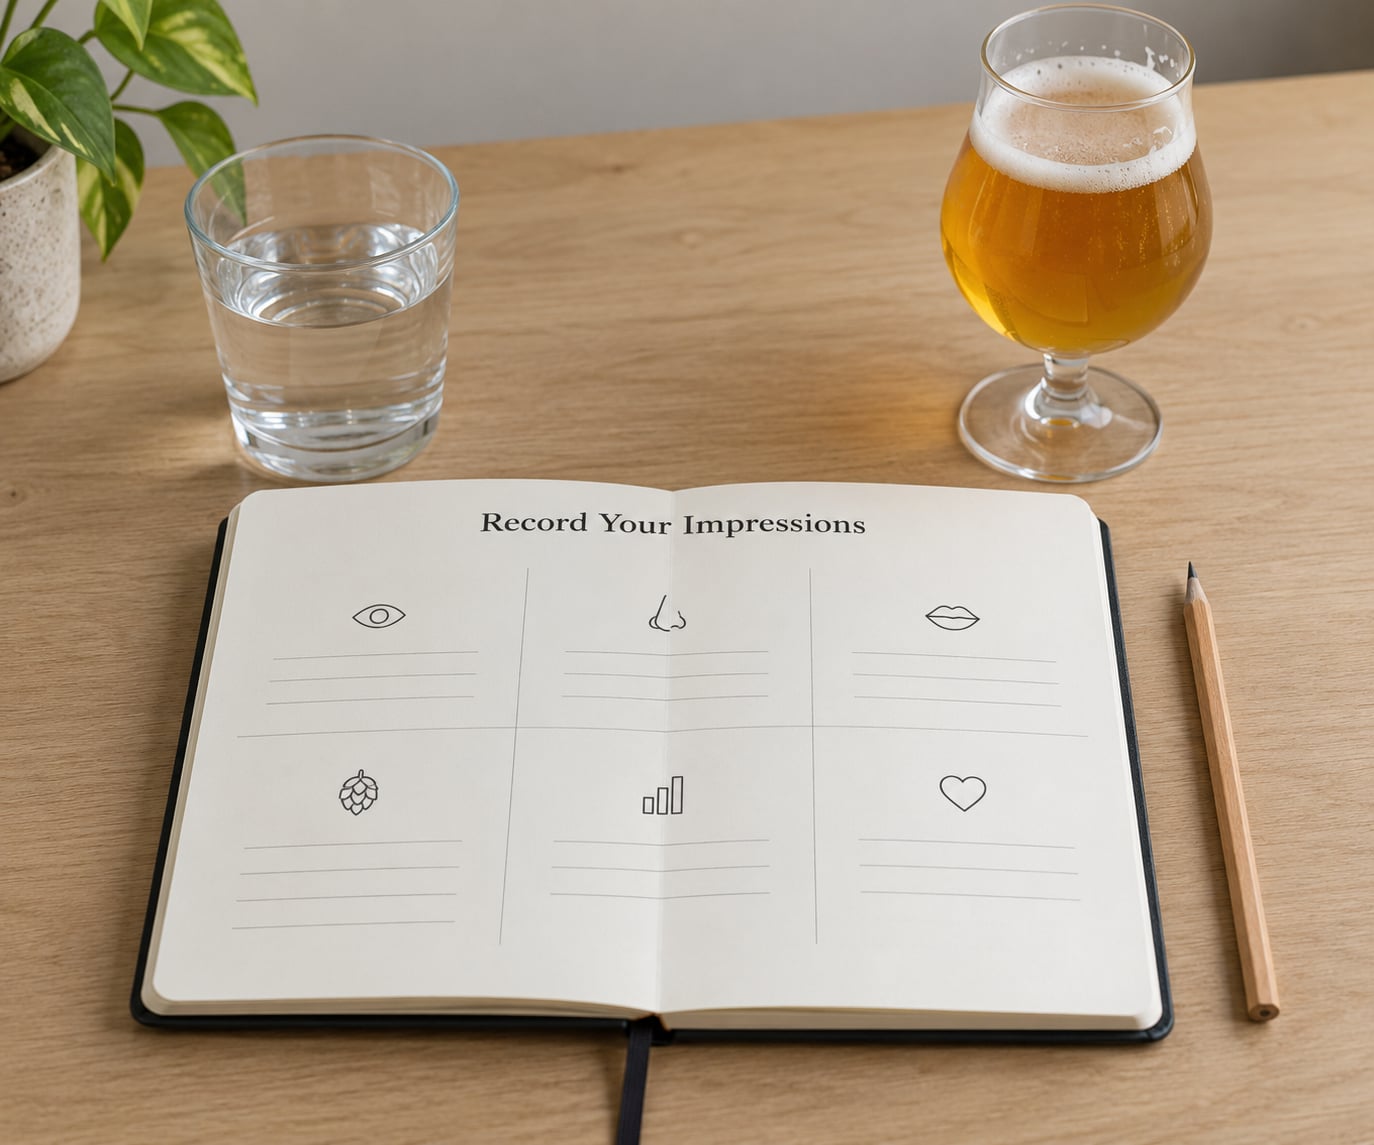
Write your notes immediately, using the same six headings every time so you can compare sessions later.
- Appearance. Color, clarity and foam in one line. Example from a hazy IPA: pale gold, hazy, thick white head that clings.
- Aroma. Two or three smells, strongest first. Example: mango, orange peel, soft pine.
- Flavor. Tastes, in order of strength. Example: citrus first, then sweet grain, mild bitterness.
- Mouthfeel. Carbonation, body, any drying sensation. Example: soft carbonation, medium body, no astringency.
- Finish. What lingers and how long. Example: resinous hop flavor fades over about twenty seconds.
- Overall. One honest sentence. Example: balanced, would order again.
Do not score the beer. A number tells you nothing useful when you cannot yet describe what produced it, and it turns tasting into homework. A sentence does the job better.
Keep the page. Six weeks from now, flip back through and see whether your vocabulary has quietly expanded on its own.
Common Mistakes
Almost every beginner tasting goes wrong in one of a handful of predictable ways. Each has a quick fix, and the fixes are what turn how to taste beer step by step into something you can repeat without thinking about it.
- Drinking instead of tasting. A gulp ends the process before it starts. Fix: one coffee-sip, ten to twenty seconds, then swallow.
- Judging on aroma alone. A sharp or faint nose does not predict the taste. Fix: complete the whole sequence before forming an opinion, even when the first whiff surprises you.
- Reaching for vocabulary you do not have. Describing a beer as “cardboard-y” when you simply smell wet newspaper tells you nothing useful. Fix: describe the thing you would compare it to, using concrete comparisons like lemon peel, burnt toast or pine resin.
- Skipping water. Your palate adapts to every beer you drink, and adaptation is what makes a flight blur together. Fix: sip water between every single sample.
- Comparing beers that have nothing in common. A coffee stout and a sparkling sour are not competing for the same crown. Fix: compare within a category, like for like.
- Converting notes into a score. Numbers turn tasting into evaluation, and evaluation kills curiosity. Fix: write a sentence, not a number.
- Tasting ten beers in one sitting. Six is a realistic ceiling for a novice, and four is better. Fix: split a big taproom list across two visits.
A few extras that cost nothing: keep the glass at cellar temperature rather than refrigerator temperature, because cold mutes aroma, and never taste a beer you have to squint to see through dirty glassware.
If bitterness is the thing putting you off, this is normal and fixable. Start with low-bitterness styles such as pilsner, kolsch, amber lager, wheat beer, cream ale or brown ale, smell each one properly before the first sip, and revisit it after a few sessions. Palate fatigue and untrained avoidance are the usual culprits, not the beer.
Frequently Asked Questions
Should I taste beers in a particular order when comparing them?
Yes. Go from light to dark, and roughly from low to high alcohol. That means pilsner and pale lager first, then wheat and amber, then IPAs and brown ales, with stouts, porters and barrel-aged beers at the end. Your palate accepts stronger flavors in sequence and tires out faster in the wrong one. Reversing the order is the fastest way to make every beer after a stout taste thin and watery.
How do I describe beer flavors without using technical tasting terms?
Describe the thing you would compare it to. Instead of saying a hoppy beer is tropical, say it smells like fresh pineapple and lime. Instead of saying a stout is roasty, say it tastes like burnt toast and cold coffee. Concrete comparisons are more useful than tasting jargon, and other people understand them instantly. Once you have written the comparison a few times, the technical word tends to appear on its own.
What is the best palate cleanser between beers?
Water is the best cleanser and the cheapest one, and most beginners use too little of it. Beyond that, plain unsalted crackers and neutral bread are ideal because they carry no flavor of their own. A small bite of lemon or a sip of sparkling water also resets the palate quickly, and both are common at professional tables. Avoid salty chips and strongly flavored nuts, which leave their own taste behind.
What is the most common mistake beginners make when tasting beer?
Swallowing the first sip too fast. A rushed gulp, swallowed immediately, hits the palate cold and undiluted, which is exactly why so many beginners decide beer is unbearably bitter. The fix is simple: take a sip the size of a coffee mouthful, hold it for ten to twenty seconds, move it around your tongue, and only then swallow. Everything else about the method matters less than that pause.
How can I practice tasting beer without buying a large variety?
Buy two beers at a time and taste them properly, twice each, a week apart. Re-tasting the same beer is what teaches your palate, because you can only notice change when you have a baseline. Most taprooms also run a free or low-cost tasting flight on a slow afternoon, which is the cheapest practice available. Whatever you buy, write the six notes the first time you drink it.
Conclusion
Start with one glass today. Pour it a third full, hold it to the light, swirl, smell twice, take one slow sip, and write down two things you noticed before you reach for a second beer.
That is the whole method. Work through how to taste beer step by step a few times a week and the vocabulary builds itself, which is how people who once said beer tasted like apple juice end up describing bitterness, aroma and finish without thinking about it.