If your mash temperature is too high, cut the heat immediately, then stir in cold dechlorinated water or sealed ice until the reading comes back down to your target. Most overshoots are recoverable, because the enzymes that do the work do not die the instant the thermometer climbs. Add that cold water to the volume in your brewing software and take the same amount out of your sparge water so the gravity targets still hold. A mash that ran 10 degrees high for the last 20 minutes of a 60-minute rest usually finishes sweet and full-bodied, not ruined.
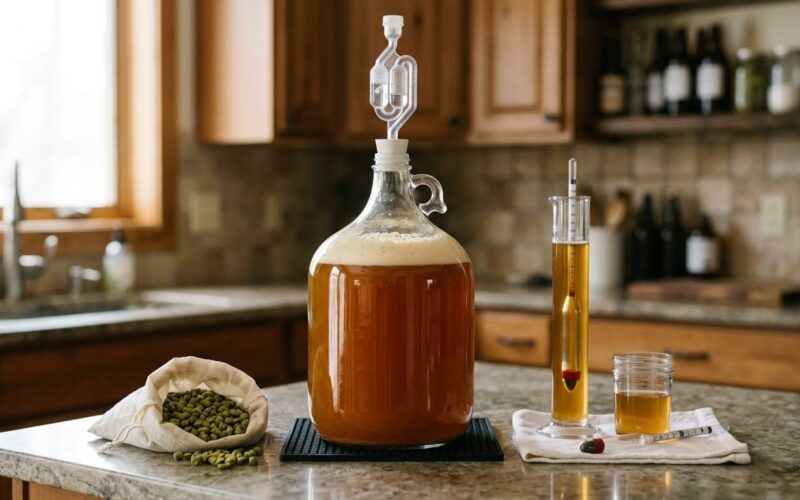
The part that trips people up is timing. Nothing bad happens at the tun during the mistake itself, and everything shows up days later as a high final gravity. If you know what the failure looks like in the fermenter, you stop staring at a mash that was already fine. Understanding what the wort is at that stage helps, so it is worth being comfortable with what wort is in brewing before the temperature goes sideways.
Table of Contents
- What You Need
- Step-by-Step: What to Do If Mash Temperature Is Too High
- 1. Confirm how high the mash temperature actually is
- 2. Stop adding heat and limit further temperature rise
- 3. Lower the mash temperature with cold water or ice
- 4. Let the mash stabilize before deciding whether to continue
- 5. Adjust the rest time or call the batch salvageable
- Common Mistakes
- Frequently Asked Questions
- Can I add ice directly to the mash if the temperature is too high?
- How high is too high before I should abandon the mash?
- Will one high mash-temperature reading ruin the entire batch?
- What should I do if the mash is too hot at the end of the rest?
- Should I restart after an overheated mash, or can I brew it anyway?
- Conclusion
What You Need
Grab these before you need them, because the ten minutes you spend hunting for a thermometer are ten minutes the mash keeps climbing.
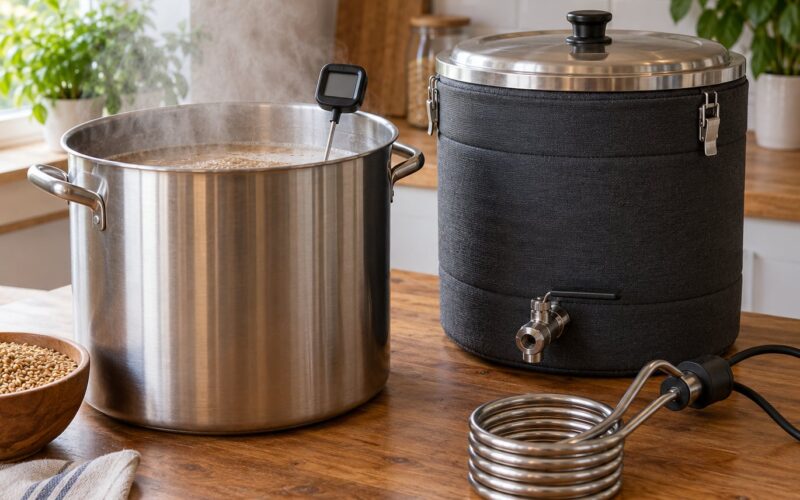
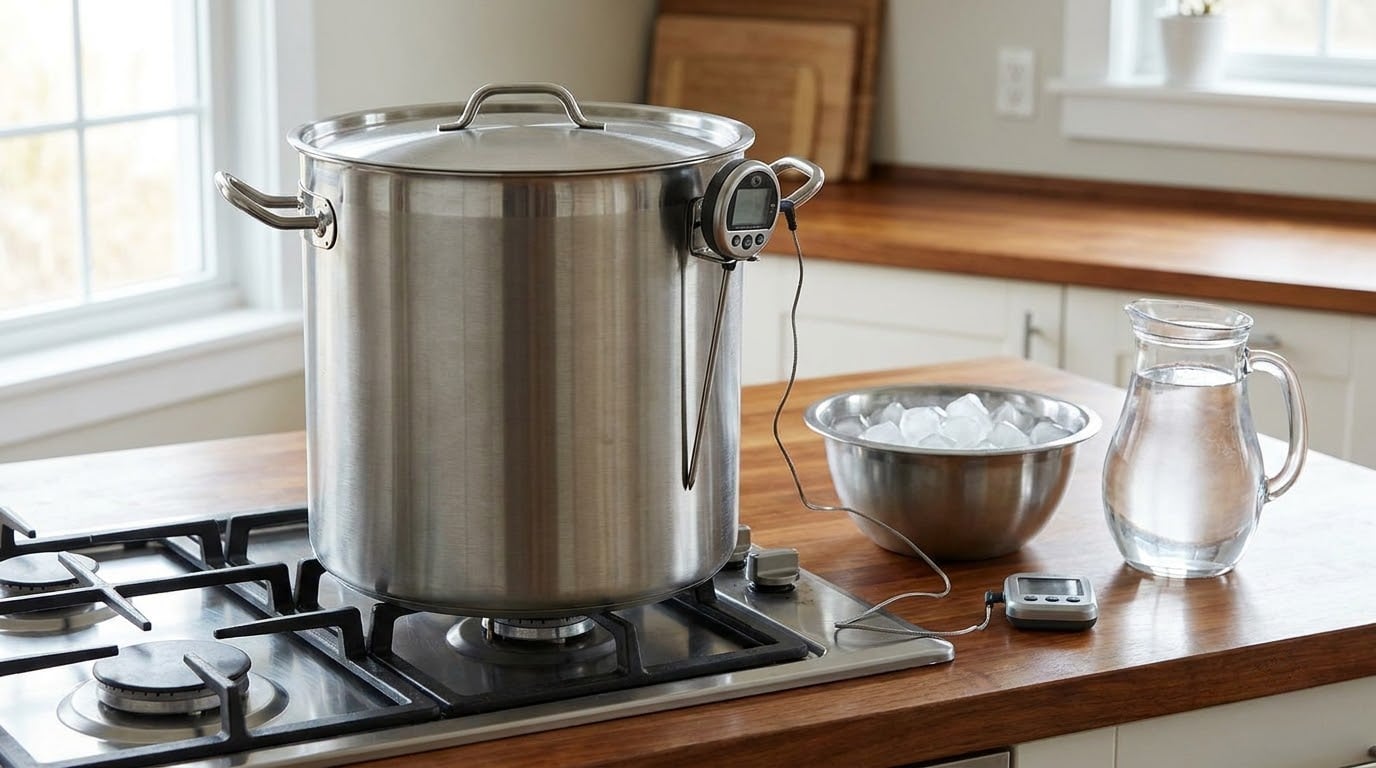
- A thermometer you trust. A digital probe in the wort, not clipped to the tun wall, and one you have tested. Boiling water and ice water are enough for a check.
- Cold water you can measure. A gallon jug of cold dechlorinated or brewing water sitting in the fridge or a cooler.
- Ice. Loose cubes in a bag, or sealed ice packs you can set against the vessel. Sealed matters more than people expect.
- A lid and something to insulate with. A flat lid, a towel, a blanket, or foil-backed bubble wrap.
- The target temperature for your grain bill. Barley-based mashes usually want 150-155F (66-68C), with lower for crisp ales and higher for heavy styles.
Everything above assumes all-grain or BIAB brewing, where you control the mash directly. Extract brewers rarely run into this because the grain never gets hot enough to matter. Partial-mash sits in between, since the added dry extract can raise the temperature of the liquid, so the same cooling steps apply to the wort side of the pot.
Step-by-Step: What to Do If Mash Temperature Is Too High
Kill the heat source, add measured cold water or sealed ice, stir gently, and re-measure from a representative spot in the mash. Then hold the new temperature for the rest of the schedule and adjust your sparge volume to account for the water you added.
1. Confirm how high the mash temperature actually is
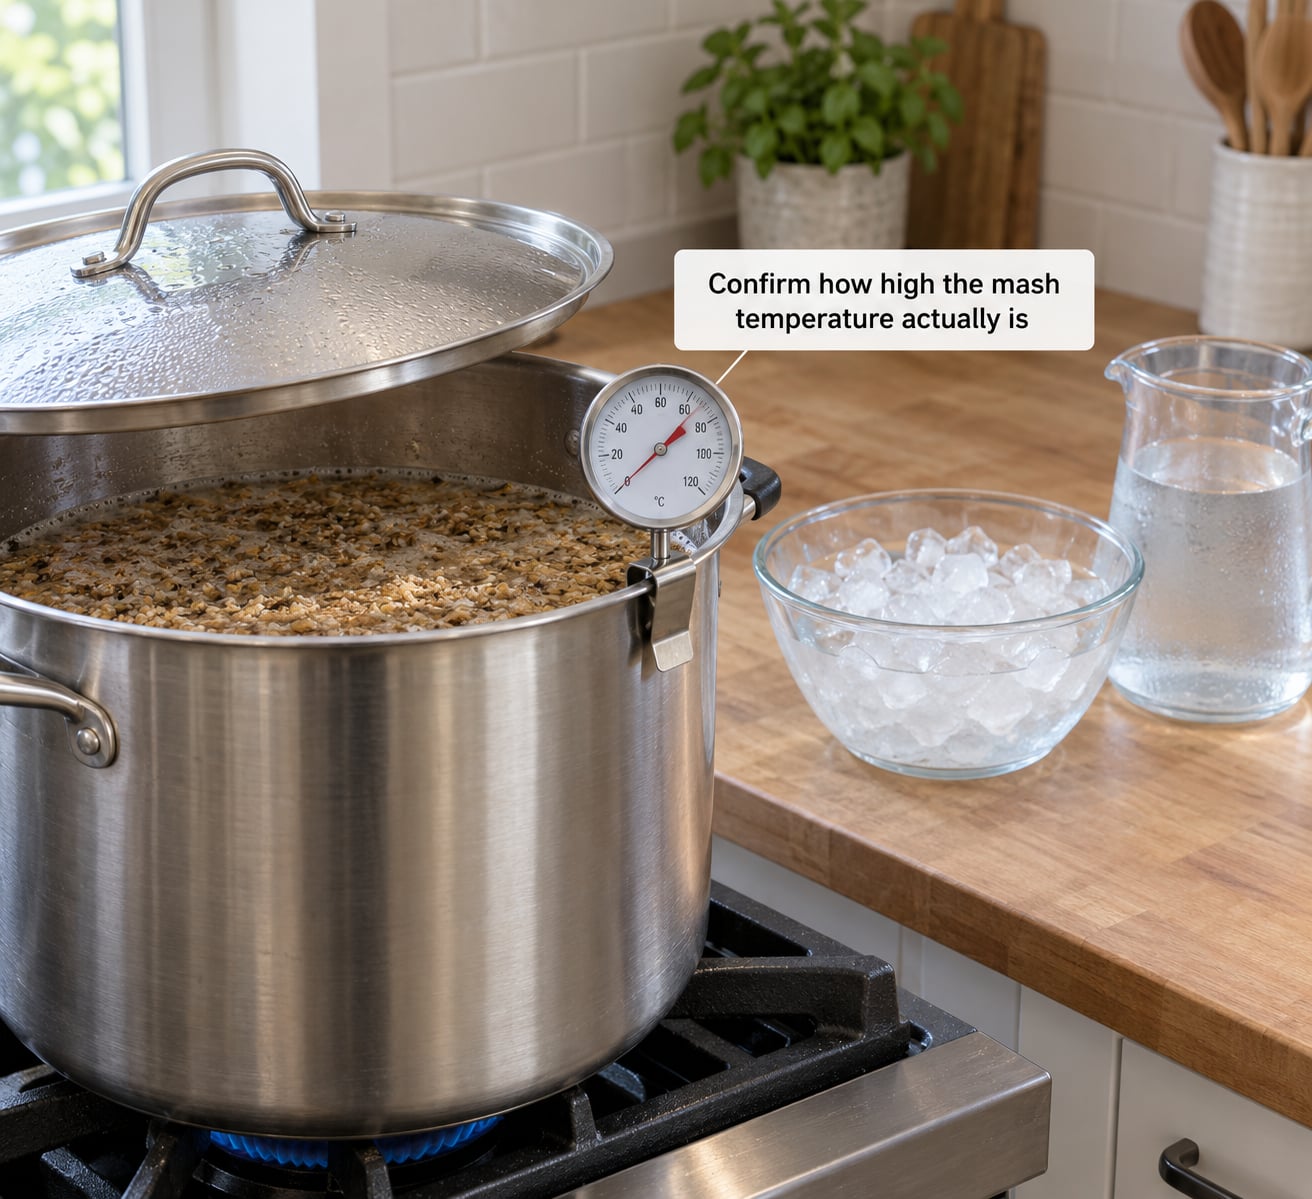
Start with the number you trust. A probe sitting against a hot kettle wall reads high, a probe buried in dry grain at the top of the tun reads low, and a probe near the element can read several degrees above the actual mash. Push it into the middle of the liquid where you would stir, take a reading, and move it to a second location before you panic.
If the number still seems wrong, test the thermometer in a glass of ice water. A good probe reads 32F (0C), give or take a degree. That 30-second check has caught more false alarms than any other habit in homebrewing.
Then compare the reading against what your grain needs. This is the working range for most grain bills:
- 150-155F (66-68C). The working range. Alpha and beta amylase are both active and the split between fermentable sugar and dextrin is balanced. Nothing to do, this is where you want to be.
- 155-160F (68-71C). More unfermentable dextrins, a heavier body, slightly higher final gravity. Perfectly normal for a rich style. Note it and finish the rest, only acting if the reading is still climbing.
- 160-165F (71-74C). Conversion is slowing down. The beer will be sweet, thick, and less attenuated than the recipe assumed. Cool it toward target and extend the saccharification rest.
- 168-172F (76-78C). Mash-out range. Enzymes denature over roughly 10 minutes at these temperatures. If this was deliberate, do nothing. If it was an accident, cool it now.
- 172-180F (78-82C). Enzymes are largely gone and starch conversion stops. Husk tannins and astringency become a genuine risk, and scorching is possible. Salvage the wort if you can and expect a rough beer.
- 180F (82C) and above. Starch is setting, the grain is cooking, and the surface can scorch onto the tun. No later chilling reverses this. Chill as fast as you safely can, then decide whether to brew the wort at all.
2. Stop adding heat and limit further temperature rise
Whatever is heating, stop it. Shut off the propane burner, kill the electric element, unplug the heater controller, and put a lid on the pot. Once the heat source is gone and the vessel is closed, the temperature can still drift upward for a few minutes from residual heat in the metal, so do not add heat while you troubleshoot, even to “get back to a good number fast.”
Wrap the vessel in a towel or blanket after you close it. Insulating during the cooldown does double duty: it slows the correction you are about to make, and it stops the environment from adding any of its own heat back in. Most runaway scenarios come down to three causes, and all three are worth checking before the next brew.
- An unattended propane burner under a kettle set on a short stand, where the flame licks the sides instead of the bottom.
- An electric element running with water level below the element, or a heater with a stuck controller that keeps calling for heat after you have switched it off.
- A BIAB or kettle mash heated directly with the burner aimed at the bag, which can scorch the grain long before the temperature gets hot.
3. Lower the mash temperature with cold water or ice
Go in this order, from least disruptive to most. Cold water first, because it does not dilute the profile of the mash any more than the ice does and it is far easier to measure. Ice is roughly three times more effective per pound, which matters when you are working fast.
The arithmetic is worth doing once so you can do it from memory afterward. A 5-gallon mash at 170F (77C) that you want at 155F (68C) needs to shed about 15F (8C). That takes roughly half a gallon of 40F (4C) water, or about 400 grams of ice, which is a few generous cups of cubes. Add it in two or three stages rather than all at once, stirring between additions, and you get a much flatter result than dumping it all in and hoping.
A few practical notes. Closed cubes or sealed ice packs go in directly; loose ice is fine too, but ice made from untreated tap water can carry a chlorine taste into a finished beer, so use ice you would drink. Frozen water bottles laid against the outside of a recirculation loop are a good option when you cannot stir the mash, and circulating with the lid off is an effective emergency move for pulling heat out of a runaway electric system. If you stir, stir slowly and from the bottom, since a violent stir grinds husks into the wort and gives you exactly the grainy character you were trying to avoid.
And do not forget what the water costs you. Every quart of cold water you add drops the gravity of the finished wort by roughly that same percentage, so 0.5 gallon in a 5-gallon mash at 1.060 costs you about six gravity points. Enter the new volume in your brewing software, then take the identical amount out of your sparge water so the mash stays the same thickness. That single step is what keeps a rescued batch on target.
4. Let the mash stabilize before deciding whether to continue
Do not judge the temperature right after adding water. Cold water sinks and the mash has layers: the cool spot near the surface where you poured, the hot spot near the heater that is still shedding heat, and the middle where the actual rest happens. Stir the whole vessel thoroughly if your system allows it, or run the recirculation pump for a few minutes with the lid closed. Then read the probe from the middle of the bed.
Check two spots, the warmest and the coolest, until the difference between them is small and the number stops drifting. That is what stable means for the rest of your schedule. If you use brewing software, update both the temperature and the batch volume now, while the details are fresh, because downstream gravity and sparge calculations all read from those two fields.
5. Adjust the rest time or call the batch salvageable
Once the mash is back on target, decide how much time the grain needs at that temperature. The common wisdom that everything converts in 20 or 30 minutes is misleading, because conversion always produces a mix of fully fermentable sugars, partially fermentable sugars, and unfermentable dextrins. Mash temperature, mash length, grain bill, and yeast strain together set the final fermentability, and you only get to adjust one of them mid-brew.
So a sensible move is to extend the saccharification rest rather than to chase a perfect number. If the mash ran 10 degrees over for 20 minutes, adding those 20 minutes back at the recovered temperature gives the enzymes a fair second pass. The dextrins already created will not convert retroactively, so you are partly compensating and partly accepting.
A real report from a Homebrew Talk thread is worth sitting with, because it shows the whole timeline of the damage. A brewer mashed a Roggenbier in at the right temperature and let it drift to 170F for the final 20 minutes of a 60-minute rest. Original gravity came in at 1.060 against a 1.055 recipe, fermentation stalled, and the final gravity landed at 1.023, about ten points over target. The beer was described as syrupy and viscous, and drinkable, just sweeter than the previous batch. Nobody dumped it.
On the other end of the scale, a Reddit r/Homebrewing poster had an electric mash system short internally and drive the mash to 190F (88C) with the heater switched off. They recirculated with the lid open, laid frozen bottles on the hoses, brought it back to 149-152F, and finished the batch. Original gravity came in at 1.066 against a 1.061 recipe. The thread’s most common advice was to relax and drink the beer anyway.
That leaves the tannin question, which gets repeated as settled fact in a lot of vendor blog posts and is not settled. The claim that mashing above 165F pulls astringent tannins from the husks is plausible but incomplete, and experienced brewers on the Northern Brewer forum push back on it. Mash pH is the bigger driver of extraction, and if you mash in at 170-175F with a preheated tun and preheated grain, the temperature crashes the moment the water hits and you get no astringency at all. Some brewers mash in that hot on purpose. Treat astringency as a risk above 170F sustained, not as a certainty.
The one genuinely unrecoverable case is a mash that boiled or scorched. Set starch, cooked grain flavors, and a burnt film on the tun wall do not come out in the fermenter. Chill it quickly to stop the damage spreading, then decide honestly whether the wort is worth the time.
Common Mistakes
Most ruined-looking mashes come down to a short list of avoidable errors, each with a simple fix.
- Trusting a thermometer you have never checked. Verify it in ice water at the start of every brew day. A probe off by 8F turns a perfect mash into a panic.
- Adding heat while you troubleshoot. If you are reading a high number, every extra degree makes the correction harder. Cut the heat before you argue with the reading.
- Cooling too aggressively. Dumping a gallon of ice water into a hot mash drops the temperature but shocks the grain bed and dulls the aroma. Stage the addition and stir.
- Pouring unprotected meltwater in. Loose ice and open jugs let meltwater dilute the mash and carry chlorine and oxygen in with it. Use sealed ice and closed water.
- Ignoring the dilution. Cold water you add must come out of the sparge water. Skipping this is how a rescued batch becomes a thin one.
- Assuming any high reading means the batch is dead. A ten-degree overshoot for a short stretch is a sweeter beer. Reserve the panic for a mash that actually boiled.
Prevention for the next batch is mostly preparation rather than technique. Preheat the mash tun with a quart of hot water and let it sit with the lid on, which is the single biggest improvement most brewers report. Insulate the outside, and if you run BIAB, wrap the kettle in towels or a blanket. Keep ice in the freezer year round, because dropping a mash with ice is far easier than raising it with boiling water. Never leave a burner unattended, and know what your heater does on a power failure, since a stuck element will run with the switch off.
If you mash in with strike water, the temperature target follows a simple formula: TW = (.2/R)(T2 – T1) + T2, where R is quarts of water per pound of grain, T1 is the temperature of the grain, and T2 is your target mash temperature. Running the numbers beats guessing, and guessing is what produces the overshoots you are trying to fix.
Frequently Asked Questions
Can I add ice directly to the mash if the temperature is too high?
Yes, and it is the fastest correction available. Sealed ice packs or cubes made from water you would drink are both fine. Ice takes about three times as much effect per pound as cold water, so it is worth reaching for when the mash is well above target. Add it in stages, stir gently between additions, and re-measure from the middle of the bed rather than the surface.
How high is too high before I should abandon the mash?
A short excursion into the mid 160s costs you sweetness and body but not the batch. Around 172-180F for a sustained period, enzymes largely stop working and astringency becomes a real risk. At 180F and above, especially if grain has scorched against the vessel, the mash is effectively done converting and the damage will not reverse. Chill it fast, then judge the beer later.
Will one high mash-temperature reading ruin the entire batch?
Rarely. A single high reading is often a placement problem, so move the probe into the middle of the liquid and check a second spot before you act. Even a genuine overshoot usually means a sweeter, fuller beer rather than a wasted brew. The bigger risk is what you do next, so add cold water gradually, stir, and keep the sparge volume balanced.
What should I do if the mash is too hot at the end of the rest?
If the rest is finished, the important move is to prevent the wort from sitting hot. Begin the lautering and sparge promptly, and cool the collected wort as quickly as your setup allows. Do not start fermentation hot, because a warm start compounds the sweetness the high mash already created. Knowing what to do if mash temperature is too high matters most mid-rest, but a fast post-rest chill still protects the beer.
Should I restart after an overheated mash, or can I brew it anyway?
Brew it. The common experience on brewing forums is that an overheated mash still produces a drinkable beer that finishes high and sweet, and the reported cases with real gravity readings back that up. If the beer comes out cloying, give the yeast a cooler, slower fermentation and consider an extended rest before packaging. Bottle carbonation also helps, since the carbonation balances residual sweetness on the palate.
Conclusion
Verify the reading, kill the heat source, and start cooling with measured cold water or sealed ice while you check the target range for your grain bill. Update the batch volume so the added water comes back out at sparge, extend the rest to give the enzymes a fair pass, and let the mash stabilize before you decide anything.
Prompt correction saves a mildly overshot mash every time, and a mash that ran hot for part of a rest will usually give you a sweeter, fuller beer rather than a bad one. Nothing rescues a scorched or boiled batch, which is the one failure mode worth taking seriously. If you want the background on what happens downstream, read up on what diacetyl is in beer and how yeast shapes flavor and fermentation before you pitch.