If your mash dropped below target, you have three good ways to raise mash temperature when it drops: infuse it with hot water, pull a decoction and boil it, or apply direct heat. The right one depends on your vessel and how far it fell. On an all-grain system that reads 10 degrees low, boiling water infusion is the fastest fix a home brewer can pull off mid-mash.
A temperature drop is extremely common, especially in a cooler mash tun, where losing 10 to 15 degrees over a 60-minute mash is normal for an unpreheated vessel. It is also usually not a disaster. The enzymes in your mash denature at high temperature, not low, so a cool mash simply converts starch more slowly and leaves you with a slightly more fermentable, thinner beer.
This guide walks through how to confirm the drop is real, cut the heat loss first, then add heat in a controlled way, and finally hold the target for the rest of the conversion. You will find the math for infusion volumes worked out with real numbers, plus the safety limits on heat sticks that most guides bury.
Table of Contents
- What You Need
- Step-by-Step
- Step 1: Confirm the Temperature Drop
- Step 2: Reduce Heat Loss
- Step 3: Raise Mash Temperature Gradually With Heat
- Hot water infusion: fastest and simplest
- Decoction mash: raises temperature without dilution
- Direct heat: fastest of all on an electric system
- Step 4: Hold and Monitor the Target Temperature
- Common Mistakes
- Tips for Preventing Future Temperature Drops
- Frequently Asked Questions
- Can you add boiling water to a mash that is too cold?
- How much hot water do I need to raise my mash temperature?
- Why does my mash temperature keep dropping during the mash?
- Is a heat stick safe to use in a plastic cooler mash tun?
- How long can a mash sit at the wrong temperature before the batch is ruined?
- How much temperature drop is normal in a cooler mash tun?
- Conclusion: How to Raise Mash Temperature When It Drops Next Time
What You Need
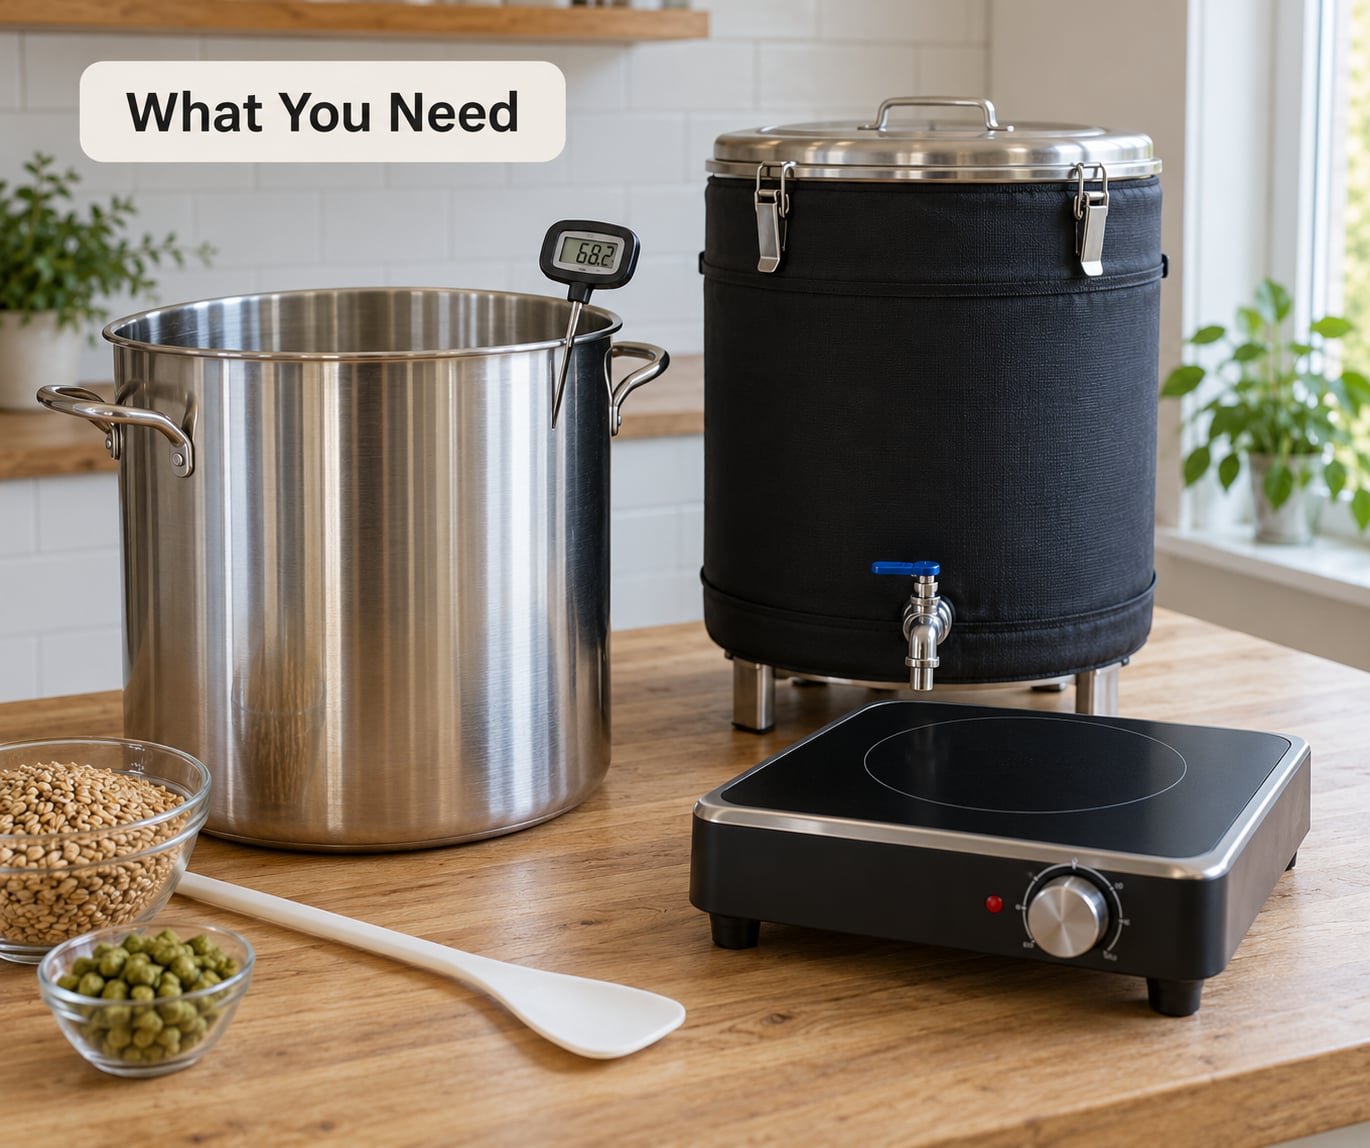
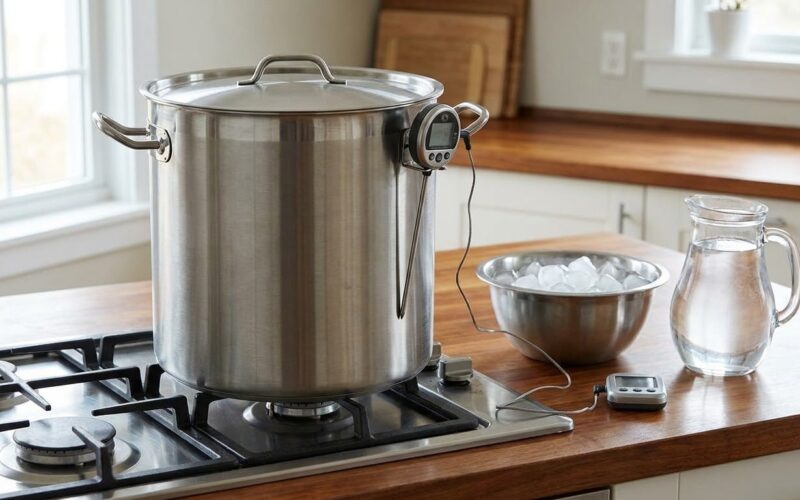
Gather this before you open the tun. Most home brewers already own everything except a backup heat source, and that is exactly what you cannot buy in the middle of a mash.
- A thermometer you trust. A calibrated digital probe with a cable long enough to reach the middle of the mash, not just clip to the rim.
- Your heat source. Boiling water for infusion, a kettle and stove for a decoction, or a controlled heater for direct heat.
- An insulated vessel. Your mash tun, plus a lid and any blanket, foam, or bubble wrap you can wrap around it.
- A brewing calculator. Any calculator that does infusion steps will turn the math in Step 3 into a one-line answer.
- Hot water you have not planned into the recipe. Boiling water is the simplest rescue, but it dilutes, so keep a kettle of spare hot water ahead of the sparge.
- A towel and a spare vessel. Moving a hot, thick mash slops, and the floor of a cooler is not where you want to find it.
- A second thermometer if you have one. Cross-checking two probes takes 30 seconds and settles arguments about whether the mash is falling.
Step-by-Step
Step 1: Confirm the Temperature Drop
Before you add heat, make sure the mash has actually dropped and that your probe is telling the truth. Check the reading in two spots: one near the edge of the tun and one in the middle, midway between the grain bed and the surface.
Temperature stratification is real in a mash. Liquid near the tun wall and near the lid runs cooler than the middle, and a probe sitting against the side will report a number several degrees below the average. A probe buried in thick grain near the bottom can read high instead, because the space between grains traps heat.
Suspect the probe itself if the drop is suspiciously fast, larger than 15 degrees in an hour, or the same on two probes that have never agreed. The ice water test takes two minutes: fill a cup with ice, add water to the top, stir, and press the probe into the slush. It should read 32°F. Anything more than a degree or two off and the probe is the reason, not the mash.
Then watch the reading for five minutes without doing anything else. A mash that has finished losing heat sits still or creeps down a fraction of a degree. A mash that is still sliding several degrees an hour has a heat source that needs to stay on, not a one-time correction.
Step 2: Reduce Heat Loss
Stop the leak before you plug it. Every degree you keep in the tun is a degree you do not have to add back, and adding back is the step that dilutes your beer and changes your numbers.
- Put the lid on. An uncovered mash loses heat through the surface faster than through the walls, and it loses moisture while it does it.
- Wrap the vessel. A cheap blanket or a layer of foil-backed bubble wrap around the tun body costs little and makes a visible difference over an hour.
- Kill the draft. A garage door open during a winter mash, a fan, or air conditioning can strip heat from an open tun fast enough to cancel a heater.
- Shrink the exposed area. Cover the sparge water in a separate kettle. Warming a bucket of water to 168°F and leaving it open in a cold room costs more energy than the mash itself.
- Insulate the lid properly. If you brew on a cooler, this is the single highest-impact fix for the money. Styrofoam, expanding foam, or a tightly fitted bubble wrap lid are all reported by home brewers to cut a 15-degree drop down to one or two degrees.
Step 3: Raise Mash Temperature Gradually With Heat
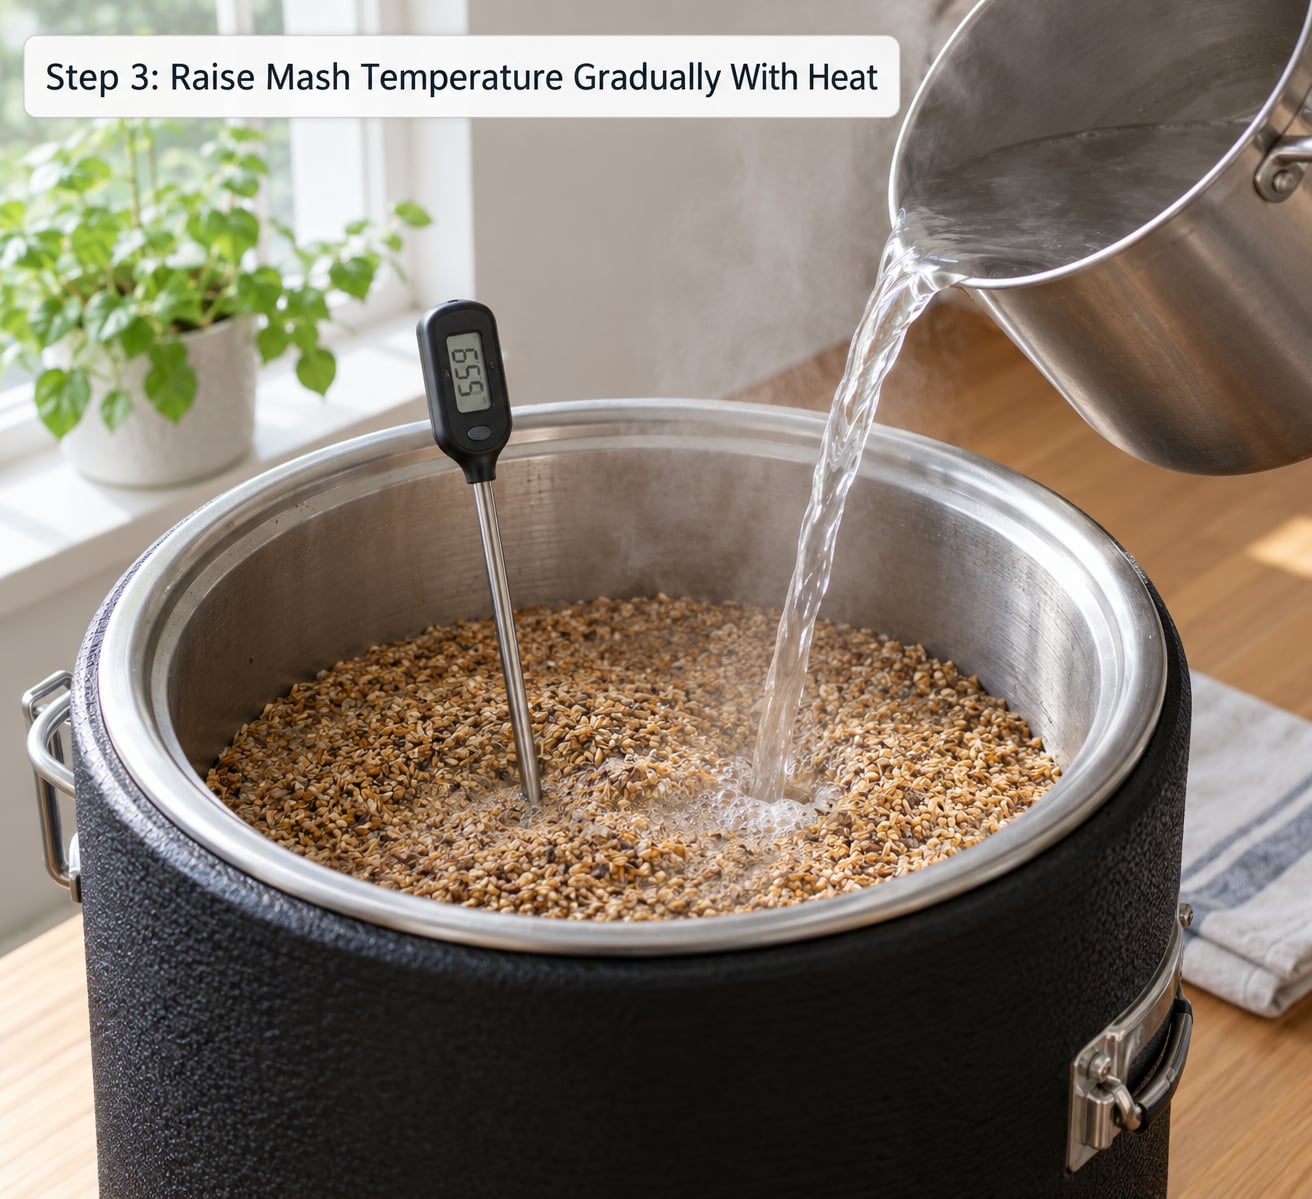
Now add the heat. Pick the method that matches your equipment, and work out the numbers before you start pouring anything.
Hot water infusion: fastest and simplest
This is the method most brewers reach for first. You add hot water to the mash, the water gives up heat to the grain bed, and the whole thing settles at a new temperature between the two starting points.
The math is short. Divide the temperature gap you need to close by the gap between your hot water and your target temperature, then multiply that by your current mash volume:
Water to add = (target temperature − current temperature) × mash volume ÷ (infusion temperature − target temperature)
Here is a worked example. You mashed 10 pounds of grain at a 1.5 quart per pound ratio, so you are holding about 3.5 gallons. Your target was 152°F, and the mash has slid to 140°F. You plan on adding water at a full boil, 212°F.
- Temperature gap to close: 152 − 140 = 12 degrees
- Mash volume: 3.5 gallons
- Available drop in the added water: 212 − 152 = 60 degrees
- Water needed: 12 × 3.5 ÷ 60 = 0.7 gallon, about 2.8 quarts
That takes your ratio from 1.5 to about 1.4 quarts per pound, which is still comfortably mashable. Add it while stirring the mash with a paddle or spoon, in a steady stream, and keep stirring for a full minute afterward so no pocket of grain sits in 212-degree water. Pour boiling water onto a thick, cool mash and the layer it lands on can scorch while the rest of the tun is still cold.
If the drop is larger, scale the math rather than guessing. On that same 3.5 gallon mash, a 20-degree drop needs 1.2 gallons of boiling water, and the ratio goes to about 1.6 quarts per pound, which is getting stiff. That is the point where decoction usually makes more sense.
Decoction mash: raises temperature without dilution
A decoction removes part of the mash, heats it, and returns it. Because you put back the same liquid you took out, the water to grain ratio never changes, which is why experienced brewers reach for it when a large correction is needed or when a step mash has gone off schedule.
The procedure:
- Open the drain and pull roughly a quarter to a third of the mash into a pot, taking the thickest, darkest wort from the bottom rather than the clearer liquid on top.
- Heat it on the stove, stirring so it does not scorch on the bottom, and bring it to a near boil.
- Hold it there for 15 to 20 minutes while the rest of the mash sits with the lid on.
- Pour or ladle it back in while stirring the tun, then wait for the reading to settle.
Two cautions. Pulling hot wort back onto cold grain drops the temperature for a moment before the total volume settles, so read the probe only after it stops moving. And if your tun is full to the brim, removing a third of the contents gives you no room to pour it back in. Know your tun’s capacity before you start.
Decoction takes 25 to 40 minutes of stove time, which is why it is a planned technique rather than a panic fix. Used mid-mash as a rescue it works fine, just slower than infusion.
Direct heat: fastest of all on an electric system
Direct heat means applying heat to the mash itself, either with a heating element in the tun or under a kettle on a controlled burner. On a brew-in-a-biab system this is the most controllable method you have, because you can raise the temperature a degree at a time and hold it there for the rest of the mash.
If your mash is in a kettle already, apply low heat to the base and stir constantly. Aim for small adjustments rather than a jump to target, since a kettle bottom scorches grain long before the middle of the mash reads warm.
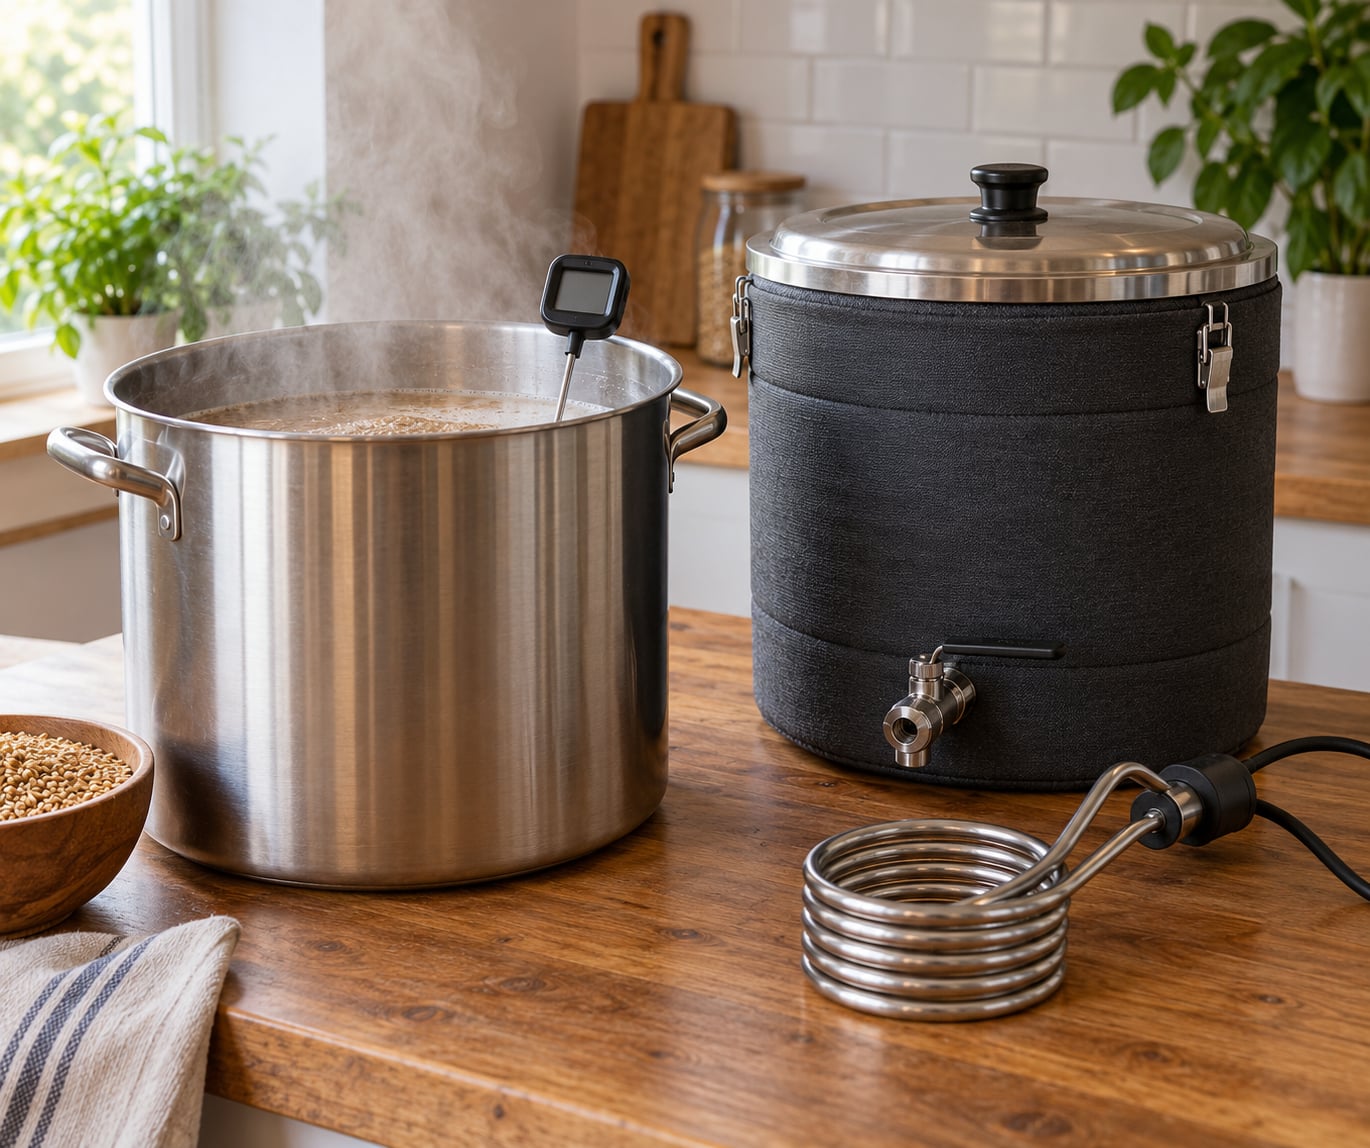
A heat stick or immersion heater is the other option, and it comes with real warnings. Never use a heater in a plastic cooler mash tun unless the manufacturer states the unit is safe for that material and temperature range; plastic coolers soften, warp, and can fail with a hot element pressed against them. Keep the element fully submerged at all times, since a dry element destroys itself in under a minute. Use a dimmer or a controller so you can bring the heat up gently rather than slamming a full wattage element into a 140-degree mash. And treat any heat stick as a one brewer operation: it needs constant movement, it burns off malt and hop residue, and it is the least forgiving method for a beginner.
| Method | Equipment needed | Time | Dilution risk | Best for |
|---|---|---|---|---|
| Hot water infusion | Kettle, boiling water | 5 to 10 minutes | Adds water, thins the mash | Fast corrections of 5 to 15 degrees |
| Decoction | Pot and stove | 25 to 40 minutes | None, volume unchanged | Large corrections, step mashes |
| Direct heat | Kettle with burner, or heat stick | 10 to 20 minutes | None | Electric and BIAB systems, holding a set point |
Where fermentability is your real goal, fixing the mash temperature is only half the job. Later additions like what dry hopping is and when to do it change the finished beer just as much as a 6-degree temperature swing.
Step 4: Hold and Monitor the Target Temperature
Once the reading settles near target, put the lid back on and stop adjusting. Chasing a temperature that is drifting a fraction of a degree means you overshoot, dilute, and cook a bigger correction than the one you started with.
Check the probe every ten minutes rather than every two. Most conversions run 60 to 90 minutes, and a mash that reaches target at minute 20 and holds there has done the work that a mash sitting at target for the first 40 minutes would have done.
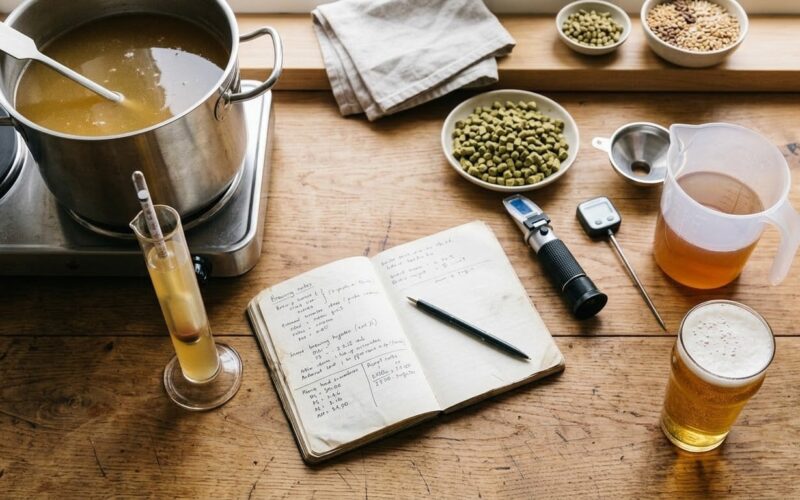
Write down the finishing temperature. You will want it later, because mash temperature and rest time together predict final gravity, and 148°F versus 155°F can be the difference between a 1.008 and a 1.014 on an otherwise identical recipe. It also tells you what to preheat to next time.
If you added boiling water, your recipe numbers are now stale in two ways. Your pre-boil volume is higher, so reduce the sparge water by the same volume you infused to keep your batch size where you planned. And your original gravity is lower, because you added water before lautering, so treat the first gravity reading after mash as the real one and plan for a slightly gentler finished beer. A brewing calculator with your actual equipment profile will back into a corrected recipe in a minute; guessing at it will not.
Common Mistakes
Trusting an uncalibrated probe. A probe off by 4 degrees makes a perfect mash look like a failure and sends you chasing a problem that does not exist. Do the ice water test once a season.
Adding heat too fast. Boiling water straight onto thick grain can create a scorched layer with a temperature well above anything the enzymes tolerate, which denatures them in the spot you doused. Stir continuously, pour in a stream, and give it a full minute before you read the probe.
Heating a kettle unevenly. Direct heat applied to the bottom of a kettle raises the temperature at the burner ring while the middle lags. Without constant stirring you get hot spots on the grain and a cool bulk, and your probe reading tells you nothing useful.
Reading a plateau as a failure. Once heat loss and heat input balance out, the mash sits still. That flat line is the target working, not a problem to solve.
Forgetting the numbers change. Every gallon of boiling water you add lowers your original gravity and needs to come out of your sparge water. Skip this and the only surprise you get is a thin beer and a batch that tastes different from the recipe.
Serving it without letting it finish. A mash temperature that ends a few degrees low is not a serving problem. Once it is packaged, give it a proper cold period before you judge anything; our guide to the best serving temperature for different beer styles has the numbers for the glass.
Tips for Preventing Future Temperature Drops
The best rescue happens the week before, not the minute the reading slips.
- Preheat the tun. Fill it with hot tap or kettle water, let it sit for 10 to 15 minutes, dump it, then mash in. Brewers report this alone taking a 15-degree drop down to one or two. Strike water can also be aimed 4 degrees hot to absorb for a vessel you never preheated.
- Start thick. Beginning at roughly 1 quart per pound leaves you room to add water later without the mash turning to paste.
- Insulate the lid first. The lid is the biggest heat leak on a cooler, and the cheapest surface to fix with foam, bubble wrap, or a fitted cutting board and gasket.
- Profile your equipment in your software. Enter the weight and material of your tun so the calculator predicts the real mash-in temperature instead of an optimistic one.
- Keep a second heat source ready. A kettle of hot water and an immersion heater that fits your vessel cost nothing to own and everything on the day they save the mash.
- Drop a big blanket over the whole setup. A mash does not care that you are also sparging, and a cold sparge kettle sitting next to an open tun is a good way to undo a careful correction.
Frequently Asked Questions
Can you add boiling water to a mash that is too cold?
Yes, and it is the fastest way to raise mash temperature when it drops. Boil the water, pour it in a steady stream while stirring, and keep stirring for a full minute so no pocket of grain sits in very hot water. Remember that every gallon you add thins your mash and lowers your original gravity, so take the same volume out of your sparge water later.
How much hot water do I need to raise my mash temperature?
Multiply the degrees you need to recover by your mash volume, then divide by the degrees your added water will drop before it reaches target. For a 3.5 gallon mash at 140 degrees heading to a 152 degree target, adding water at 212 degrees, the answer is 12 times 3.5 divided by 60, or 0.7 gallon. Add boiling water on a thick mash and you may scorch it, so stir hard.
Why does my mash temperature keep dropping during the mash?
Because the tun, the exposed surface, and the room are all pulling heat out faster than the grain bed can hold it. An unpreheated cooler mash tun can easily lose 10 to 15 degrees in an hour. Leaving the lid off, a cold sparge kettle sitting beside the tun, and any draft in the room make it worse. Preheat the tun and insulate the lid, and most of the drop disappears.
Is a heat stick safe to use in a plastic cooler mash tun?
Only if the manufacturer rates it for that material and temperature. Many plastic coolers soften or warp with a hot element against the wall, and once the plastic gives way the heater element is exposed to water. Keep the element fully submerged at all times, use a controller to bring the heat up gradually, and treat any heat stick as a method that demands constant stirring.
How long can a mash sit at the wrong temperature before the batch is ruined?
A mash that runs cool is not ruined. The enzymes that convert starch denature at high temperature, not low, so a mash 6 or even 10 degrees below target still finishes converting, it just produces a more fermentable and thinner wort. Finish the full mash time rather than cutting it short, and expect a final gravity a little lower than the recipe predicts.
How much temperature drop is normal in a cooler mash tun?
Ten to 15 degrees over a 60-minute mash is common in an unpreheated cooler, which is why experienced brewers either preheat the tun or aim the strike water a few degrees hot to compensate. With a preheated and insulated tun the same mash usually drops one or two degrees. Measure the temperature at the end of the mash every batch so you learn what your own setup does.
Conclusion: How to Raise Mash Temperature When It Drops Next Time
Confirm the reading with a probe you have actually calibrated, because a mash that never dropped is the one mistake you cannot fix twice. Then cut the heat loss with the lid on and the tun wrapped, add controlled heat by whichever method your equipment supports, and hold the target without chasing it.
If you do that consistently, the drop gets smaller every batch. Preheat the tun, insulate the lid, start a little thick, and write down the finishing temperature. The mash will still have the occasional bad night, but it will be a five-minute correction instead of a rewrite of the recipe.