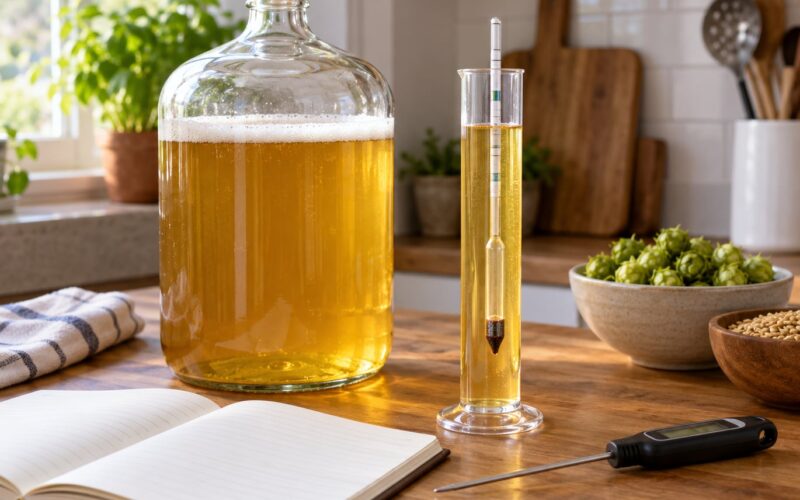
Smell it, look at it, and take a hydrometer reading — those three checks settle most cases. A batch that smells clean, has no pellicle or milky skin on top, and holds a stable gravity at or near its expected final gravity is fine, no matter what the airlock is doing.
Before you panic: most brewers who think they have an infected batch do not. Young beer is strange by design. It is full of unfinished compounds like green apple and raw bread dough, and a healthy ferment can look alarming for the first week.
Real contamination needs a hospitable environment. If you pitched enough healthy Saccharomyces cerevisiae at the right temperature, it usually crowds out everything else, and stray organisms never get established. Infection shows up when that balance breaks — an underpitch, a warm shelf, a dropped airlock, a bung that never went back in.
Here is the order I would work in, and roughly ten minutes of work for a five gallon batch.
Table of Contents
- What You Need
- Step-by-Step
- 1. Check the Fermentation Activity
- 2. Inspect the Beer’s Appearance
- 3. Smell the Sample Safely
- 4. Check the Package for Leaks or Pressure
- 5. Look for Changes After Packaging
- 6. Compare Gravity Readings Over Time
- 7. Assess Flavor and Sampling Risk
- Common Mistakes
- Frequently Asked Questions
- Can I tell if my homebrew is infected from the airlock alone?
- Is a hazy homebrew always contaminated?
- What does a sour or nail-polish smell mean in beer?
- Should I taste homebrew that may be infected?
- How do I tell whether the problem is contamination or overcarbonation?
- How can I prevent infection in my next batch?
What You Need
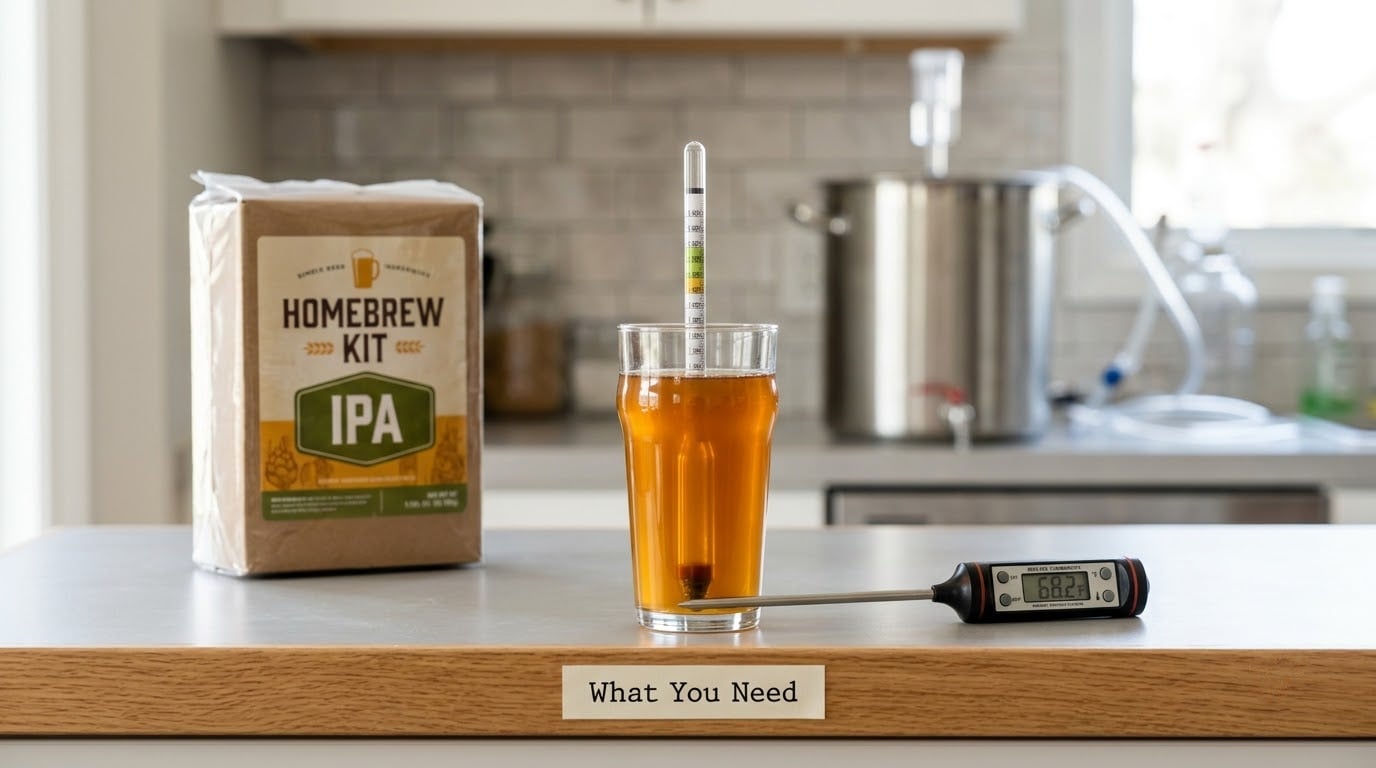
Gather everything before you open anything. Rushing is how a diagnostic sample becomes a second contamination event.
- A sanitized glass or sample thief. Not a spoon you have been stirring mash with. If you dip anything unsanitized into the fermenter, you have just seeded whatever was living in the wort.
- A clean hydrometer and a graduated cylinder. Rinse them in sanitizer, then let them dry. A wet hydrometer reads a fraction high and can send you chasing a ghost.
- A thermometer. Temperature explains more strange fermentation than almost anything else.
- A notebook. Write down OG, pitch date, current reading, temperature, and what you smelled. Three batches from now, you will not remember.
- A bright light or a window. Hold the vessel up to it. Pellicles hide at the edges and in the shadow of a dip tube.
- Optional: a pH strip or a cheap pH meter. A reading under about 4.2 changes how worried you should be.
Step-by-Step
1. Check the Fermentation Activity
Start with what the fermenter is telling you right now, before anything is opened or sampled.
A healthy ferment shows a thick white or tan foamy head that rises and falls with the fermenter, a rising tidemark on the wall, and steady airlock activity. Slowing activity in the last few days is normal and expected as the yeast runs out of fermentable sugar.
An airlock that sits still does not mean infection. It also does not mean the beer is finished. Airlocks are passive devices — they can stay quiet while fermentation moves along happily, and they can bubble for days after the yeast has actually stopped. Treat the airlock as a mood ring, not a measurement.
Check the temperature too. Anything above roughly 80°F with a stressed or warm aroma usually points to a pitching or temperature problem, not contamination. If your yeast was sluggish from the start, it is worth knowing whether that is the package or the packet — dry yeast versus liquid yeast for homebrew covers the differences that matter here.
2. Inspect the Beer’s Appearance
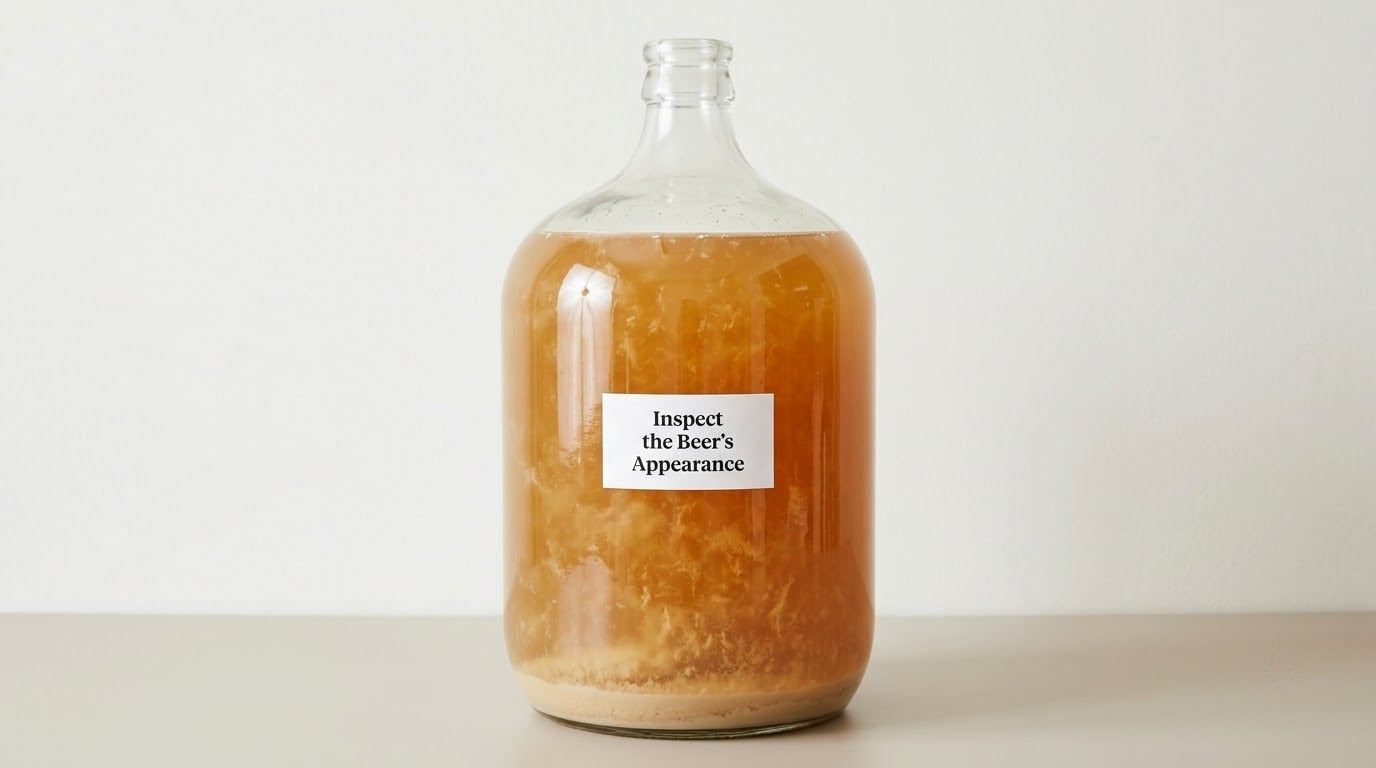
Hold the vessel up to the light and look at it from the side before you look from above.
| What you see | What it usually means | What to do |
|---|---|---|
| Foamy head receding over a few days | Krausen, a healthy sign | Nothing |
| Thick brown yeast raft sitting on the surface | Blown-off yeast, common on high-gravity batches | Leave it alone or skim it |
| Loose crumbly sediment on the bottom | Normal yeast drop | Rack it out before packaging |
| Thin filmy or rubbery wrinkled skin floating on the surface | Pellicle, usually Acetobacter and some wild yeasts | Treat the batch as contaminated |
| Milky, opaque liquid that never clarifies | Zymomonas or a bacterial bloom | Taste and smell carefully, then decide |
| Long strands or threads suspended in the beer | Bacterial growth, often Acetobacter | Do not package this |
| Hazy days after fermentation has clearly stopped | Bacteria, or yeast that never dropped | Let it settle two weeks before judging |
Two things people get wrong here. First, sediment is not contamination — it is the yeast you expected, and it clings stubbornly to the bottom of every fermenter. Second, most visible infection shows up at two to three weeks, which is a HomebrewTalk consensus that holds up well in practice. On day three you genuinely cannot tell yet.
A pellicle deserves its own definition. It is a thin, filmy, sometimes rubbery skin that floats on the surface of beer once fermentation has quieted down, and it usually forms somewhere around two to three weeks in. If you see one, treat the batch as contaminated even though the beer underneath might smell fine.
3. Smell the Sample Safely
Take a sample without opening the vessel, smell it first, and keep your face out of the plume. If there is pressure in there, do not crack the bung over your nose.
| Smell or taste | Likely source | What to do |
|---|---|---|
| Nail polish remover, acetone, or permanent marker | Acetaldehyde, a by-product healthy yeast reduces later | Wait, it usually clears with time |
| Rotten eggs or struck match, during peak fermentation | Dimethyl sulfide, or the yeast expressing itself | Wait; check your wort cooling |
| Butterscotch or butter | Diacetyl, a normal late-stage step | Wait it out or raise the temperature at packaging |
| Cider vinegar, sharp and volatile | Acetic acid from Acetobacter, or a deliberate sour | Do not package |
| Barnyard, horse blanket, sweaty socks, cheese | Brettanomyces, sometimes deliberate | Judge on your beer style |
| Sour cheese, dirty, damp basement | Lactobacillus, Pediococcus, or wild molds | Treat as contaminated |
| Doughy, viscous, almost nothing | Young beer, or an underpitch and poor aeration | Nothing yet |
| Cardboard, papery, thin, tannic | Oxidation | Not infection; pour it sooner next time |
Two smells get mislabeled more than any others. Sulfur and green apple are almost always normal by-products of an active fermentation, not contamination, and both fade as the yeast finishes its work. Rotten eggs in week one is a sign of a lively ferment and a fast wort cool-down.
The aromas that do mean trouble smell warm, funky and rank, or putrid, rather than simply sour. Genuinely infected batches are described that way on the forums again and again. If the smell is the only thing bothering you, work through the taste side before you dump anything — how to fix off flavors in homebrew separates the fixable from the not.
4. Check the Package for Leaks or Pressure
Do not open a suspect package to investigate it. Look instead.
Wet spots on a shelf, a puddle under a cap, a cap sitting slightly proud of the crown, corrosion around the seam, or a bottle that feels unusually heavy for its size all point to a seal failure or a secondary fermentation pushing from the inside.
Kegs tell their own story. Check the coupler and the o-rings for a hiss when you disconnect, and watch whether the beer foams for a long time after a pull. Same question for your siphoning gear — if a line is hard to clean or was left clamped warm, treat it as suspect too.
5. Look for Changes After Packaging
The most expensive problem in homebrewing shows up at three or four weeks after bottling.
Signs are caps that moved from upright to gapped, bottles that foam the moment you open them, a package that gushes and refuses to stop, and cloudiness in a beer that was clear before it went into the bottle. If you find one gushing bottle, open the rest and vent them deliberately rather than waiting to see what happens.
Do not assume the worst explanation, though. Deliberate overcarbonation looks almost exactly like infection. Adding sugar or too much priming solution at bottling produces a package with the same aggressive gush, and so does fermenting at a temperature that lets the yeast reawaken.
6. Compare Gravity Readings Over Time
One reading tells you very little. Take one, then take another in two or three days, and compare.
Expected final gravity depends on your original gravity and the yeast. A 1.040 OG ale commonly finishes around 1.008 to 1.010. A 1.050 OG finishes near 1.010 to 1.013, and a 1.060 OG near 1.012 to 1.016. Compare what you got against what your yeast strain should have done.
A stable reading across three days means the fermentation is done. Gravity that is still moving is not an infection signal at all; it means you should wait.
A final gravity that is much higher than expected is usually a brewing fault rather than contamination — an underpitch, weak aeration, or a wort that never cooled. A reading that falls well below the yeast’s expected floor, or that drops further during conditioning, is the more serious pattern and points to a wild culture.
7. Assess Flavor and Sampling Risk
Taste is the last check, not the first, and only when everything else points to a clean beer.
A mild sourness in a deliberately soured batch, or a light funk in a Brett beer, is the recipe working. Harshness, sharp acetic bite, or a papery astringency with no sweetness underneath is the beer telling you something else.
Never taste beer that shows visible mold or a pellicle, sits under obvious pressure, or looks stringy. When you are unsure about safety, the answer is disposal, and that is a completely reasonable outcome for a batch of ingredients.
Common Mistakes
Trusting the airlock. It is a passive piece of plastic and it is wrong as often as it is right. Use it to notice changes, never to decide when fermentation is finished or whether contamination exists.
Assuming every haze is mold. Unflocculated yeast keeps a healthy beer hazy for weeks. Wait two full weeks after the gravity has stabilized before you judge clarity.
Tasting before checking the package. If a bottle is gushing or leaking, work out what is happening with the package before putting anything near your mouth.
Comparing a single gravity reading. You need a trend. Take two readings three days apart before you conclude anything, and record the temperature with each one.
Cleaning in a way that spreads the problem. A soft brush that pushes sludge from a drain into an airlock does more harm than the infection did. Clean every part, then sanitize everything that touches the beer with a no-rinse product such as Star San or an iodophor, using the dilution on the label. A diluted bleach solution works for a fermenter, but it must be rinsed thoroughly and never mixed with anything acidic.
Two more faults get mistaken for infection often enough to name them. Oxidation gives you cardboard, papery, thin beer and never causes haze or a pellicle. No-rinse sanitiser used at too high a concentration can stall or kill your yeast outright, which also looks like infection from the airlock’s silence.
One more reassurance that has real evidence behind it. If the beer smells right, most experienced brewers say drink it — the yeast dominance argument is that very few organisms can thrive alongside a healthy Saccharomyces population, and most of them cannot hurt you anyway. The wider checklist for a bottle that has already left the fermenter lives in how to tell if a beer has gone bad.
Frequently Asked Questions
Can I tell if my homebrew is infected from the airlock alone?
No. An airlock is a passive device that can stay quiet while fermentation is happening and bubble for days after it has stopped. Use it to notice changes, not to decide anything. Signs of infection in homebrew show up in the smell, on the surface of the beer, and in repeated gravity readings.
Is a hazy homebrew always contaminated?
No. Healthy yeast often fails to flocculate, leaving a beer cloudy long after gravity has stabilized. Give unflocculated yeast two full weeks to drop before you judge it. Haze that appears days after fermentation has clearly ended, or that comes with a pellicle or stringy growth, is a different and more serious sign.
What does a sour or nail-polish smell mean in beer?
Nail polish remover or acetone usually means acetaldehyde, a normal by-product that healthy yeast reduces later in fermentation, so it fades with time. Sharp cider vinegar sourness points to acetic acid from Acetobacter or a deliberate mixed culture. Damp basement, dirty, or sour cheese smells suggest wild organisms you did not invite.
Should I taste homebrew that may be infected?
Not if it shows visible mold or a pellicle, is under obvious pressure, or looks stringy. Tasting is the last check and only for beer that has already passed the look, smell, and gravity checks. When safety is genuinely uncertain, disposing of the batch is a reasonable and common choice, especially after a first bad brew.
How do I tell whether the problem is contamination or overcarbonation?
Overcarbonation comes from the packaging, not the fermenter: too much priming sugar, warm storage, or an agitated yeast addition. Contamination shows itself in the vessel with a pellicle, strings, off smells, or a gravity that drops unexpectedly. If the beer looked and smelled fine before bottling and then gushes, overcarbonation is the far likelier culprit.
How can I prevent infection in my next batch?
Clean every part of your kit before sanitizing, then use a no-rinse sanitizer such as Star San or an iodophor at the label dilution and let it drain dry. Keep vessels sealed, pitch healthy yeast in good condition at the right temperature, cool your wort quickly, and store bottled beer cool while it conditions. Most contamination traces back to one of those five.
Start with the free checks. Look at the surface in good light, take a clean sample and smell it, then write down today’s gravity and temperature so you have a second reading to compare. If a pellicle, stringy growth, or a genuinely putrid smell shows up, stop there and decontaminate the kit before the next batch, because whatever got in will still be living on the fermenter walls and in your transfer tubing. If it simply smells young and clean, you are most likely brewing a beer that is not finished yet.