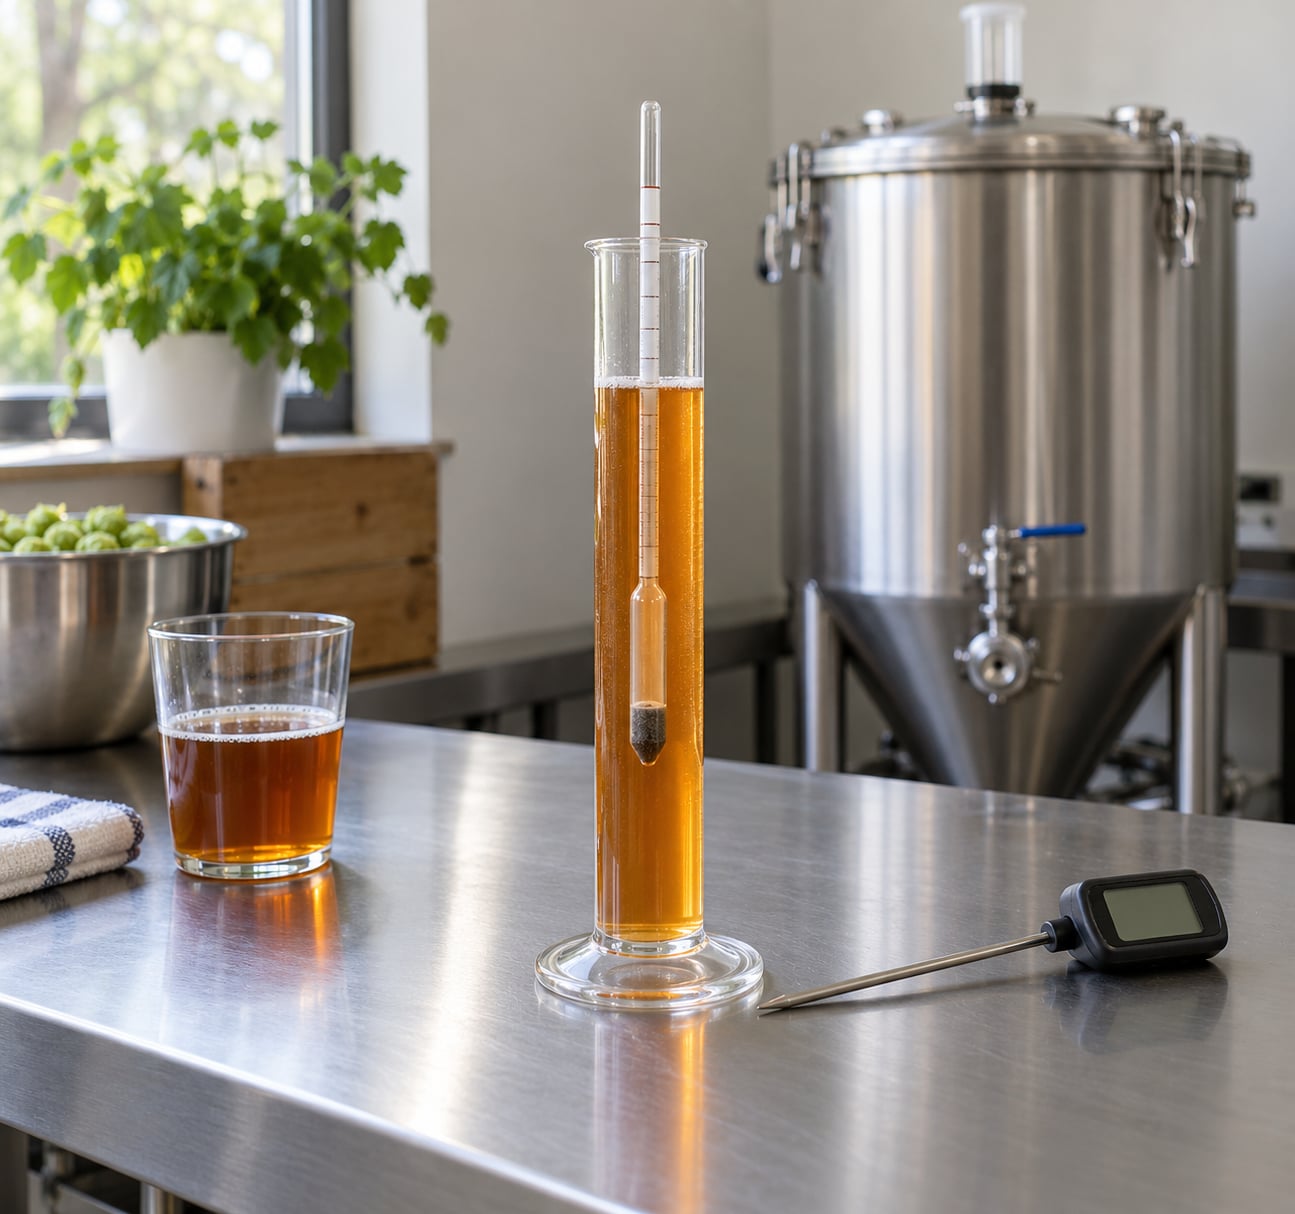
Yes, you can take a gravity reading without wasting beer. Draw 8 to 12 ounces into a clean, sanitized test vessel, float the hydrometer in it, then drink or discard the sample — never pour it back into the fermenter. On a five-gallon batch that is under two percent of your beer.
The part people get wrong is not the volume, it is the handling. Every time you open a fermenter you add oxygen and a contamination risk, so most batches need exactly two useful readings: one before yeast goes in, and one to confirm gravity has settled before you bottle or keg.
A hydrometer measures how dense a liquid is compared with water. Wort is dense because of dissolved sugar, and as yeast converts that sugar into alcohol and carbon dioxide the liquid thins out and the number falls. Original gravity is the reading before pitching, final gravity is the reading at the end, and the drop between them tells you the beer is done.
That drop is also how you get your ABV: multiply the difference between the two readings by 131.25. An OG of 1.055 finishing at 1.010 works out to 5.9 percent. I walked through the whole calculation in how to calculate ABV at home.
Gravity is the only reading that tells you the truth before packaging. A quiet airlock means nothing while yeast is still working through sugar, and clear beer can still have a few points left to fall. Bottle too early and the priming sugar you add turns into over-carbonation and exploding bottles.
Table of Contents
- What You Need
- Ways to Sample Without Losing Beer
- Step-by-Step: How to Take a Gravity Reading Without Wasting Beer
- Take the Sample From the Right Part of the Vessel So You Are Not Wasting Beer
- Measure Temperature Before Reading the Hydrometer
- Read and Confirm the Final Gravity
- Use a Refractometer When the Sample Is Small
- Common Mistakes
- Tips for Keeping Beer and Equipment Clean
- Frequently Asked Questions
- How much beer do I need for a gravity reading?
- When should I take the final gravity reading?
- Should I take a gravity sample from the top or the bottom?
- Do I need to correct the hydrometer reading for temperature?
- Can I use a refractometer after fermentation?
- Will taking a gravity reading make the beer spoil?
- Conclusion
What You Need
None of this is expensive gear, and most brewers already own most of it. What matters is that the sampling tools are sanitized and that you have somewhere to write the number down.
- A sanitized beer thief, or the big end of an autosiphon with the trub barrier pulled off
- A graduated cylinder or hydrometer test jar, roughly 250 to 400 milliliters
- A hydrometer calibrated at 59F or 68F, plus a refractometer if you own one
- A thermometer accurate to a degree or two
- A lidded sample bottle and a notebook or phone for recording readings
- Sanitizer, a clean towel, and a pair of nitrile gloves
Every item does one job. The thief gets beer out without draining the fermenter, the test jar holds enough liquid for the hydrometer to float free, and the thermometer tells you whether the number you are about to read is even valid.
Ways to Sample Without Losing Beer
Not every fermenter needs a thief. A bucket with clear wort can be read in place, and a glass carboy can be read with almost no liquid removed at all. Here is how the common methods stack up.

- Dip the hydrometer straight into a bucket. No beer used, low contamination risk, good accuracy as long as the surface is clear of hops and break material, and the easiest option for buckets with headroom to reach clear liquid.
- Use a sanitized sample thief. 4 to 8 ounces, low risk, the best accuracy available, and it works with almost every fermenter.
- Repurpose the big end of an autosiphon as a thief. Only 2 to 4 ounces, low risk, best available accuracy, and the reach you want in a glass carboy or a tight corner.
- Tie a hydrometer to dental floss and read it in place. No beer removed, the lowest risk of the lot, very good accuracy, and the way to handle a carboy with no room to fit your hand.
- Read with a refractometer. 2 to 3 drops, no contamination risk at all, excellent before fermentation and unreliable after, so it belongs on original gravity at mash-out or pre-boil.
- Leave a digital hydrometer sitting in the batch. No beer removed, no risk, very good accuracy though it can disagree with a floating hydrometer, and it is the tool for watching a whole fermentation run.
No method is both zero-waste and zero-risk. The floss and in-bucket tricks avoid pulling beer entirely, but they only work when the liquid around the hydrometer is clear.
Step-by-Step: How to Take a Gravity Reading Without Wasting Beer
This is the whole procedure. It takes about two minutes once your tools are clean, and the sample goes in a glass you can drink from afterwards.
Take the Sample From the Right Part of the Vessel So You Are Not Wasting Beer
Draw from above the sediment line, not from the bottom. Yeast and hop debris settle low in the fermenter, and a sample pulled through that layer reads low and can carry trub into your test jar.
If your fermenter has a sample port or a ball valve on the side, use it. Otherwise a sanitized thief works in a bucket, and in a glass carboy the community trick is to pull the trub barrier off the large end of an autosiphon, drop that end into the clear beer above the sediment, and draw from the top with a turkey baster or by sucking on the tube.
Another carboy favorite is to tie a length of dental floss to the top of the hydrometer, lower it into the beer, and read it where it floats. Reddit brewers described that as the way to check a carboy you physically cannot reach into, and it removes no liquid at all.
Close the vessel the moment you are done. If the surface of the wort in your bucket is clear of hops and break material, dropping the hydrometer straight in is fine too, and it is the method many brewers use on every batch.
Measure Temperature Before Reading the Hydrometer
A hydrometer is calibrated at a specific temperature, usually 59F or 68F depending on the model. Check the printed scale or the packaging, because a 60F hydrometer read in a warm fermenter can be off by several thousandths.
Take the sample temperature with your thermometer before you float anything. If it is more than a few degrees off the calibration point, either warm or chill the sample in a water bath, or apply the manufacturer temperature correction factor for your hydrometer.
Temperature correction is not optional bookkeeping. Brewers on the Northern Brewer forum describe calibrating to 59F or 68F as the difference between a repeatable number and a reading that changes every time you check.
Read and Confirm the Final Gravity
Pour the sample into the test jar until the liquid sits a finger width above the hydrometer calibration mark. Lower it in gently and let go.
Spin the hydrometer a few times to shake loose bubbles clinging to the stem. Bubbles make it float high and read low. Wait for it to settle completely, keep it away from the jar walls, and drop your eye to the level of the liquid.
Read where the bottom of the curved meniscus meets the scale, not the top edge. If you are unsure, take a second reading from the same sample before you wash it out. Two readings that agree within a thousandth is a result you can trust.
Most ales finish somewhere between 1.008 and 1.012, and many lagers land between 1.002 and 1.008. Compare your number with the target in your recipe and then wait two or three days and read again. Gravity that has not moved across those days is stable, and stable gravity is the real finish signal.
Use a Refractometer When the Sample Is Small
A handheld refractometer uses two or three drops, which makes it the lowest-waste tool on the bench. Calibrate it with distilled water at the calibration temperature, lay a few drops of wort on the prism, close the daylight plate, and aim it at a light source.
The reading comes off the scale line inside the eyepiece, usually as refractive index, and online calculators convert that to specific gravity for you. It is an excellent way to take an OG reading at mash-out without taking a cup out of the kettle.
Here is the catch most brewers miss: alcohol changes how a liquid bends light differently from sugar does. Once fermentation produces alcohol, a refractometer reading drifts and the standard calibration no longer applies without a correction factor, which is why it is the wrong tool for your final gravity. I explain what is actually happening during those first days in what yeast does in beer.
Common Mistakes
Almost every bad reading traces back to one of a handful of habits. None of them cost you a batch, but each one can push you toward bottling too early.
- Pulling from the sediment. A sample off the bottom reads low and picks up trub.
- Opening the fermenter when a port or thief would do. Every opening is an oxygen and contamination event.
- Reading before the temperature settles. Warm wort reads lower than it is.
- Bubbles and parallax. Spin the hydrometer, then read at eye level.
- Pouring the sample back in. The sample has touched unsanitized equipment, so treat it as contaminated.
- Chasing the airlock. A bubbling airlock says yeast is producing CO2, not that gravity has stopped moving.
- Treating a 0.001 change as movement. A thousandth is within normal measurement error. Two readings that agree mean nothing has changed.
- Believing a refractometer after primary. It reads high or low in ways that vary with the yeast strain.
- Reading straight from a keg or cask. Dissolved carbon dioxide shifts the reading and packaged beer is not the same liquid as the beer in the fermenter.
If gravity has not moved for days and it is still well above your target, that is a stalled fermentation, not a measurement problem. The reading told you the truth either way.
Tips for Keeping Beer and Equipment Clean
The low-waste approach only works if nothing gets contaminated along the way. A few habits cover almost all of it.
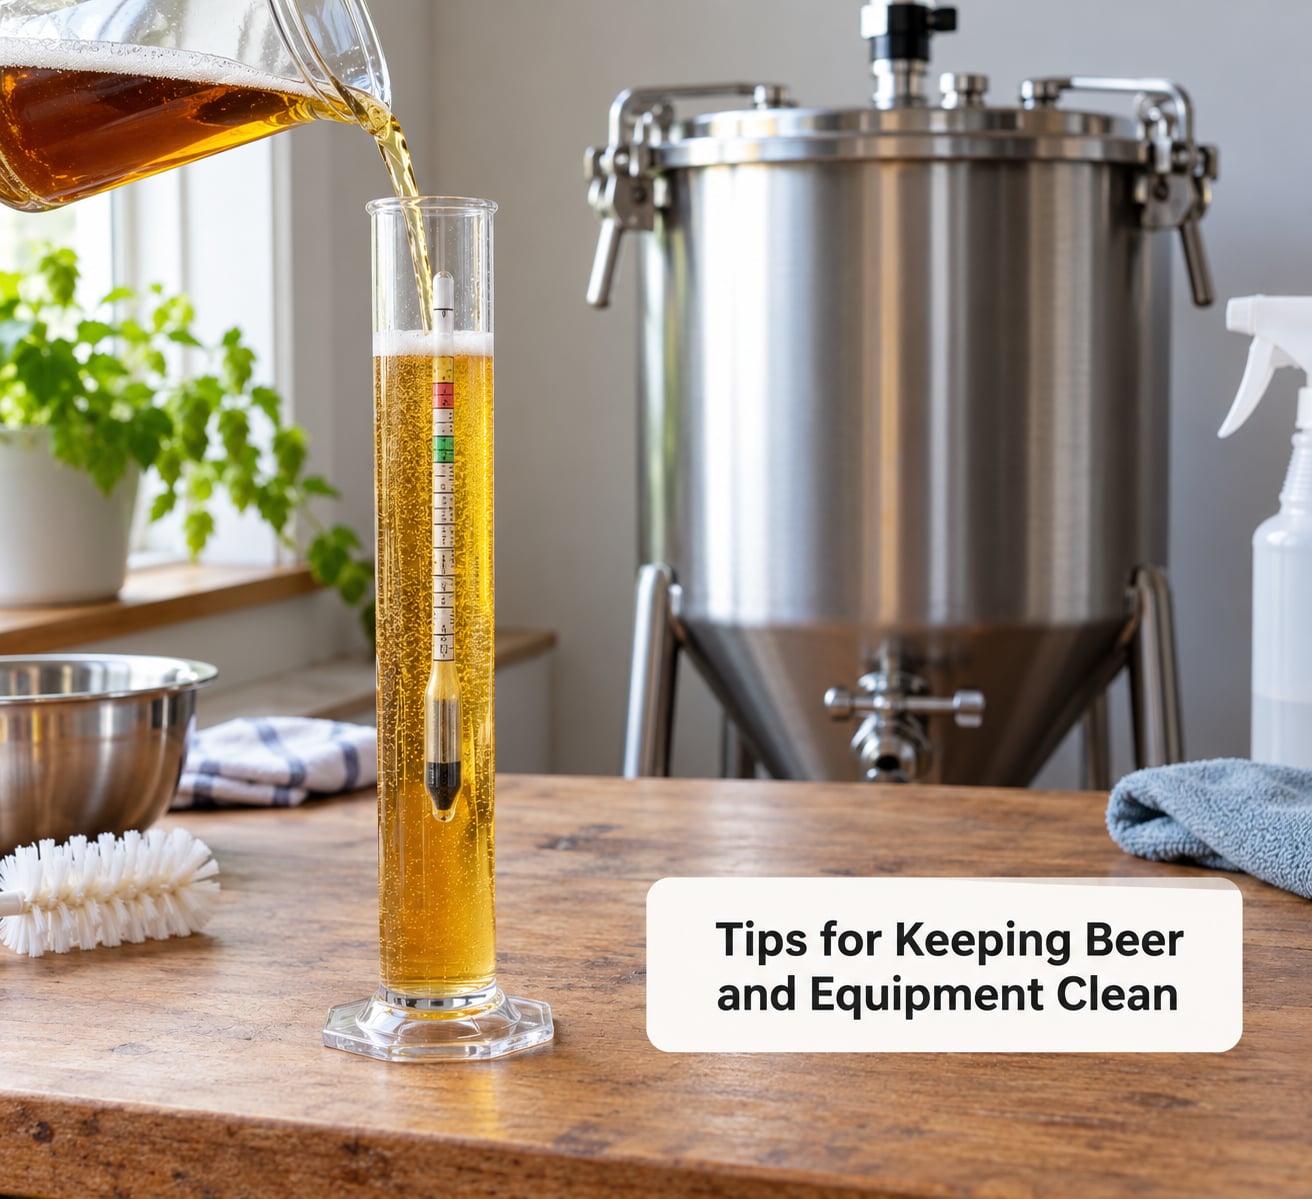
- Keep one dedicated thief and one test jar that only ever handle samples, and sanitize both before every use.
- Pour the sample into a clean lidded bottle, read it, then drink it or use it for cooking instead of the sink.
- Close the fermenter or reseat the stopper as soon as the sample is out.
- Never let the hydrometer touch the batch, and never let the batch touch the hydrometer.
- Sanitize the hydrometer itself between readings, not just the jar.
If you brew small batches, the same logic applies with less margin for error. The sampling routine in how to make a one gallon batch of beer covers the vessels and tools that work in tight quarters.
Frequently Asked Questions
How much beer do I need for a gravity reading?
About 8 to 12 ounces is enough for a full hydrometer reading in a typical test jar, and a thief can pull as little as 4 ounces if your cylinder is narrow. That is under 2 percent of a five-gallon batch. A refractometer needs only two or three drops. Draw the smallest amount that still lets the hydrometer float clear of the jar walls and record it.
When should I take the final gravity reading?
Start checking a week or so after pitching, then read every day or two as the number approaches your recipe target. Take the reading you plan to package on, wait two or three days, and read again. Gravity that matches across those readings is stable, and stable gravity is your signal to bottle or keg.
Should I take a gravity sample from the top or the bottom?
Take it from above the sediment. Yeast, hop debris and trub collect on the bottom of a fermenter, and a sample drawn through that layer reads low and can carry debris into your test jar. Use a side sample port or a sanitized thief that draws from clear liquid near the top of the batch.
Do I need to correct the hydrometer reading for temperature?
Yes, if the sample is not near your hydrometer calibration temperature, which is usually 59F or 68F. Measure the sample temperature first, then either bring the sample to that temperature in a water bath or apply the correction factor your hydrometer manufacturer lists. Warm wort expands and reads lower than its true gravity.
Can I use a refractometer after fermentation?
Only with caution. Alcohol changes how liquid bends light differently than sugar, so a refractometer calibrated on wort drifts once fermentation starts and the error depends on your yeast strain. It is the right tool for original gravity and pre-boil checks. For final gravity, use a hydrometer or a refractometer correction calculator.
Will taking a gravity reading make the beer spoil?
Not if you sample cleanly. Draw with a sanitized thief, close the vessel right away, and the small oxygen exposure is far less risky than bottling before fermentation stops. Never pour the sample back into the fermenter, since it has touched equipment that was not sterilized for the batch and can introduce bacteria.
Conclusion
Start here: sanitize your thief and test jar tonight, then take one clean post-fermentation sample from clear liquid above the sediment. Measure the temperature, spin the hydrometer, read it at eye level and write it down.
A sample that costs you under two percent of the batch buys the one number you need to package with confidence. Drink what is left in the glass, keep the batch sealed, and check again in two or three days before you bottle or keg anything.