Yes, you can absolutely bottle beer from a keg and enter it in a competition, and this guide walks through the whole workflow of how to bottle beer from a keg for competitions without losing the carbonation you spent weeks building. You chill the beer, drop the keg to low pressure, fill cold bottles slowly until a thin layer of foam sits in the neck, then cap on that foam so the headspace fills with CO2 instead of oxygen. Budget about 45 minutes for every 12 bottles, plus time to settle.
Most people who enter beer competitions keg because it is fast and clean, then hit a wall when the entry requires bottles. The fix is less complicated than it sounds, but the order of operations matters. Temperature, pressure and oxygen control are the three variables that decide whether your bottles come out flat, gushing, or oxidized.
Judges are also brutally practical about carbonation. Undercarbonated beer reads as thin and muted on the score sheet, while beer that is a touch overcarbonated can be swirled and rested at the table. That asymmetry is why it pays to push the keg slightly past its serving target before you fill a single bottle.
Before you crack a coupler, read the entry rules for the competition you are entering. Bottle size, number of bottles, label wording and drop-off deadlines are set by the organizer, not by you, and a non-compliant bottle gets pulled before anyone tastes it.
Table of Contents
- What You Need
- The beer and the keg
- Filling hardware
- Packaging
- Sanitation supplies
- Labels and documents
- How to Bottle Beer from a Keg for Competitions
- Step-by-Step: Prepare the Beer and Packaging
- Step-by-Step: Fill Bottles Without Losing Carbonation
- Step-by-Step: Condition, Label, and Check the Entries
- Common Mistakes
- Frequently Asked Questions
- Can you bottle beer from a keg and enter it in a competition?
- Do I need to over-carbonate the keg before bottling?
- What PSI should the keg be at while bottling?
- How many bottles do I need for a homebrew competition entry?
- Why are my bottles flat after I bottle from a keg?
- Do I need a counter-pressure bottle filler to do this well?
- Conclusion
What You Need
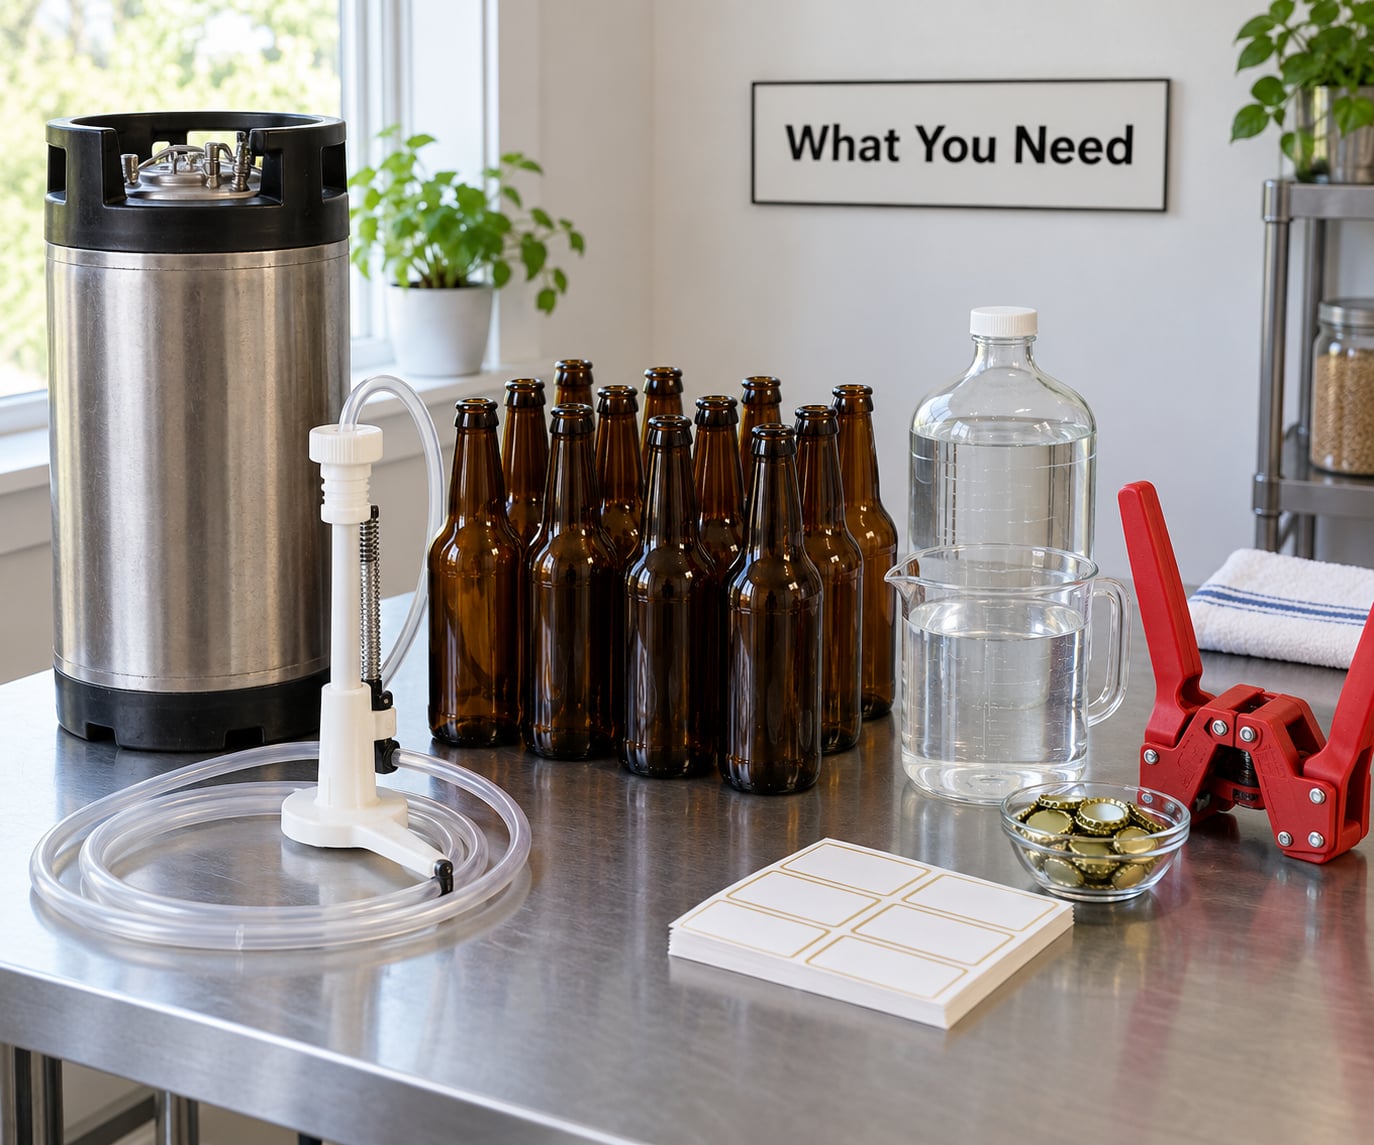
You need the beer, the hardware, the packaging and the paperwork, and the paperwork is the part people forget until the night before drop-off.
The beer and the keg
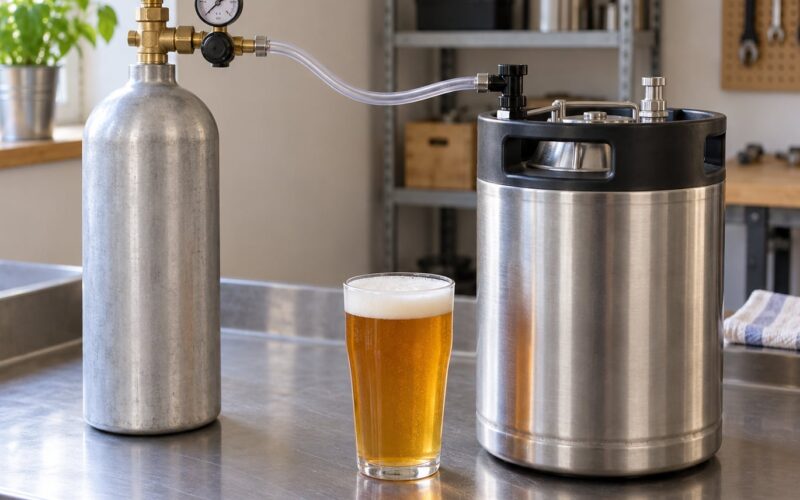
A force-carbonated corny keg or Sankey keg that is fully charged, a beer that is carbonated to its finished level, and enough beer in the keg to cover the number of bottles the rules require plus two or three extras. Those extras are your insurance; you open them a few days later to confirm carbonation before you commit the entry. If your batch only just finished conditioning, give it time in the glass or in the keg before you plan the bottling session.
Filling hardware
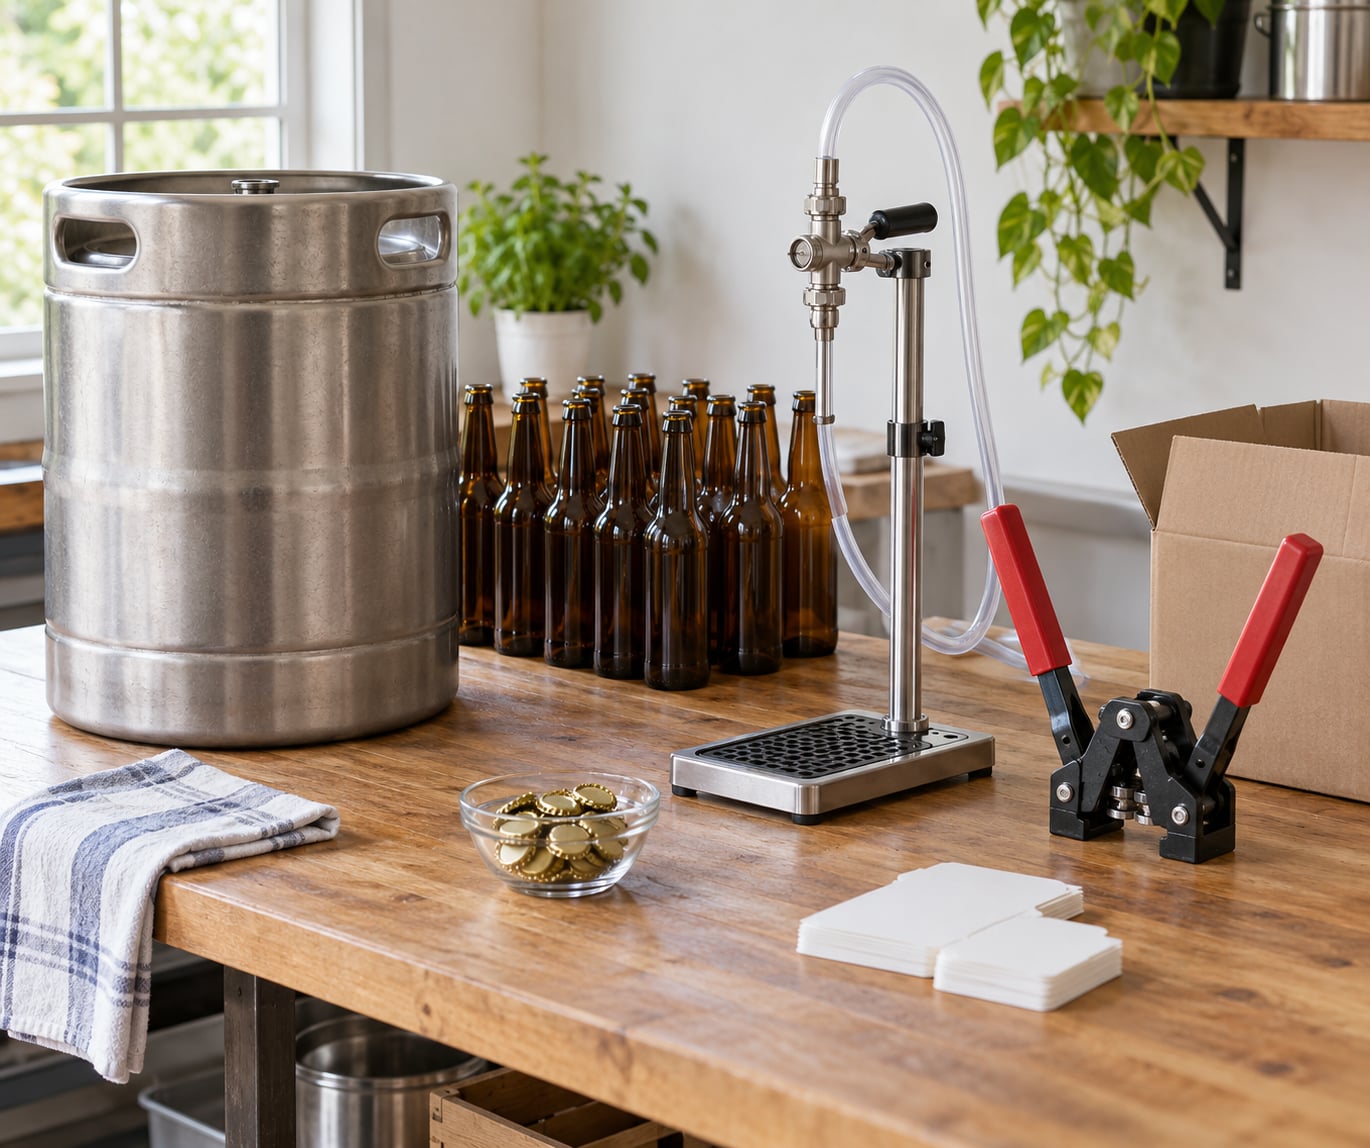
You have three realistic options, and all of them work. A counter-pressure bottle filler is the most consistent and handles foam without any special technique. A Beer Gun is a handheld wand that does the same job with less setup. A picnic tap fitted with a racking cane and a stopper, or a simple bottling wand over a spigot, is the budget route and works fine for a dozen bottles.
| Filling method | How it works | Speed | Oxygen risk | Learning curve |
|---|---|---|---|---|
| Counter-pressure bottle filler | Seats on the bottle, purges it with CO2, then fills against the bottle’s own pressure | About 45 minutes for 12 bottles | Lowest | Moderate, but the reward is repeatability |
| Beer Gun | Handheld wand with a spear that punctures the crown cap in place | Quick, no vessel to pressurize | Low | Easy, needs a steady hand at first |
| Picnic tap with racking cane | Low-pressure tap, bleed the keg, fill from the bottom up | Slowest, foam decides the pace | Moderate if the keg stays cold | Low, but technique-dependent |
| Bottling wand on a corny keg | Turn the gas off, bleed down, fill from the top of the neck | Fast on a cold keg | Higher if the beer is warm | Low, but foam control is on you |
Packaging
Use green or amber 12 oz glass bottles if that is what your entry rules call for. Standard amber glass blocks light, and lightstruck beer is a real risk when a bottle sits in a judge’s case all day. Buy more than the minimum so you can discard scratched, chipped or short bottles, and set aside the extras for carbonation checks. You will also need caps that seal reliably, a capper, and a capper-catch if you have one.
Sanitation supplies
A no-rinse sanitizer, a bottling wand, a bucket for soaking the filler hardware, and clean towels. Everything that touches beer after the keg gets sanitized, and nothing gets dried with a rag that has been near a dusty shelf. If you are the type who tracks numbers on the label, how to calculate ABV at home belongs on your prep list, since most categories have an ABV range.
Labels and documents
Plain white or colored paper labels, a marker or printed entry sheet, scissors, tape, and a rigid box or mailer with padding. Pack the entry so bottles cannot rub against each other, because labels that tear or peel count as a damaged entry at many competitions. If the rule set refers to a bottling or packaging date, how to read a beer bottle date code will tell you what judges are actually looking at.
How to Bottle Beer from a Keg for Competitions
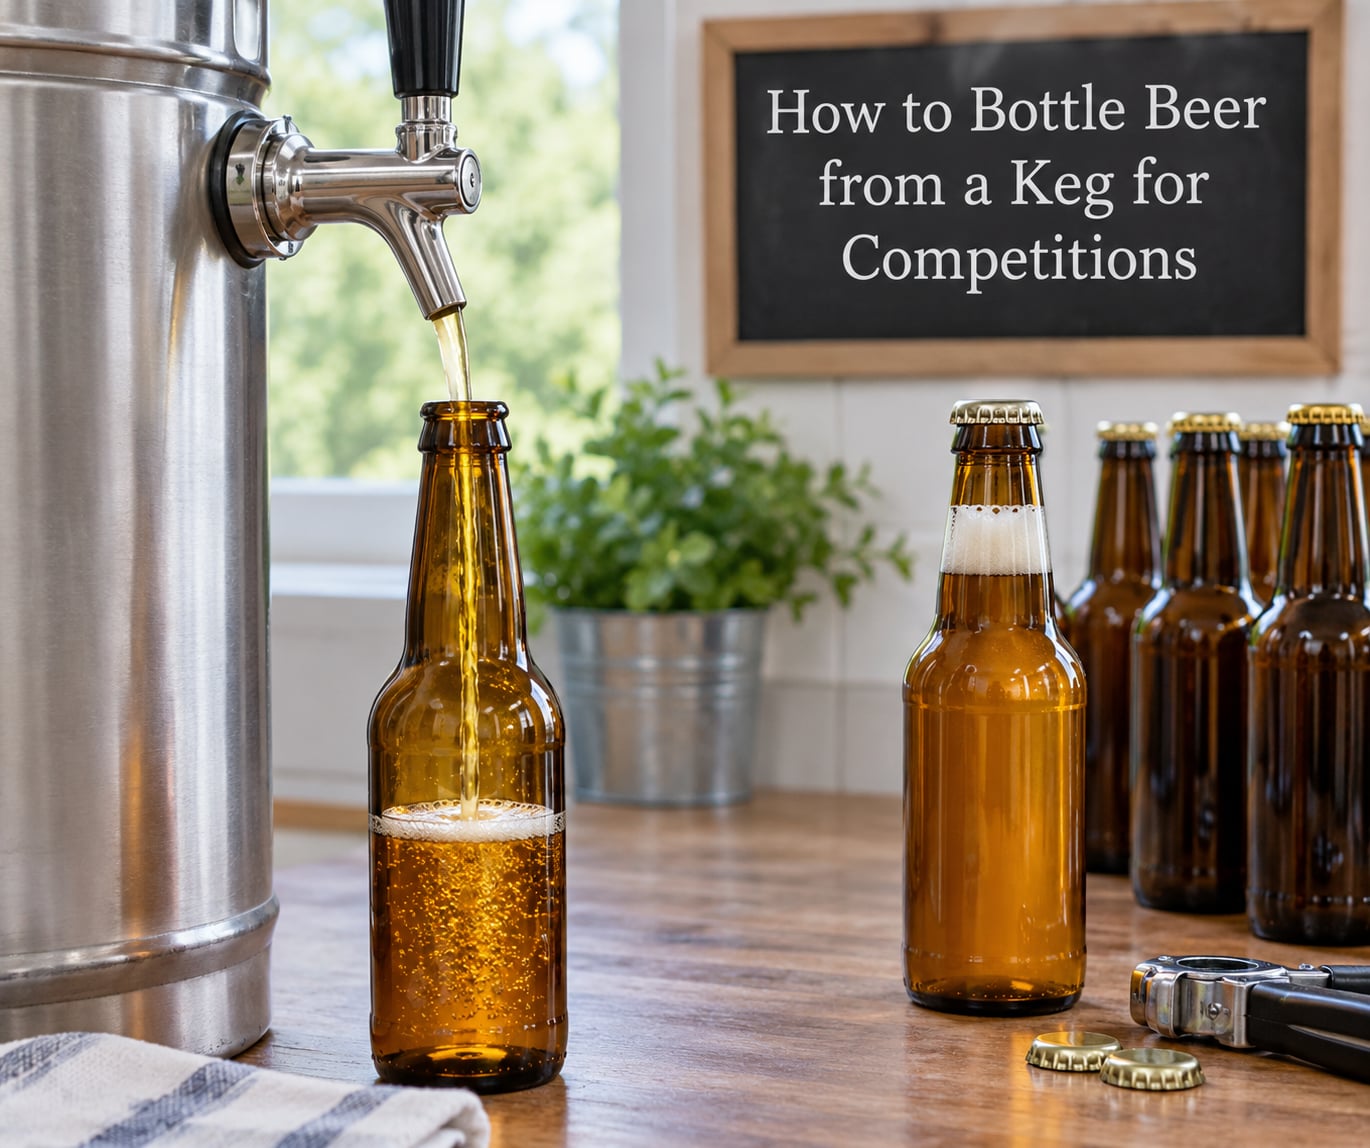
The process runs in four phases: check the beer is ready, prepare and sanitize the packaging, fill gently at low pressure, then condition, label and verify the entry. Each phase has a checkpoint where you can tell it worked, and the checkpoints are where a bad bottle gets caught while you can still fix it.
| Phase | What happens | How you know it worked |
|---|---|---|
| Prepare | Confirm carbonation, category and bottle size; sanitize bottles, caps and filler | Entry rules are printed in front of you and every surface is still wet with sanitizer |
| Fill | Connect, settle the beer, drop pressure, fill to a thin foam layer, cap on foam | Beer arrives cold, fills in about 30 seconds, foam sits 1/16 to 1/8 inch deep |
| Condition | Let bottles rest warm, then chill them again before opening one to test | A test bottle opens with a steady pour and the carbonation feels where you targeted it |
| Label and submit | Check every bottle, apply required label wording, pack and deliver or ship | Each bottle matches the rules on size, fill level, seal and label |
Step-by-Step: Prepare the Beer and Packaging
Start by deciding whether this beer is ready to compete. A beer that is still young will taste better in glass after a couple of weeks, but if your entry deadline is the constraint, cold conditioning in the keg for two or three days does most of the work. Anything with a lot of hop bitterness or a high-alcohol style benefits from sitting a little longer, so plan backward from the drop-off date instead of forward from brew day.
Next, confirm the entry category and the packaging rules. BJCP-sanctioned competitions and local shows differ on bottle size, on how many bottles they want, and on whether labels are required or forbidden. Some want nothing but plain caps. Some want a printed sheet taped to the bottle. Getting this wrong costs an entry, and it is the cheapest mistake to avoid because it takes five minutes to read.
Inspect your bottles and discard anything chipped, cracked, cloudy or short. Fuzzy glass means the glass was cold and wet when it was filled, which weakens the seal. Then sanitize: soak your filler hardware, run sanitizer through the wand, and wash the caps. Sanitize everything that will touch beer before the keg is opened, because the moment the keg is tapped you should not be handling a dusty capper again.
Chill the bottles properly. HomebrewTalk users who posted about competition results from keg-bottled beer described freezing their bottles ahead of time, and the cold is genuinely the single biggest variable in the whole process. If you do not have a freezer with room, a fridge overnight is a decent second-best. A cold bottle barely foams, and a cold bottle needs less pressure to fill.
Step-by-Step: Fill Bottles Without Losing Carbonation
This is the part that decides your score, so work through it in order rather than improvising.
- Over-carb the keg by about 0.2 volumes. Add roughly 0.2 volumes of CO2 above your normal serving target a day or two before bottling. Every bottle you fill loses some carbonation: some goes into the headspace as dissolved CO2, some escapes as the foam you cap on, and some is lost at the moment a judge cracks the bottle. The extra 0.2 volumes absorbs that loss.
- Bring the beer temperature down. Bottle at 33 to 38°F if you can manage it. Cold beer holds carbonation in solution and slows the gas exchange that makes foam; warm beer fizzes in the bottle and pushes the cap off.
- Settle the keg for at least 12 hours. Pour from a keg that has been sitting still and mostly full. The CO2 that will disturb the fill has already separated and rises to the headspace.
- Connect the filler and purge it with CO2. Fill your counter-pressure filler, Beer Gun or wand with CO2 and let it push out the air first. Air in that line is air in your beer.
- Drop the pressure before you open anything. Turn the gas off, then bleed the keg down by venting it through the filler until it stops hissing, then recharge to about 3 to 5 PSI. Low pressure is what keeps foam small.
- Open the faucet slowly. Crack it just enough for a smooth stream. Pouring hard aerates the beer and fizzes the headspace empty.
- Fill to a thin foam layer, not to the top of the neck. Stop at about 1/16 to 1/8 inch of foam. Filling the whole headspace with foam looks tidy but burns off a lot of the carbonation you paid for. A small layer of foam is the safety margin that protects the beer underneath.
- Cap on the foam. Seat the crown cap and cap it immediately, before the foam collapses. That foam is CO2 doing the work of displacing the air that would otherwise sit above the beer as headspace.
- Cap every bottle within seconds. Use caps that seal well and check the capper’s pressure on a test bottle before you start. Bottles that get handled, set down and handled again pick up more oxygen than the fill itself cost you.
If you are running the low-tech route, the same idea applies: freeze the bottles, drop the keg to 3 or 4 PSI, bleed the excess CO2, and cap on foam. Forum users running that setup have reported multiple competition ribbons, so the cheap method is not the weak one. A counter-pressure filler simply makes the same result repeatable instead of skill-dependent.
Step-by-Step: Condition, Label, and Check the Entries
Let the bottles rest where you can see them. Warming them to room temperature and chilling them back over a day or two lets the CO2 in the headspace dissolve into the beer, which is what turns a glassy, undercarbonated bottle into one that pours properly. During that time, label nothing. Adhesion is far better on cold, dry glass, and condensation is the enemy of a label that has to survive transport.
Open one of the extra bottles, not an entry bottle. Pour it cold into a clean glass and check three things: carbonation at the style’s expected level, aroma free of cardboard or wet-paper notes, and clarity. If it is flat, you have time to try a temperature adjustment before shipping. If it tastes oxidized, you cannot fix it, so submit a different beer if the rules allow more than one entry.
Label only the bottles you are submitting. Write the required information plainly and let it dry before the bottles go anywhere near cold surfaces again, and if a rule requires the entry name to match the online registration, check every single bottle rather than assuming the labels printed in batches are identical. For anyone entering their first show, how to make a one gallon batch of beer is a good way to produce a second entry without doubling your brew-day workload.
Pack last and pack cold. Wrap each bottle so labels cannot scuff, keep the bottles from touching, and note how the rules want the entry delivered: drop-off at a club or brewery versus shipping to a judging site. Shipping introduces its own timing, and nobody scores a beer that arrived warm.
Common Mistakes
Nearly every bad competition bottle traces back to one of six things. Here is what the symptom looks like and what fixes it.
| Symptom | Cause | Fix |
|---|---|---|
| Bottles come out flat | Keg was not over-carbed, or bottles sat warm too long before being tested | Add 0.2 volumes more than your target, then test a spare bottle before labelling |
| Bottles gush when opened | Filled warm, filled too full, or capped with no foam headspace protection | Fill colder, stop at a 1/16 to 1/8 inch foam layer, cap on the foam immediately |
| Foamy or cloudy bottles | Bottle was warm, keg was agitated, or the fill was too fast | Settle the keg overnight, fill at 3 to 5 PSI, open the faucet slowly |
| Cardboard, wet paper, or dull aroma | Oxygen pickup from a poor seal, a slow capper or air in the fill line | Purge the filler with CO2, check capper pressure, cap every bottle within seconds |
| Caps stuck or leaking | Capper pressure set too low, or caps applied on a slippery wet surface | Test the capper on a scrap bottle, dry the crown area, adjust the pressure |
| Lightstruck or skunky aroma | Clear glass, or bottles sat in the light during transport | Use green or amber glass and keep entries out of direct light |
Rushing the timeline is the mistake that ruins the most entries. People bottle beer from a keg on the night before drop-off, then discover the beer was not carbonated where they thought, or that the labels needed a name they did not have. Work backward from the deadline: two days to over-carb and settle, one session to fill, a day of rest, then labeling and packing.
There is also a case for not bottling at all. If a style is better fresh from the keg and your competition allows a drop-off, keep the beer where it is. But when the rules require bottles, and when carrying a full keg plus a CO2 tank to a judging site is impractical, the keg-to-bottle route is the only realistic one.
Frequently Asked Questions
Can you bottle beer from a keg and enter it in a competition?
Yes. A force-carbonated keg can be bottled for a competition entry, and many entrants do it because it avoids hauling a full keg and CO2 tank to a drop-off. Fill cold at low pressure, cap on a thin layer of foam, and check the packaging rules before you label anything.
Do I need to over-carbonate the keg before bottling?
Yes, by about 0.2 volumes of CO2 above your normal target. Some carbonation is lost into the headspace, some into the foam you cap on, and some in the moment a judge opens the bottle. The extra 0.2 volumes covers that loss. Judges punish thin beer harder than they punish a touch too much carbonation.
What PSI should the keg be at while bottling?
Drop the gas off, bleed the keg down until it stops hissing, then recharge to roughly 3 to 5 PSI. Low pressure keeps the fill calm and the foam small, which is what protects the carbonation in the bottle. A counter-pressure filler can run a little higher since the bottle back-pressures the keg itself.
How many bottles do I need for a homebrew competition entry?
Most competitions want a set number of bottles, commonly three 12 oz bottles, but the requirement varies by organizer and category. Fill several extras beyond the required count, use them to verify carbonation before you label, and only submit bottles that match the rule sheet for size, seal and label.
Why are my bottles flat after I bottle from a keg?
Flat bottles usually mean the keg was not over-carbed, the bottles sat warm too long before you tested one, or the fill lost too much carbonation to foam. Bottle colder, stop filling at a 1/16 to 1/8 inch foam layer, cap on that foam, and open a spare bottle after a day of rest to check before you commit the entry.
Do I need a counter-pressure bottle filler to do this well?
No, though it makes results the most repeatable. A Beer Gun or a picnic tap fitted with a racking cane and stopper works for a dozen bottles, and users running that low-tech setup have reported competition ribbons. The non-negotiable parts are cold beer, cold bottles, low pressure, and a cap onto a small amount of foam.
Conclusion
Start tonight: read the entry rules, count the bottles they want, and set that number plus three extras on the counter. The rest of the job is disciplined repetition, not expensive gear, so learning how to bottle beer from a keg for competitions comes down to four habits: over-carb the keg by about 0.2 volumes, fill cold at 3 to 5 PSI, stop at a 1/16 to 1/8 inch foam layer, and cap on the foam immediately.
Check a spare bottle before you label anything, and give yourself two days of slack before the drop-off date. Low-oxygen handling is what separates a clean, properly carbonated entry from one the judges read as flat and dull.