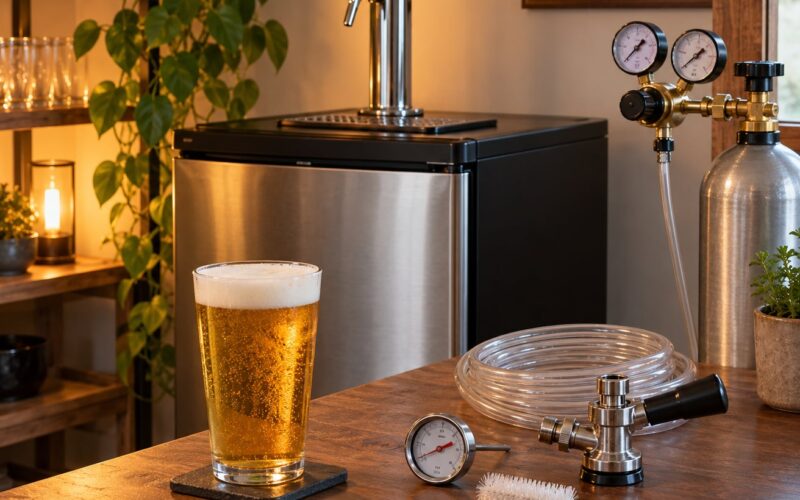
To carbonate a keg in 24 hours, chill the finished beer to serving temperature (about 38-40F / 3-4C), set the CO2 regulator to 30 PSI, and leave it connected for a full day. Then drop the regulator to serving pressure — roughly 10-14 PSI for most ales — and give the keg another day or two at that pressure before you tap it.
That 24-hour window is a burst carbonation schedule, not a natural equilibrium timeline. It gets a properly chilled keg to somewhere around 80-90 percent of its target and saves you most of the two-week wait. Almost every “my 24-hour keg is wrong” problem comes down to three things: warm beer, a disconnected CO2 source, or skipping the diacetyl rest before any pressure goes on.
Table of Contents
- What You Need
- Step-by-Step: Carbonate a Keg in 24 Hours
- 1. Chill the Beer Before Carbonating
- 2. Set the Regulator: What PSI to Carbonate a Keg in 24 Hours
- 3. Connect the CO2 System Correctly
- 4. Let the Keg Carbonate Overnight
- 5. Check Carbonation and Adjust Before Serving
- 6. Store and Serve the Finished Keg
- Common Mistakes
- Frequently Asked Questions
- Do I have to leave the CO2 tank connected the whole 24 hours?
- What PSI should I set to force carbonate a keg in 24 hours?
- Can I force carbonate a keg at room temperature?
- Why is my keg still flat after 24 hours on CO2?
- How do I fix a keg that is over-carbonated and pouring pure foam?
- How much CO2 does it take to carbonate a 5 gallon keg?
- Conclusion
What You Need
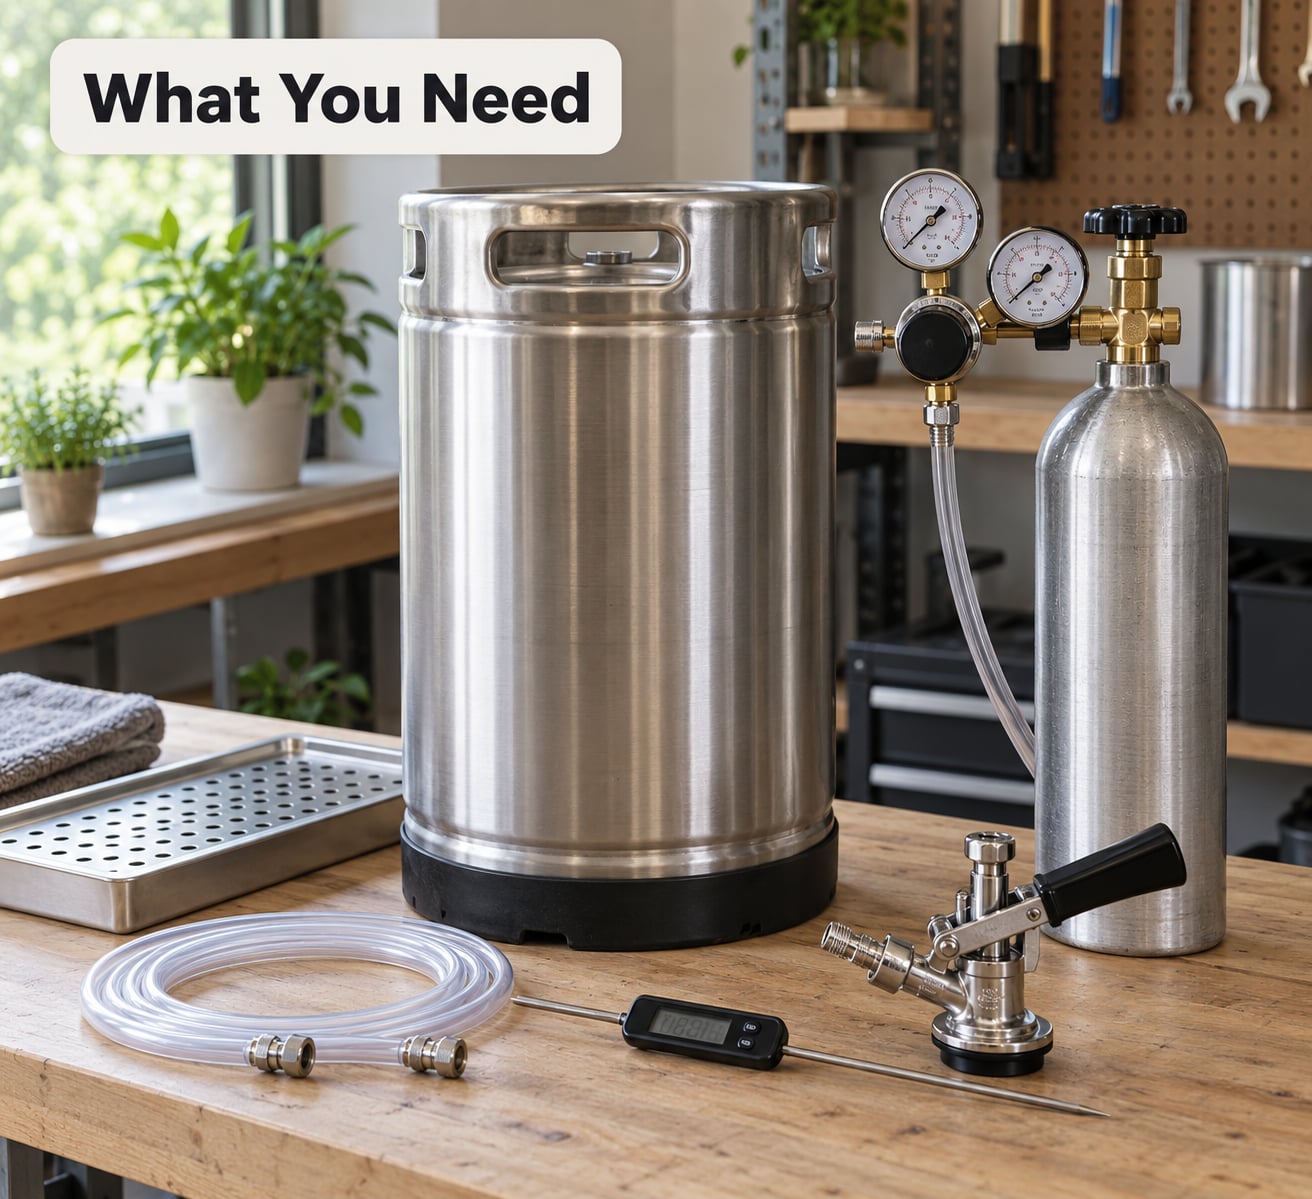
The equipment list is short, and most homebrewers already own all of it:
- Finished beer that has completed its diacetyl rest
- A corny keg — ball lock, pin lock, or Speight, ideally with a pressure-rated lid and a sound O-ring
- A CO2 cylinder big enough to finish the burst without running dry
- A two-stage regulator with a high-output side
- A gas line with a check valve, plus the post and coupler for your keg type
- A thermometer or a fridge thermometer
- Somewhere cold to hold the keg: a kegerator, a keezer, or a dedicated fridge space
- Star San or soapy water for leak checking
Four variables decide whether your 24 hours works, and all four need to be right before you pressurize. Temperature is the big one: cold beer absorbs CO2 faster and holds more of it. Keg volume changes how much gas the burst draws and how quickly headspace pressure stabilises. Keg type decides which fittings and seals you inspect before connecting. And the pressure your regulator actually delivers has to be measured at the post, not assumed from the cylinder gauge.
One more prerequisite matters more than any gauge setting: the diacetyl rest. After final gravity, hold the beer warm (68-72F / 20-22C) for two to three days. Yeast keeps producing diacetyl during that hold, and the yeast re-absorbs it once the beer goes cold and packaged. Carbonation cannot fix a buttery or popcorn flavour — it only makes it easier to notice.
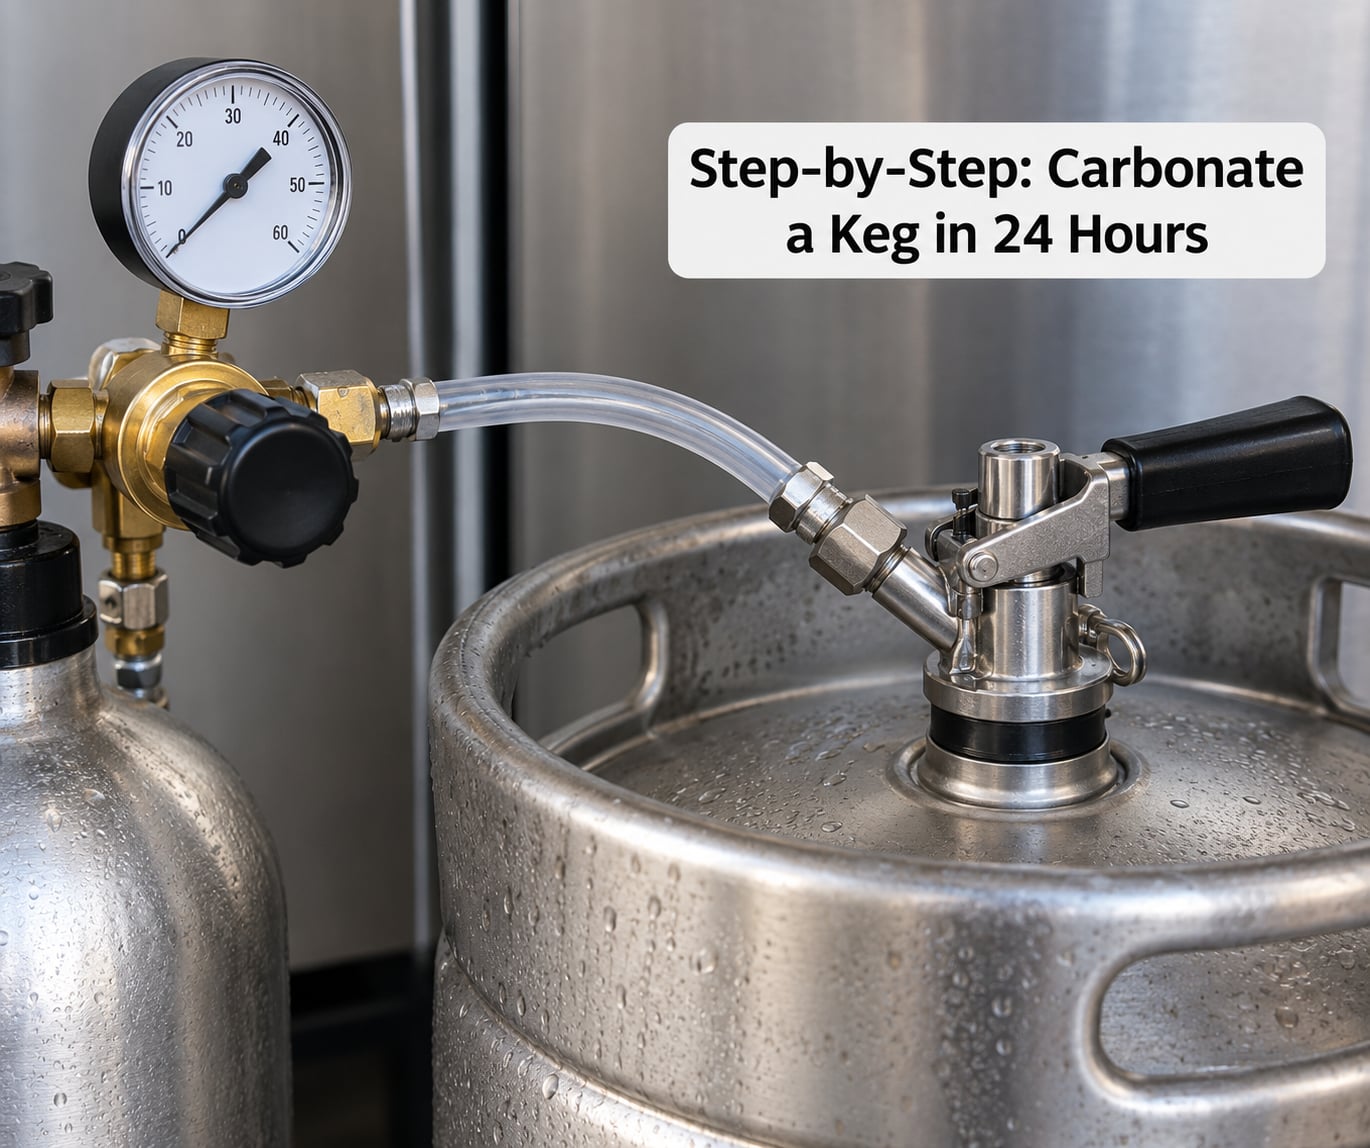
Step-by-Step: Carbonate a Keg in 24 Hours
1. Chill the Beer Before Carbonating
Cold beer absorbs CO2 faster than warm beer, and it holds more of it at the same pressure. Get the keg to 38-40F / 3-4C before you connect gas — that means 12 to 24 hours in a fridge or an ice bath with ice and water, not just cold tap water.
Warm-beer carbonation is the most common way a 24-hour keg turns into a foam machine. The gas does not dissolve as readily, so you end up with more CO2 sitting in the headspace, and when you finally chill the keg that gas comes out of solution all at once.
| Approach | Beer temperature | What happens |
|---|---|---|
| Chill then burst | 38-40F / 3-4C | Fastest absorption, tightest headspace, cleanest pour. The recommended route. |
| Cold crash after carbing | Carbed warm, then chilled | Works, but expect gushing, a harsh carbonic bite, and a foamy first pour. |
| Room-temperature carbing | 65-70F / 18-21C | Needs far higher pressure to reach equilibrium, integrates harshly, and foams badly on a cold pour. Not worth it for beer. |
2. Set the Regulator: What PSI to Carbonate a Keg in 24 Hours
Set the regulator to 30 PSI and let it sit there for 24 hours. That is the default most homebrewers land on, and it is the number that shows up again and again in the forums. Advice ranging from 25 to 40 PSI is not all wrong — it is usually the same method adjusted for beer temperature and style.
Here is how the numbers reconcile. Burst pressure scales with how cold the beer is and how much CO2 you want dissolved at the end of the window:
| Beer temperature | Burst pressure for 24h | Approx. target at end | Metric equivalent |
|---|---|---|---|
| 33-35F / 1-2C | 30 PSI | 2.6-3.0 volumes | approx. 205 kPa / 2.0 bar |
| 38-40F / 3-4C | 30 PSI | 2.5-2.8 volumes | approx. 205 kPa / 2.0 bar |
| 42-45F / 6-7C | 35 PSI | 2.5-2.8 volumes | approx. 240 kPa / 2.4 bar |
| 48-50F / 9-10C | 40 PSI | 2.4-2.7 volumes | approx. 275 kPa / 2.8 bar |
| 65-70F / 18-21C | Not recommended for beer | 2.5 volumes needs roughly 55-70 PSI | approx. 380-480 kPa |
The last row explains the 70 PSI advice you will find for champagne-style cider. For a five-gallon corny keg, corny kegs are typically rated around 130 PSI working pressure, so 70 PSI is inside the vessel rating — but your regulator, gas line, quick disconnect and coupler all need to be rated for it, and you should confirm the relief valve on the keg is manual before you go there.
One volume of CO2 means one litre of gas at standard temperature and pressure dissolved in one litre of beer. If you want to work it out yourself, target pressure is roughly a linear function of temperature and volumes — for 2.5 volumes, serving pressure is about 12 PSI at 38F, and every degree colder adds or removes roughly 1 PSI while each half-volume step adds about 6 PSI.
Serving pressure is a different number from burst pressure, and confusing the two is the most common beginner mistake. Look it up by style before the keg is finished:
| Style | Target volumes | Serving pressure at 38F / 3C |
|---|---|---|
| British ales, porters, stouts | 2.2-2.4 | 6-9 PSI |
| Pilsner, German lagers | 2.5-2.7 | 10-12 PSI |
| Pale ales, IPAs | 2.6-2.8 | 11-14 PSI |
| Wheat beers, Belgian styles | 2.8-3.0 | 14-16 PSI |
| Saisons and other high-carbonation styles | 3.2-3.6 | 18-22 PSI |
| Champagne-style cider | 4.5 and up | 30-40 PSI |
| Nitro stout | Beer gas blend, 25 percent nitrogen | 20-25 PSI |
3. Connect the CO2 System Correctly
Work in this order: cylinder, regulator, hose, post, coupler, seals. Confirm the cylinder has gas in it and the valve is fully open, set the regulator to 30 PSI before attaching the line, and make sure the gas line has a check valve so nothing can travel backwards into the regulator.
Inspect the coupler seals and the keg lid O-ring. Seat the O-ring with a little Star San or soapy water, hand-tighten the coupler firmly, and check for bubbles once it is pressurised. Bubbles at the post mean a bad seal or a loose coupler; bubbles at the lid mean the O-ring is not seated. Fix leaks before you walk away, because a slow weep will cost you gas all night.
Know roughly what the burst costs in gas before you start. It takes about 50 litres of CO2 at standard temperature and pressure to bring a five-gallon keg to 2.5 volumes — far more than the handful of litres needed just to pressurise the headspace. A 5 lb cylinder holds roughly 1,150 litres of gas at STP, so it will carbonate roughly 20 to 25 kegs. Small cylinders run dry mid-burst more often than anyone admits, and the result is a keg that looks pressurised and tastes flat.
4. Let the Keg Carbonate Overnight
Leave the CO2 connected for the entire 24 hours. This is the question the forums answer most, and the answer is unambiguous: yes, keep it connected. The gas that simply pressurises the headspace is a small fraction of what the beer needs. As that headspace CO2 is absorbed, the pressure inside the keg drops, and only a connected source replaces it. Seal the keg and walk away and you get a pressurised keg of flat beer.
Here is the checkpoint schedule for a 24-hour burst:
| Elapsed time | What to do |
|---|---|
| 0h | Beer at 38-40F. Regulator at 30 PSI. Connect and leak check. |
| 1h | Confirm the regulator is still delivering 30 PSI to the post and the coupler is not weeping. |
| 6h | First check. Read post pressure. Restart the cylinder if it ran down. |
| 12h | Second check. Gentle roll of the keg if it is sitting still. |
| 24h | Drop the regulator to serving pressure. Do not vent the keg. |
| 36-48h | Serving pressure. Carbonation integrates and the headspace settles. |
If 24 hours leaves you wanting something softer or more integrated, use a three-stage taper instead: 30 PSI for 24 hours, then 20 PSI for another 24, then serving pressure for a final 24. Same gas, gentler finish, three days.
| Method | Pressure | Time | Where you end up |
|---|---|---|---|
| Burst | 30 PSI | 24 hours, then serving pressure | Drinkable tomorrow, roughly 80-90 percent integrated |
| Three-stage taper | 30, then 20, then serving | 24h + 24h + 24h | Best all-round result, three days |
| Set and forget | Serving pressure | 5 to 14 days | Fully integrated, zero urgency |
| Priming sugar | Whatever the keg holds | 10 to 14 days | Least control, no equipment needed |
The shake-and-roll accelerator works: rock the keg on its side for five minutes to release bubbles clinging to the walls, then let it sit an hour or two before the pour. Disconnect the gas line first. Rolling a keg with the line attached spikes the pressure at the post and can push beer backwards into the regulator, which ruins it. Expect a foamy first pour and more pulled oxidation than you would get from a quiet night.
5. Check Carbonation and Adjust Before Serving
Never open a pressurized keg to test it. Read post pressure with the regulator off, look at the gauge on your gas line, and judge the pour. A keg at 30 PSI for a full day with beer at 38F will pour with a tight, dense head and a faint bite at the back of the throat; a keg at 14 PSI for the same beer will pour flat and thin.
Over-carbonation means the pressure and temperature are pulling in the same direction — the beer is cold and loaded with CO2. To fix it, disconnect the CO2, pull the pressure relief valve on the keg lid (or the ball-lock poppet with the keg upright) to vent until the head relaxes, then pull a pint or two from the coupler to dump the loose gas. Repeat once or twice over a day or two and it comes back down to a drinkable level. Relief valve and poppet on a corny keg release in small bursts, so stand clear of the coupler when you pull it.
Line balance is the other half of a clean pour. Most homebrew setups want about 10 feet / 3 m of 3/16 inch vinyl beer line at 12-13 PSI. Too little line and the keg gushes no matter how well it was carbed; too much and it pours like warm water.
6. Store and Serve the Finished Keg
Drop the regulator to the style’s serving pressure as soon as the 24 hours are up, and keep the keg cold. Cold beer under moderate pressure stays where it is; warm beer under the same pressure goes flat and foamy in a day.
Leave the gas connected indefinitely — a connected regulator is what holds the pressure. You can disconnect whenever the keg is empty, and disconnecting mid-carbonation is the mistake to avoid. If you must move a connected keg, never carry it by the coupler, and never shake it. Expect one more day at serving pressure before the carbonation feels integrated, and serve the first glass into a clean pint glass so you can judge the head yourself.
Common Mistakes
Almost every bad 24-hour keg comes from one of these, and each has a straight fix:
| Symptom | Likely cause | Fix |
|---|---|---|
| Flat after 24 hours | CO2 disconnected, or the cylinder ran dry | Keep the source connected; check the cylinder at 6h and 12h |
| Pours pure foam | Over-carbonated, warm beer, or too little beer line | Vent via the relief valve or poppet, chill fully, check line length |
| Still flat after two weeks at serving pressure | Residual priming sugar, or warm storage | Hold the temperature steady and check post pressure, not tank pressure |
| Buttery or popcorn flavour | Diacetyl rest skipped or too short | Nothing fixes it post-carbonation; re-check the rest next batch |
| Pressure bleeds away overnight | Coupler seal, lid O-ring, or a leaking post fitting | Star San the O-ring, re-seat the coupler, leak test before walking away |
| Regulator damaged after rolling | Keg rocked with the gas line attached | Fit a check valve and disconnect before any rocking |
| Harsh, prickly bite on the first pour | Carbonated warm, or dropped pressure too fast | Chill to 38F first, taper pressure down over a day rather than instantly |
Two habits make the process repeatable. Measure pressure at the post with a gauge rather than trusting the cylinder side of the regulator, and write down the temperature, pressure and hour when you connect. Carbonation is physics, and the physics does not care whether you remembered the number last time.
Frequently Asked Questions
Do I have to leave the CO2 tank connected the whole 24 hours?
Yes. Pressurising a keg headspace takes only a few litres of gas, but dissolving enough CO2 into five gallons of beer to hit 2.5 volumes takes roughly 50 litres at STP. As the headspace gas is absorbed, pressure inside the keg drops, and only a connected source replaces it. Seal the keg and disconnect the gas and you get a pressurised keg of flat beer instead.
What PSI should I set to force carbonate a keg in 24 hours?
Set the regulator to 30 PSI for a full 24 hours with beer at 38-40F. Beer warmer than 45F needs roughly 35-40 PSI to reach the same result, because warm liquid holds less CO2 at the same pressure. After the 24 hours, drop the regulator to serving pressure — 10-14 PSI for most ales at serving temperature.
Can I force carbonate a keg at room temperature?
Technically yes, but it is a poor trade for beer. Room-temperature beer needs roughly 55-70 PSI to reach 2.5 volumes of CO2, it integrates harshly with the finished beer, and the gas comes out of solution in a rush once you chill it. You will pour foam. Carbonate cold instead and use a refrigerator, a kegerator, or an ice-and-water bath the night before.
Why is my keg still flat after 24 hours on CO2?
Usually the gas was disconnected, or the cylinder ran dry overnight. A keg can sit at full post pressure and still be flat, because headspace pressure is not the same thing as dissolved CO2. Other causes include carbonating warm beer, a leaking coupler or lid O-ring bleeding pressure away, or not leaving the keg cold for long enough before tapping.
How do I fix a keg that is over-carbonated and pouring pure foam?
Disconnect the CO2 first, then pull the pressure relief valve on the keg lid with the keg upright, or release the ball-lock poppet, until the head relaxes. Pull a pint or two through the coupler to vent the loose gas, then leave the keg cold and disconnected for a day. Repeat once if needed. You will lose a little beer, but the rest becomes drinkable again.
How much CO2 does it take to carbonate a 5 gallon keg?
About 50 litres of CO2 at standard temperature and pressure to reach 2.5 volumes in a five-gallon keg, plus whatever it takes to pressurise the headspace and cover losses. A 5 lb cylinder holds roughly 1,150 litres of gas at STP, so expect around 20 to 25 kegs from one fill. Start a burst with a full or nearly full cylinder — running dry overnight leaves you with a flat keg.
Conclusion
The first thing to do is get the beer cold. A keg sitting at 38-40F before pressurising is the difference between a keg you tap tomorrow and a keg that pours foam for a week.
From there the method is simple. Set 30 PSI, keep the CO2 connected, check at 6 and 12 hours, and drop to serving pressure at the 24-hour mark. Cold beer and a connected gas source are the only two variables that really matter; everything else is adjustment.
Quick checklist:
- Diacetyl rest complete: two to three days warm after final gravity
- Beer at 38-40F / 3-4C, with a container of gas that is not nearly empty
- Regulator at 30 PSI, seals and coupler leak-checked
- CO2 stays connected for the full 24 hours, checked at 6h and 12h
- At 24h, drop to serving pressure for the style and leave it cold another day