To fix a leaking corny keg lid seal, spray the closed lid with soapy water, pressurize the keg to about 10 PSI, and watch for bubbles along the rim. The gas will force its way through the weak spot and out the top, so a stream of foam means the seal is the leak. If the o-ring underneath looks dried out or squashed, replacing it is the fix.
The whole job takes under an hour for a first-timer. Most leaks turn out to be a hardened or misshapen rubber o-ring, a speck of debris trapped in the lid groove, or a dent in the stainless rim, and all three are fixable at a kitchen table with a screwdriver and a rag.
The one thing you cannot skip is depressurizing the keg before you take anything apart. A corny keg is a metal canister with a lid designed to pop, and nobody needs that lesson twice.
Table of Contents
- What You Need
- Step-by-Step: How to Fix a Leaking Corny Keg Lid Seal
- Step 1: Safely Depressurize the Keg
- Step 2: Find the Source of the Leak
- Step 3: Clean and Replace the Lid Seal
- Step 4: Reassemble and Retest the Keg
- Common Mistakes
- Frequently Asked Questions
- What causes a corny keg lid to leak?
- Why is my keg leaking from the top?
- How do I safely depressurize a corny keg before removing the lid?
- Do I need to replace the o-ring, or can I reuse the same one?
- Can you re-seal a corny keg lid?
- How do I stop my corny keg from losing pressure?
- Conclusion
What You Need
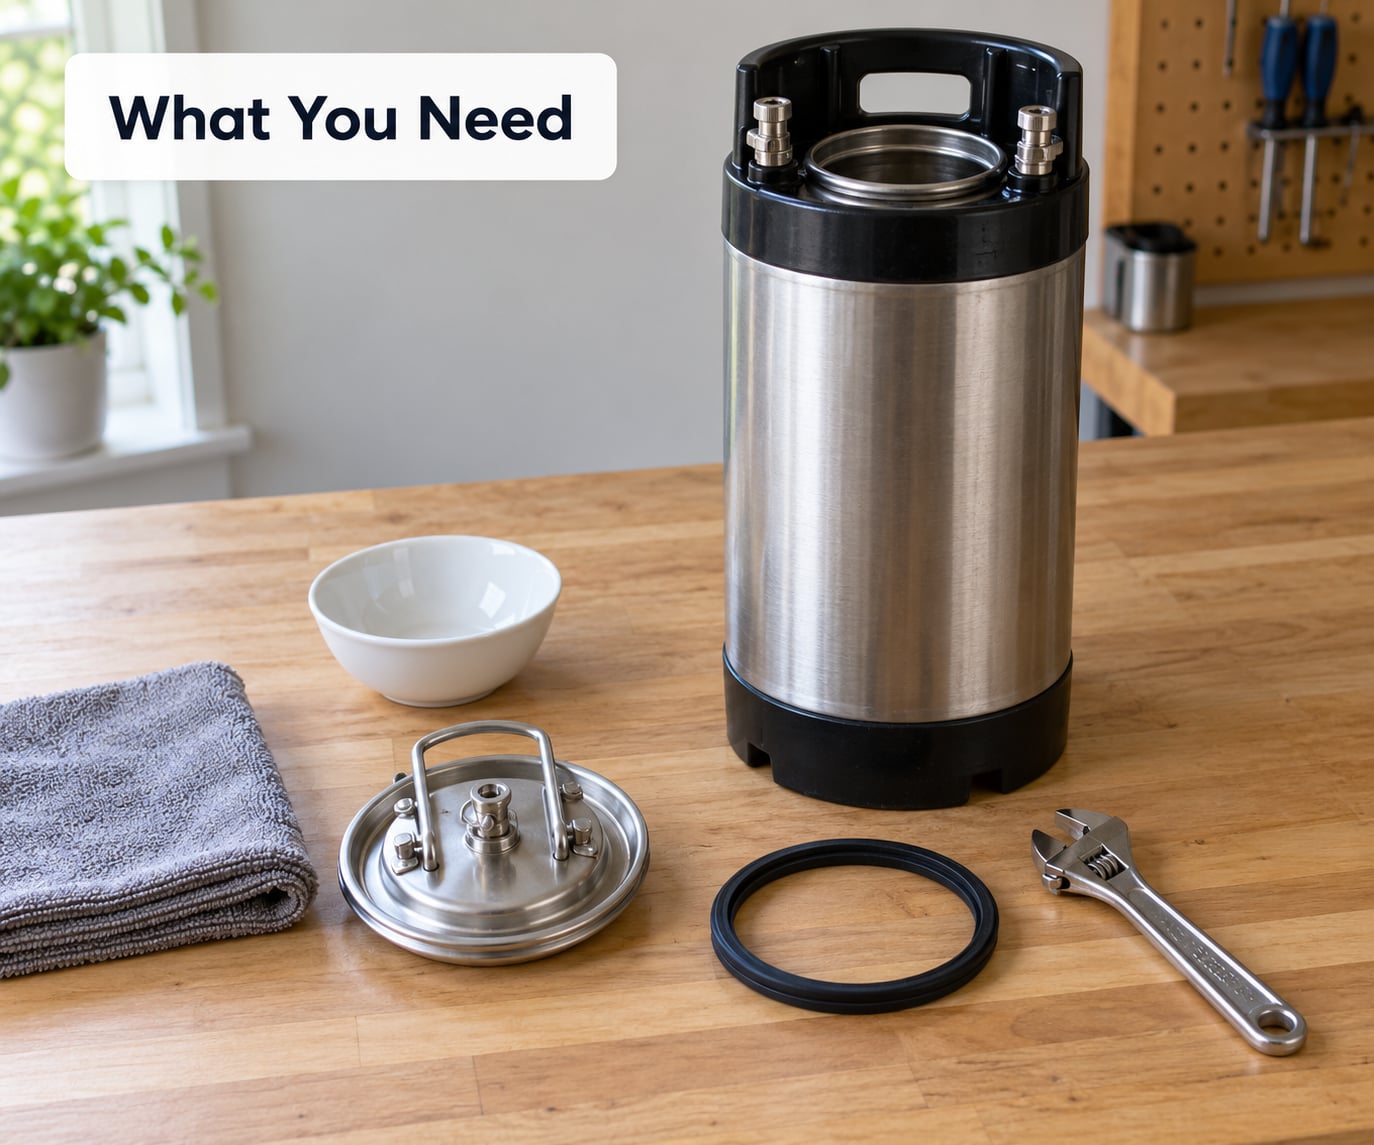
Gather everything before you crack the lid off. Scrambling for a tool with a half-open keg in front of you is how people spill a batch.
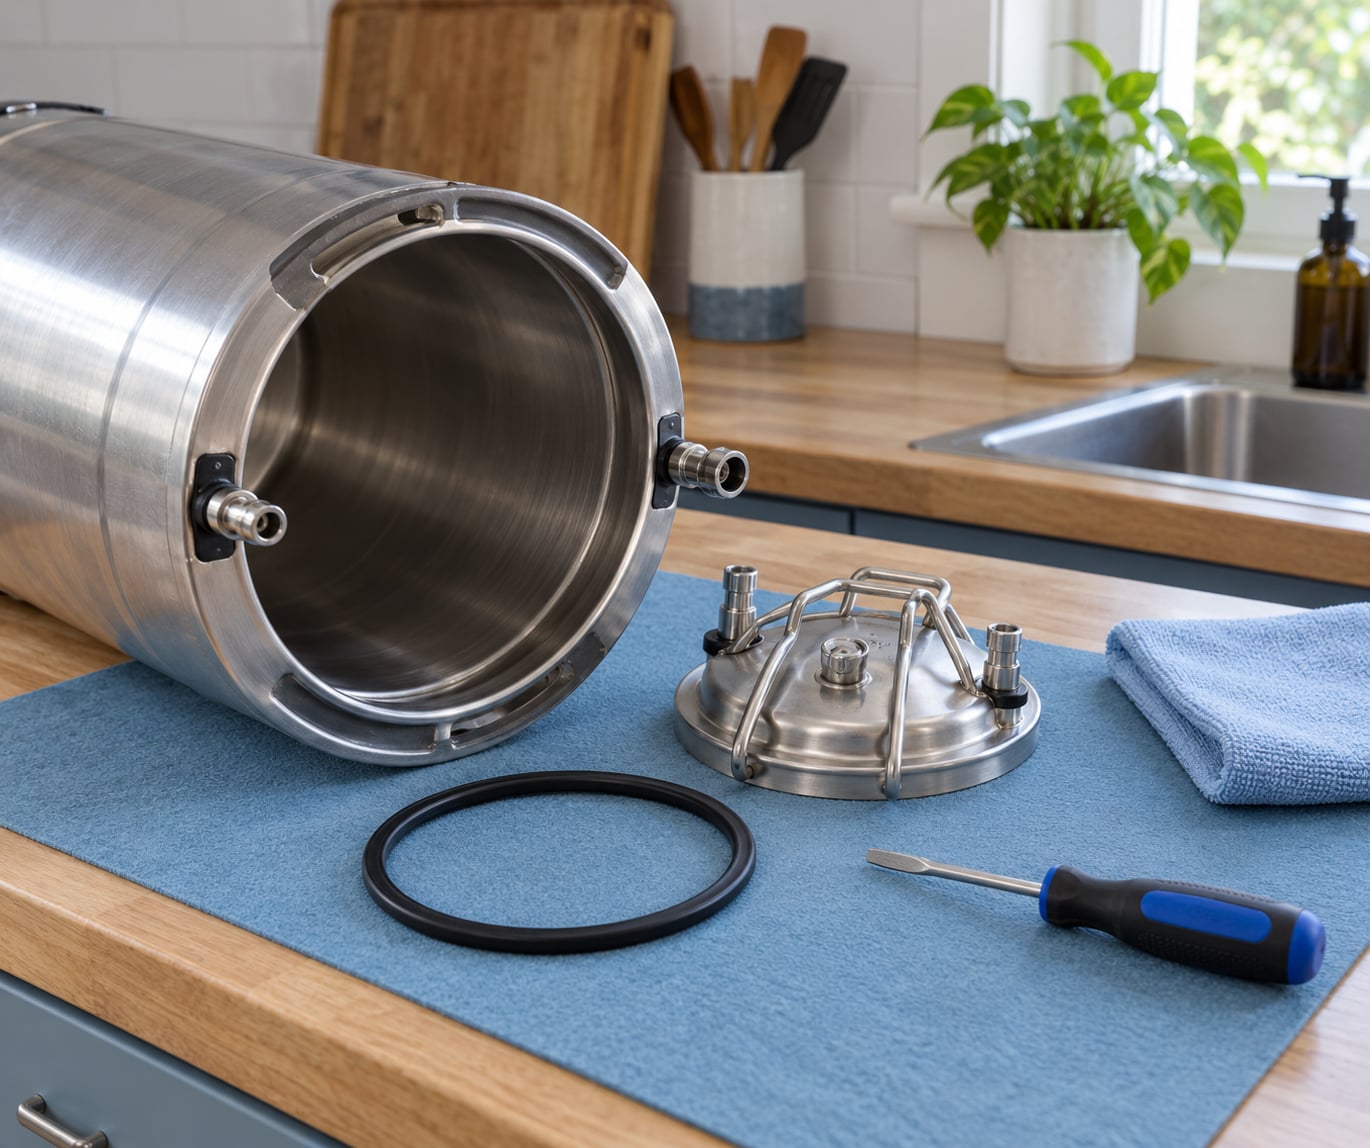
- A replacement lid o-ring. The standard lid seal has a cross-section of about .280 inch, and an oversized .310 inch version exists for worn grooves and slightly deformed rims. Most homebrew supply shelves sell both in a small multi-piece seal kit.
- Food-safe cleaner such as a dilute sanitizing solution or plain hot water with dish soap. Nothing abrasive, nothing metal.
- A spray bottle of soapy water for finding the leak. A sanitizer solution works too, and keeps soap away from the beer.
- Food grade keg lube, usually a silicone-based faucet grease. This is the one lubricant that belongs on a corny keg o-ring.
- A small flat screwdriver for popping the o-ring out of its groove.
- A wrench for the lid and any nuts on the gas post, and a rubber mallet if you suspect a dent.
- A towel, a small bowl and a soft brush so water does not run down the outside of the keg.
To identify the correct lid seal, look at the o-ring sitting in your lid. Measure the thickness across the ring itself, not the outside diameter, and match that to the cross-section. Silicone and Buna-N rings both fit the same groove, and ball lock and pin lock lids use the same perimeter o-ring, so one ring fits either system.
Step-by-Step: How to Fix a Leaking Corny Keg Lid Seal
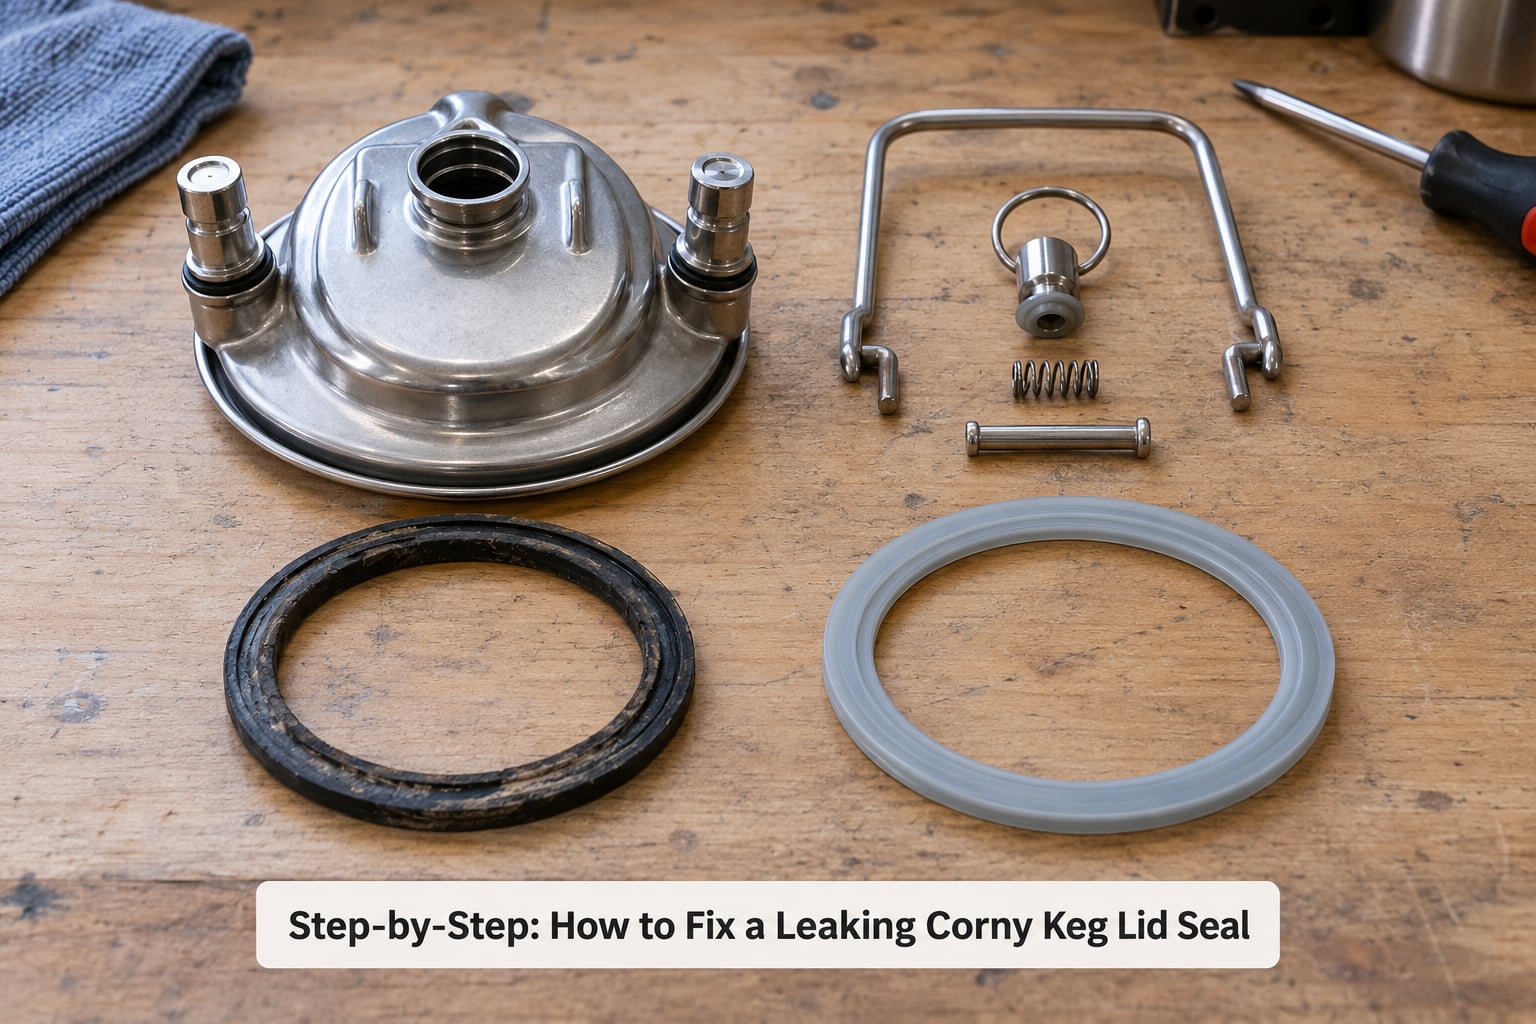
Work in this order: release the pressure, find where the gas is escaping, clean and reseal the surfaces, then reassemble and test. Stop at the end of each step and confirm it before moving on, so you always know which change fixed the problem.
Step 1: Safely Depressurize the Keg
Keep the keg upright and cold, and never pry a lid off a pressurized keg. Disconnect the CO2 first, at the regulator, so nothing refills behind your back.
From there, take pressure off one of two ways. On a ball lock keg, press the poppet valve at the bottom of the gas post with a screwdriver and hold it until the hiss stops. On a pin lock keg, or on any lid with a pressure release ring, pull up on the small ring in the center of the lid until it releases the gas.
The release ring is worth remembering because it works even on a keg that is still connected, which matters if you are trying to save a partly carbonated batch. Once the hiss dies, verify by pulling the bail up and then pushing the lid down firmly. If it stays down without resistance, the keg is empty of pressure.
Step 2: Find the Source of the Leak
With the keg depressurized, take the lid off and lay it gasket-side up. Look for an o-ring that has flattened out, cracked, swollen or turned hard, and run a finger around the groove to feel for grit. Then run your fingers around the top rim of the keg itself, because a dent there leaks no matter how good the new seal is.
Better still, test under pressure. Fit the lid, pressurize to about 10 PSI, and spray the rim and the lid seam with soapy water. Bubbles tell you the exact spot, and a steady stream of gas or foam at the edge means the escape is at the seal, not somewhere else in the keg.
| Leak location | Likely cause | Fix |
|---|---|---|
| Bubbles or foam around the whole lid perimeter | Dry, misshapen or debris-covered lid o-ring | Clean the groove, replace the o-ring, lube lightly |
| Constant hiss near the center of the lid | Pressure relief valve stuck open or its seat dirty | Unscrew, flush with hot water, retighten; replace if it still weeps |
| Leak at the gas post, only when connected to CO2 | Gas post o-ring worn or the post nut loose | Hand-tighten the nut, replace the o-ring |
| Slow drip at the coupler when tapped | Liquid post o-ring worn out | Replace the o-ring; a seal kit covers this part |
| Leak at one fixed point on the rim | Dent in the stainless top | Work the dent back out with a socket handle and rubber mallet |
HomebrewTalk regulars have a rule of thumb worth borrowing: name the part before you change it. A lid o-ring and a liquid post o-ring fail in completely different ways, and swapping the wrong one costs you an afternoon.
Step 3: Clean and Replace the Lid Seal
Pop the old o-ring out with a small screwdriver, working around the groove in short arcs so you do not scratch the seal surface. Scrub the channel clean, then wipe both the groove in the lid and the rim on the keg. This is the step that decides whether the repair holds, so do it before the new ring goes anywhere near the groove.
Drop the new ring in and press it into the groove all the way around with your thumbs until it sits flat and even. A ring that is stretched, twisted or pinched in one spot will pass a casual look and still leak, so walk your fingers around it before you go any further.
Coat the ring with a thin film of food grade keg lube. Not a thick smear, not household grease, and never petroleum jelly, which is not rated for food contact and can gum up a seal over time. The lube is there to stop the rubber from grabbing and to let the ring seat evenly, nothing more.
One note on systems: ball lock lids seal by pulling posts into threaded openings, while pin lock lids seal with a gasket under a latch bail. The perimeter o-ring is the same in both, but the post o-rings and the locking hardware are not interchangeable, so buy the small seals from the kit that matches your lid type.
Step 4: Reassemble and Retest the Keg
Set the lid on straight, checking that the posts and the bail line up before you tighten anything. Latch the bail evenly on ball locks, or pull the bail down and out on pin locks so the gasket clamps evenly across the top.
Now pressurize to 30 to 40 PSI and leave it for an hour. This is the step people skip, and it is worth doing: a fresh rubber ring often needs real force to take its set, and plenty of brewers have watched a leak stop on its own at that pressure.
After that, bleed back down and do the honest test at your real serving pressure, somewhere around 10 to 12 PSI. A lid can seal at 30 and still weep at 10, which is exactly the pressure your taps run at, so the high-pressure trick is a setting step, not a verdict.
Spray the rim once more and look for bubbles. Then, if you want a CO2-free check, fit a Schrader-style quick disconnect and pump the headspace with a bike pump or tire inflator. It is slower, but it tells you whether the seal is tight without chilling a full keg or burning through a cylinder.
Reconnect the CO2 only after the lid holds. A steady slow loss of pressure over a few hours means something is still weeping, and the bubble test will point right at it.
Common Mistakes
Using the wrong ring size. A .310 inch cross-section in a groove cut for .280 can ride up and buckle. Use the oversized ring as a deliberate fix for a stretched groove, not as a default.
Skipping the groove clean. A new o-ring pressed over a dried bead of old rubber or a grain of debris will leak immediately, and you will blame the seal for it.
Reaching for petroleum jelly. It is the most common recommendation floating around forums and the least appropriate. Use food grade silicone keg lube instead.
Testing while the lid is off or loose. Spray the assembled, latched, pressurized keg. Bubbles from an open seam tell you nothing.
Replacing a seal when the leak is elsewhere. If the bubbles show up at the relief valve or the posts, a new lid o-ring changes nothing. Use the table above and fix the actual part.
Tightening the gas post nut with a wrench. Those threads are soft stainless and strip easily. Hand tight plus a quarter turn is plenty, and a wrench here is a common cause of a slow post leak that gets blamed on the seal.
Believing 30 PSI is proof. High pressure sets the ring. Only a test at serving pressure tells you whether it holds, and most kegs serve at 10 to 12 PSI.
Frequently Asked Questions
What causes a corny keg lid to leak?
Almost always the rubber o-ring in the lid. It dries out, flattens, cracks or gets a piece of debris trapped under it, and the ring no longer compresses evenly. Other causes include a dent in the stainless rim, a warped lid, and a warped or scratched sealing surface. A dry ring costs almost nothing to replace and fixes the majority of leaks.
Why is my keg leaking from the top?
Gas under pressure escapes through the easiest path available, and a compromised lid seal is usually that path. You will see foam or a steady hiss around the rim, sometimes only a mist you can hear more than see. If the leak only starts once you connect CO2, suspect a gas post o-ring instead. A soapy water spray at 10 PSI tells you which one it is.
How do I safely depressurize a corny keg before removing the lid?
Disconnect the CO2 at the regulator first. On a ball lock keg, hold a screwdriver against the poppet valve on the gas post until the hiss stops. On a pin lock keg, or on lids with a pressure release ring, pull the ring up in the center of the lid to vent it. Confirm the keg is empty by pressing the lid down firmly; it should stay put with no resistance.
Do I need to replace the o-ring, or can I reuse the same one?
Replace it. A ring that has leaked once has usually lost its shape or picked up a groove wear pattern, and o-rings are cheap enough that there is no reason to reinstall a suspect part. If the ring looks perfectly clean and flexible after a leak, the actual fault is more likely a dent, debris or a damaged sealing surface, so check those before assuming the ring was the problem.
Can you re-seal a corny keg lid?
Yes, in most cases. Sealing is a mechanical job: clean the groove, fit the correct o-ring, lube it lightly and let the lid clamp down evenly. If the lid body itself is cracked or warped, or the threads and posts are stripped, replacement is the only durable option. That is the point at which a multi-piece seal kit stops making sense and a different lid is the smarter call.
How do I stop my corny keg from losing pressure?
Find the leak before you spend anything. Spray the assembled keg at serving pressure and follow the bubbles: lid perimeter means the o-ring, center of the lid means the pressure relief valve, and the post or coupler means the post o-rings. A slow leak at the relief valve often clears after you flush it with hot water and retighten it. If a finicky old valve keeps weeping, it is a cheap part to replace.
Conclusion
Start by disconnecting the CO2 and fully depressurizing the keg, then spray the assembled lid with soapy water at about 10 PSI and let the bubbles point at the fault. Clean the groove and both sealing surfaces, fit a new o-ring of the right cross-section with a light coat of food grade lube, and clamp the lid down evenly.
Hold it at 30 to 40 PSI for an hour to set the ring, then retest at real serving pressure before you trust it. If a fresh seal on a clean rim still weeps, the dent or the relief valve is the real problem, and that is where the parts kit ends and a different lid begins.