To make a one gallon batch of beer, use about 2.5 lb (1.1 kg) of pale malt for roughly 3.8 litres of finished beer, mash it in about 1.5 gallons (5.7 L) of water, and follow the same steps a bigger brew uses, just smaller. You will spend two to three hours of active work on brew day and two to four weeks from pitch to first pour. One gallon, 3.8 L in metric, is enough to learn every step of homebrewing without committing a five gallon kit or a sack of grain to your first attempt.
Small batch brewing is genuinely smaller in effort, not just in volume. The same pot, the same thermometer and the same clean-as-hell rule apply, and you finish with about nine or ten twelve-ounce bottles that you can actually drink before they go flat.
The honest part first: a one gallon batch is fussier per gallon than a five gallon one. Liquids heat and cool faster, volumes are harder to measure, and small mistakes show up in the glass. Work through it once and the process stops being mysterious.
Table of Contents
- What You Need
- Equipment: the short list
- Optional but genuinely useful
- One complete 1-gallon recipe in US and metric units
- How to Make a One Gallon Batch of Beer Step by Step
- Step 1, Prepare and Sanitize
- Step 2, Heat and Mash
- Step 3, Boil and Add Hops
- Step 4, Ferment
- Step 5, Package and Enjoy
- Common Mistakes
- Frequently Asked Questions
- How much grain do I need for 1 gallon of beer?
- How much yeast do I need for a 1 gallon batch?
- How long should a 1 gallon batch ferment?
- How much priming sugar for a 1 gallon batch?
- How long does homebrew last in bottles?
- What is the 3:30-300 rule for beer?
What You Need
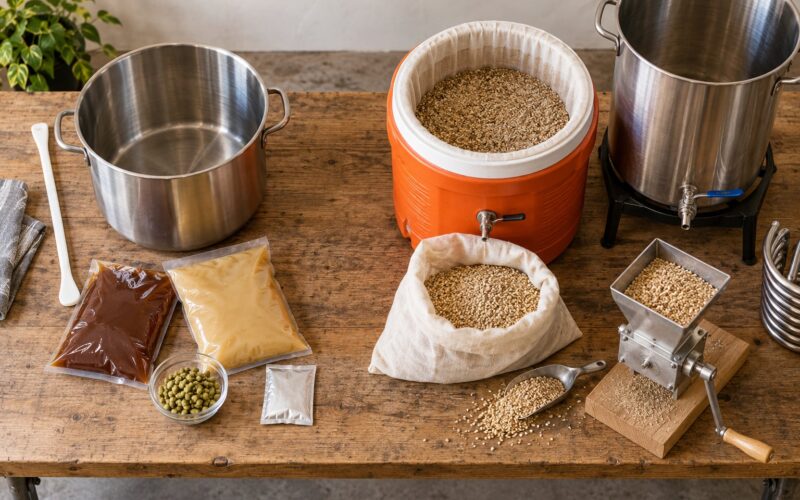
A one gallon batch needs far less gear than the plastic kits advertise, and quite a lot of it can be borrowed for a first run. Start with the short list, then read the notes under it for what is genuinely optional.
Equipment: the short list
- A 2 to 3 gallon brew kettle or stock pot. A 2 gallon pot works but leaves little room for a rolling boil without boiling over. HomebrewTalk regulars consistently recommend brewing in something bigger than the batch, and a 3 gallon pot is the cheapest way to fix that.
- A 2 gallon fermenter with an airlock. Skip the 1 gallon vessel. A one gallon fermenter leaves no headspace for foam, and HomebrewTalk veterans almost always tell beginners to step up to 2 gallons for exactly this reason.
- A long spoon or paddle, a strainer, and a food-safe thermometer. That is your entire mash and transfer kit.
- A siphon or a racking tube with a clamp. A cheap plastic siphon works. For one gallon, a turkey baster also moves wort fine.
- No-rinse sanitizer and a bottle brush. This is the one item you never economise on.
- Twelve-ounce bottles or a one gallon glass jug with a cap. A jug is enough for a first batch since a gallon of finished beer fills it exactly, but bottles make carbonation even and let you give some away.
Optional but genuinely useful
A 0.1 g gram scale is the one luxury small-batch brewers argue about most. Without it you are eyeballing hops and yeast, and eyeballing yeast is fine while eyeballing hop weight is not. A refractometer helps more than a hydrometer here, because a hydrometer sample pulls about 150 mL out of your finished batch, which is two bottles gone. A cheap thermometer with a clip for the fermenter matters more than most people expect, since a one gallon jug swings temperature fast in a warm kitchen.
You do not need a wort chiller. An ice bath in a sink with the kettle lid on does the same job for a fraction of the cost. You also do not need to rehydrate dry yeast, a starter, or a pH meter. Every one of those is a good practice, and none of them is what separates a good first batch from a bad one.
One complete 1-gallon recipe in US and metric units
This is a clean, forgiving American pale ale. It makes about 3.6 litres (0.95 gallons) of finished beer, roughly nine 12 oz bottles, at an original gravity near 1.045 and about 4.5 percent alcohol.
| Ingredient | US amount | Metric amount | When it goes in |
|---|---|---|---|
| Pale two-row malt | 2 lb 10 oz | 1.25 kg | Mash |
| Caramel malt (optional) | 4 oz | 115 g | Mash |
| Columbus or Magnum hops | 1.0 oz | 28 g | 60 minutes of boil |
| Cascade, Centennial or Citra hops | 0.5 oz | 14 g | 10 minutes of boil |
| Dry ale yeast | 3.5 g, about half a 7 g packet | 3.5 g | Pitch |
| Corn sugar for bottling | 20 to 25 g, about 1.5 tablespoons | 20 to 25 g | At bottling |
| Mash water | 1.5 gal | 5.7 L | Mash |
| Sparge water | 0.5 gal | 1.9 L | Rinse |
I use slightly more grain than the minimum because brewhouse efficiency drops a little when mash volumes get small, and a slightly stronger one gallon batch is easier to drink than a thin one. If you are copying a five gallon recipe instead of using this one, divide every weight by five, then add about 5 percent for the same reason.
How to Make a One Gallon Batch of Beer Step by Step
Five steps: sanitize, mash, boil, ferment, package. The whole thing fits in an afternoon and the next four to six weeks are mostly waiting. Brewers on r/Homebrewing say the process barely changes as volume shrinks, and that the first batch is mostly about keeping things clean.
Step 1, Prepare and Sanitize
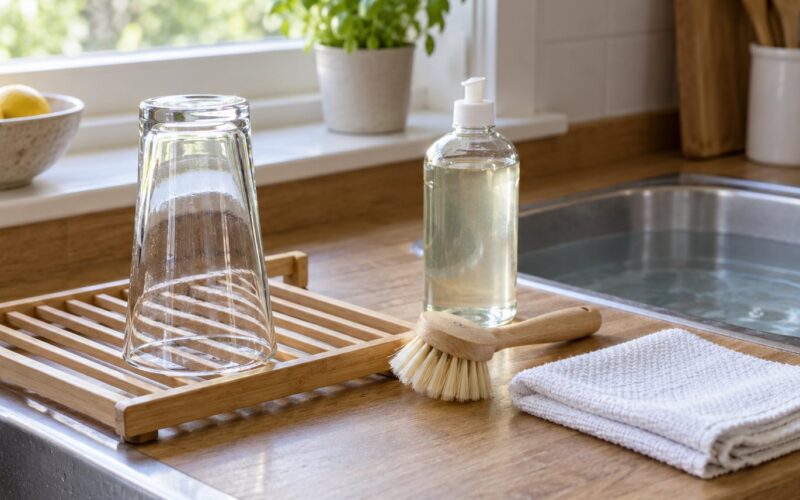
Sanitize everything the wort or beer will touch: the kettle, the spoon, the strainer, the siphon tubing, the fermenter, the airlock, and the bottles. Mix sanitizer in warm water according to the label, soak or wipe everything, and let it air-dry. No rinsing, because no-rinse products exist for a reason.
Before the boil begins, you can relax. Bacteria introduced during the mash die in a rolling boil, so the mug that goes through the kettle needs clean water, not a sterilized one. The moment that changes is after you have boiled and chilled the wort, when anything unwashed that touches it can start a bacterial infection.
Calibrate the fermenter before it fills. Mark the top of your expected finished volume with a permanent marker so you know your true starting gravity later, which makes the gravity reading worth something. Then measure the strike water and get it ready to heat.
Step 2, Heat and Mash
Heat 1.5 gallons (5.7 L) of water to about 168 F (73 C). That lands you near a 155 F (68 C) mash temperature, which is the sweet spot for an American ale: enough heat to convert starch, not so much that you pull out a harsh, astringent finish.
Crush or chop the malt, add it to the vessel, and pour the hot water over the grain. Stir thoroughly, then wait 60 minutes. Watch your temperature. An uninsulated one gallon mash tun drops fast, and a five degree slide in the first fifteen minutes is normal. If it falls below about 140 F (60 C), wrap the vessel in a towel or a closed cooler, or add a small amount of near-boiling water and stir it in.
When the clock hits 60 minutes, mash out by raising the temperature to about 168 F (73 C). That stops enzyme activity and makes the sugars easier to rinse out. Then sparge slowly, pouring about 0.5 gallons (1.9 L) of hot water over the grain bed and collecting everything below in your kettle. Resist squeezing the bag or the mash tun. Those tannins will make your one gallon taste harsh.
Step 3, Boil and Add Hops
Bring the collected wort to a boil and run a full 60-minute timer when it does. Add your 28 g of bittering hops at the start so they contribute bitterness, then add the 14 g of aroma hops with ten minutes left on the clock. Keeping the boil gentle still counts as a full boil for hop utilisation purposes, so you can avoid a violent rolling boil in a small pot.
Boil-off is the number that surprises people most at this scale. Expect to lose roughly 0.3 gallons per hour from a gentle boil, and up to 0.5 or more in a windy kitchen or at elevation. Start with about 1.9 gallons (7.2 L) of wort in the kettle and plan on finishing near 0.9 to 1 gallon (3.4 to 3.8 L). Measure the volume when the boil ends rather than trusting your starting numbers, because the mash efficiency and the kettle itself will disagree with the recipe.
Chill the wort fast. Move the kettle into a sink or bucket filled with ice and water, stir gently, and cover it. A one gallon pot drops to pitching temperature in about 15 to 20 minutes. Once it is cool, siphon or ladle it into the fermenter, leaving a couple of inches of headspace for foam.
Step 4, Ferment
Pour your wort into the sanitized fermenter, then pitch 3.5 g of dry yeast straight into the wort. If you are using liquid yeast from a vial or pouch, one small vial covers a one gallon batch comfortably. The myth that dry yeast must be rehydrated in warm water first costs beginners more wort than it saves them.
Before the yeast goes in, shake the sealed fermenter hard for a minute. That folds dissolved oxygen into the wort, which the yeast needs to build cell walls and reproduce. Some brewers do it by making a separate oxygenation step with a splash of boiled-and-cooled water, but the shake is enough at this scale.
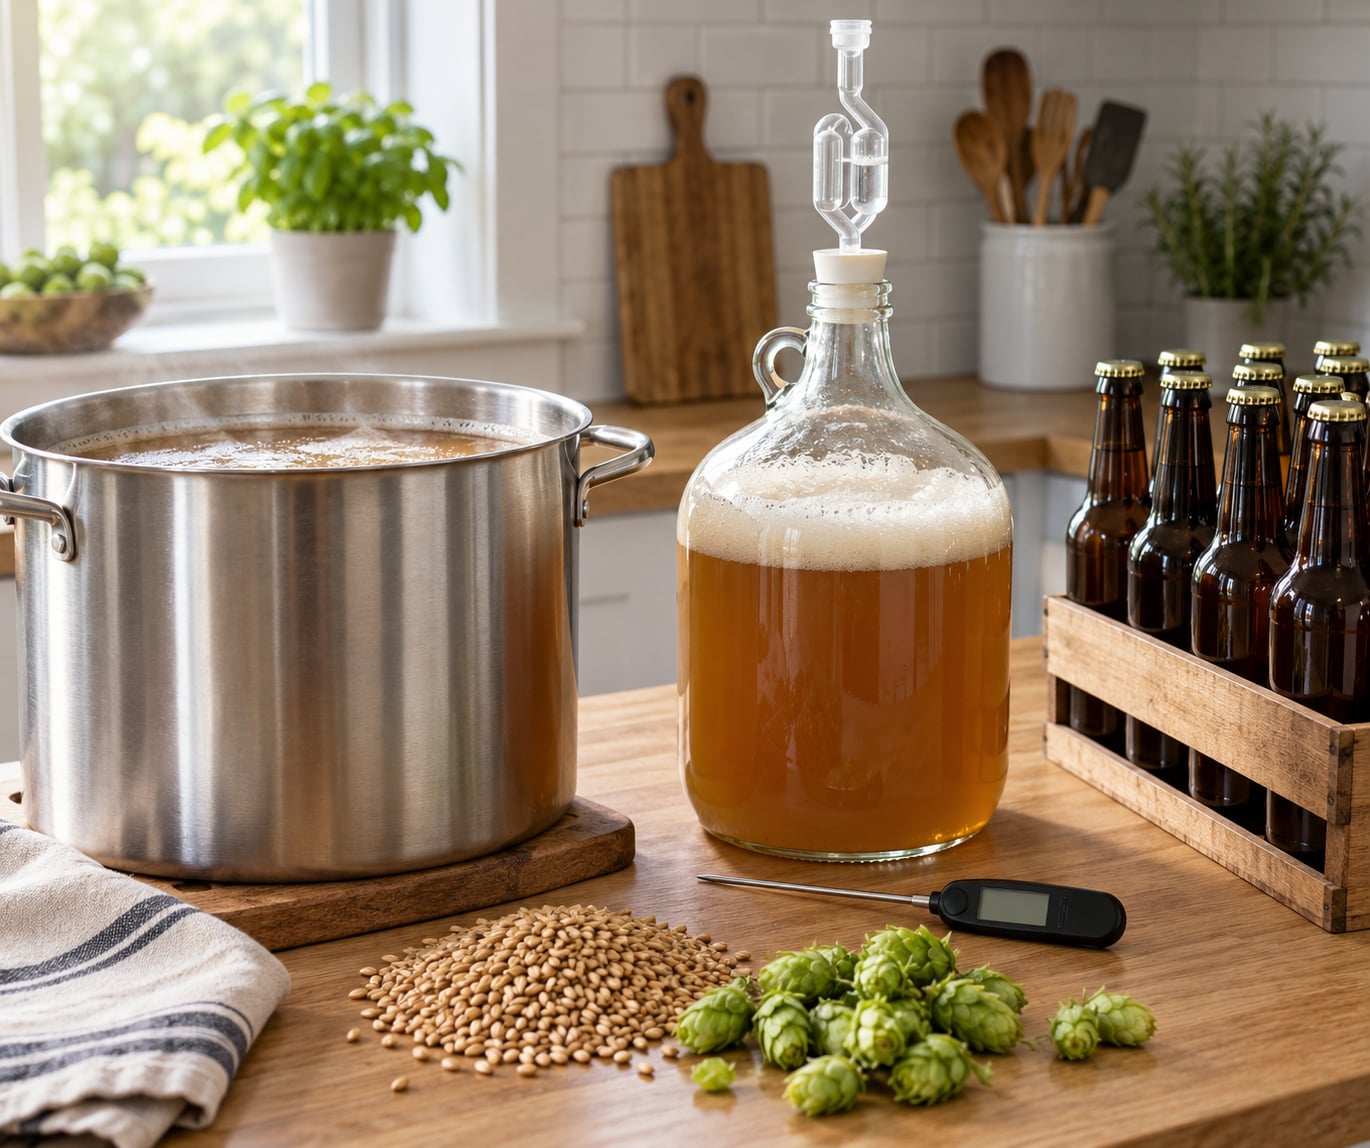
Fit the airlock with a little water in the trap and keep the fermenter somewhere steady. An ale wants about 66 to 72 F (19 to 22 C), and the daily swings in an uninsulated kitchen matter more than the number on the thermometer. A closet, a pantry, or a set-and-forget wine fridge all work. Within a day you should see signs of life: krausen, airlock bubbling, or a faint swirl of yeast.
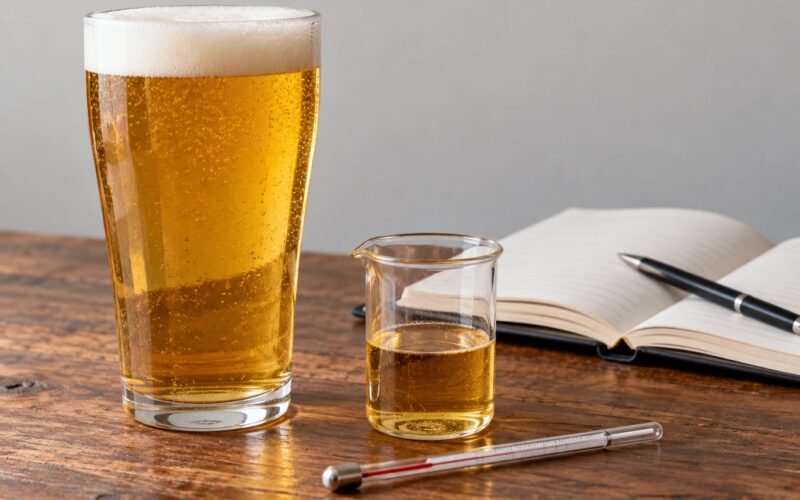
Four to seven days is normal for fermentation to finish, and a slow week is not a failed batch. Leave it alone until the airlock has been quiet for two days in a row, then take a hydrometer reading. At one gallon that costs you about 150 mL, but knowing the finish gravity is how you tell a finished beer from one that still has sugar left.
Step 5, Package and Enjoy
Mix 20 to 25 g of corn sugar into a small amount of the packaged wort, or dissolve it in a little boiled-and-cooled water, then add it to the batch and mix gently. That sugar wakes the yeast up one last time so it carbonates the bottle in place. Three tablespoons, which is what many kit instructions tell you, is too much for a gallon and gives you gushers.
Bottle into sanitized bottles or cap the jug, then leave the beer somewhere at room temperature for two weeks. Refermentation takes about that long, and after it you should refrigerate it and drink it cold. Carbonation peaks after the second week and fades slowly, so if you want the last glass to be as lively as the first, keep the finished beer cold from the beginning.
Store bottles upright, in the dark, away from heat. Two to six months is the sweet spot for a simple ale like this one, and sealed bottles keep for a year or more, though carbonation and hop aroma are at their peak early. That is also the answer to people wondering why homebrew costs less than store-bought beer: the ingredient bill for a single gallon is a fraction of a shelf price for nine bottles, and the equipment pays for itself in one or two batches.
Common Mistakes
Almost every bad first batch comes down to one of five things. The good news is that all of them are diagnosable, and usually fixable before you bottle.
| Symptom | Likely cause | Fix |
|---|---|---|
| No airlock activity after 24 hours | Wort was too hot when you pitched, or the yeast was old | Yeast dies above about 80 F (27 C). Cool to 68 F (20 C) and pitch a fresh packet |
| Fermentation stalls around the same gravity | The fermenter sat somewhere too cold, or the yeast ran out of oxygen | Move it to a warmer, steadier spot and raise the temperature slowly by a few degrees a day |
| Beer tastes thin or watery | Not enough grain, or sparging pulled tannin and bitterness that balanced thin sweetness | Next batch, use 2 lb 14 oz (1.27 kg) of malt and stop the mash conversion a little early |
| Beer tastes harsh or astringent | Mash temperature ran too high, or you squeezed the grain bag | Target a 150 to 158 F (65 to 70 C) mash and let the wort drain without pressing |
| Exploding caps and foam everywhere | Too much priming sugar, or beer bottled before fermentation stopped | Use 20 to 25 g per gallon and wait for two quiet days before bottling |
| Flat bottles after bottling | Beer was too warm when bottled, or it sat below 55 F (13 C) during refermentation | Bottle at 65 to 72 F (18 to 22 C) and keep it warm for a week |
| Astringent, papery, brown beer | Oxidation from splashing or pouring warm wort through an open vessel | Siphon low and slow, keep the fermenter topped up, and transfer hot-side when you can |
| Gravity never reaches the target | Inefficiency at small scale, or the boil took more volume than expected | Record your real numbers for a few batches and correct, rather than adding water or sugar by feel |
Two habits prevent most of that list. Sanitize everything that touches beer after the boil, and keep the fermentation temperature stable even more than you keep it exact. A one gallon batch has less thermal mass than a five gallon one, so it reacts faster to a warm kitchen or a fridge door left open.
The one thing worth doing that beginners skip is writing down your numbers each batch, especially pre-boil and post-boil volume and your final gravity. Three batches of notes will teach you your own brewhouse efficiency better than any recipe book, and the recipe that works for someone else will stop making you guess.
Frequently Asked Questions
How much grain do I need for 1 gallon of beer?
About 2.5 pounds, or 1.1 to 1.25 kg, of pale malt produces 3.8 litres of finished beer at roughly 4 to 5 percent alcohol. Small batches run slightly less efficiently than five gallon ones, so going a little heavy on grain is the usual advice. Divide any five gallon recipe by five, then add about 5 percent to the grain weight to match the same strength.
How much yeast do I need for a 1 gallon batch?
Three to four grams of dry yeast, which is about half of a standard 7 g packet, is the right pitch for one gallon. One small vial or pouch of liquid yeast covers the batch comfortably, and over-pitching is a much smaller risk at this scale than underpitching. Skip the starter and the rehydration step; both are optional.
How long should a 1 gallon batch ferment?
Most ales finish primary fermentation in four to seven days. Wait for the airlock to be quiet for two consecutive days and take a hydrometer reading before you assume it is finished. Once you bottle with priming sugar, allow a further two weeks for refermentation. From brew day to first pour, expect two to four weeks.
How much priming sugar for a 1 gallon batch?
Use 20 to 25 g of corn sugar, roughly one and a half tablespoons, for one gallon of beer around 4.5 percent alcohol aiming for moderate carbonation. Many kit instructions recommend three tablespoons, which is a 5 gallon amount and produces gushers at this scale. More sugar means more alcohol and more pressure, not more drinkable beer.
How long does homebrew last in bottles?
Sealed bottles keep for a year or more without spoiling, but the beer tastes best in the first two to six months. Carbonation is strongest in the first few weeks after bottling and slowly declines, so store finished beer cold if you want the last glass to pour like the first. Hop aroma fades faster than alcohol, so light-bodied ales age sooner than strong ones.
What is the 3:30-300 rule for beer?
The rule is a starting ratio for building a recipe from scratch: 3 pounds of malt per gallon of water in the mash, a 30 minute mash, and a 60 minute boil. Shorter mashes extract less starch and longer boils drive off more hops than aroma. It is a rough framework, not a law, and many brewers mash for 60 minutes instead of 30.
Learning how to make a one gallon batch of beer comes down to one afternoon of practice and a few weeks of patience. Buy 2.5 lb (1.1 kg) of pale malt, a half packet of dry yeast, a couple of hop packets, and a 2 gallon fermenter with an airlock. Sanitize everything, follow the five steps above, keep the fermenter at a steady ale temperature, and bottle with 20 g of corn sugar when the airlock goes quiet. If you get through that one batch, every future brew, large or small, is just the same process with bigger numbers.