To make a yeast starter, boil 1 liter of water with about 100 g of dry malt extract for 10 minutes, cool it to room temperature, then pitch your yeast into a sanitized vessel and let it ferment for 24 to 48 hours. That is the whole method, and it takes about 15 minutes of active work.
A starter is a small batch of weak wort that you grow yeast in before brew day. The point is cell count: yeast pitched straight from a single vial into 5 gallons is often too thin to finish cleanly, and a healthy starter fixes that in two days of waiting.
The technique is decades old and well documented by the American Homebrewers Association, Wyeast and White Labs, but most pages online are forum threads or a thin 348-word blog post from years ago. So here is the full process, with the exact quantities and the failure modes nobody writes down.
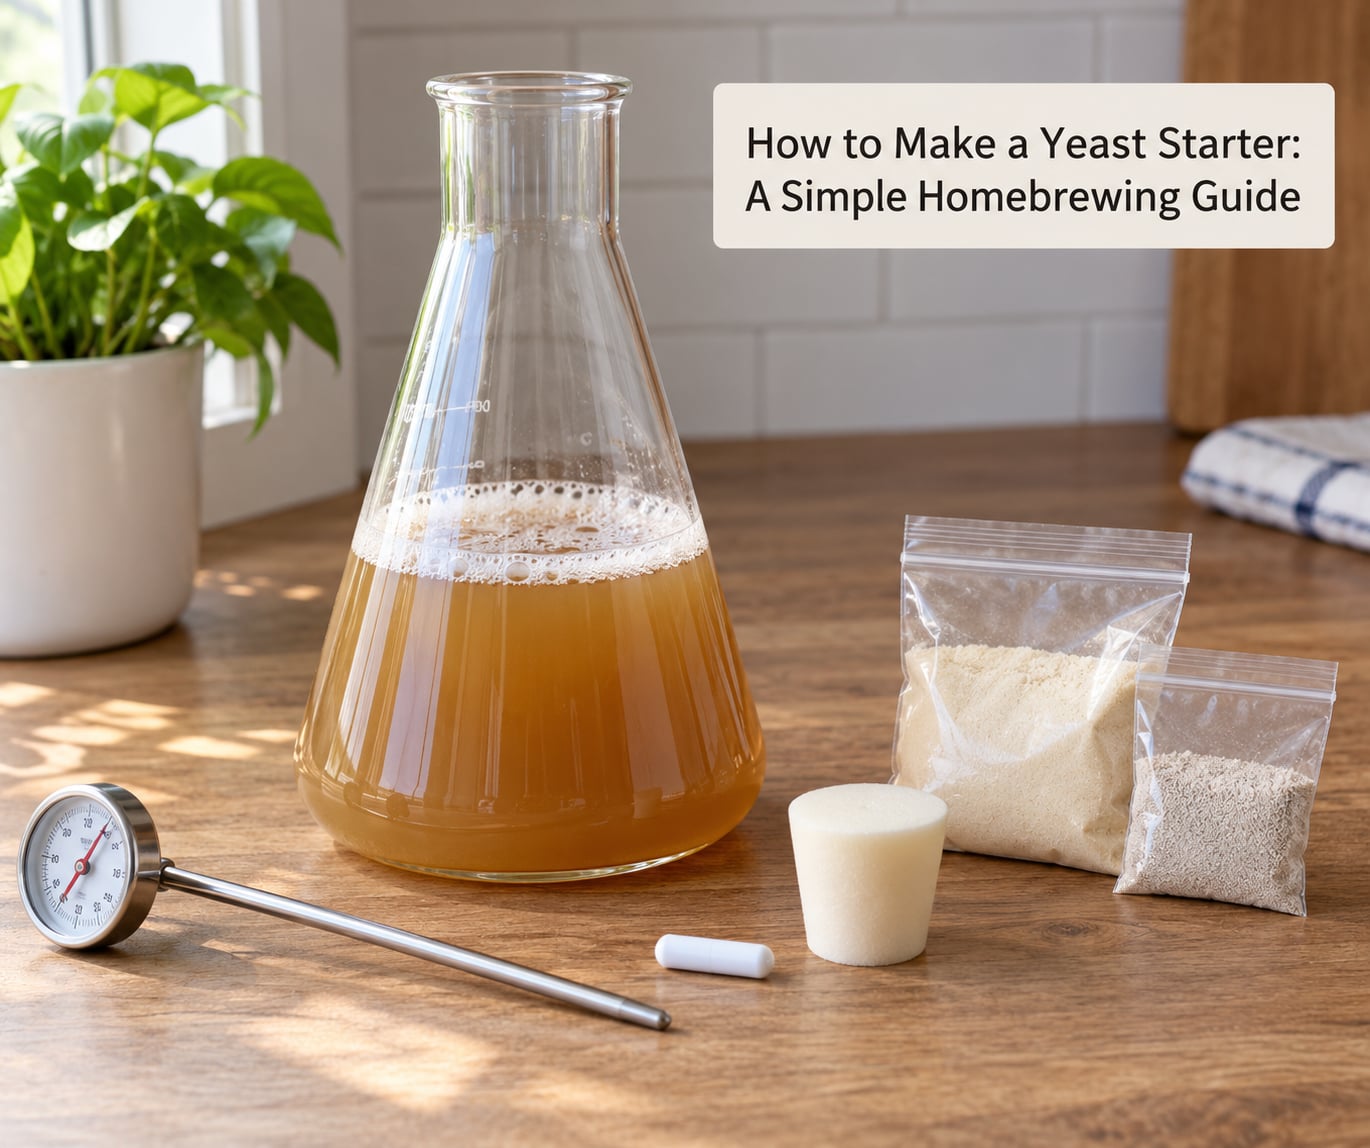
Table of Contents
- What You Need
- Step-by-Step: How to Make a Yeast Starter
- Step 1: Choose Your Yeast and Container
- Step 2: Prepare the Starter Liquid
- Step 3: Combine the Yeast and Starter Liquid
- Step 4: Cover and Ferment the Starter
- Step 5: Check the Starter’s Progress
- Step 6: Use or Maintain the Starter
- Common Mistakes and How to Fix Them
- Frequently Asked Questions
- What can you use as a yeast starter?
- Can you make a yeast starter with dry yeast?
- How long to let a yeast starter sit before pitching?
- How do I know when my yeast starter is ready?
- Do I need to decant my yeast starter before pitching?
- Can you make a yeast starter with brewing water?
- Conclusion
What You Need
You need very little. A liter of weak wort and somewhere clean to put it will get you most of the way to a healthy starter.
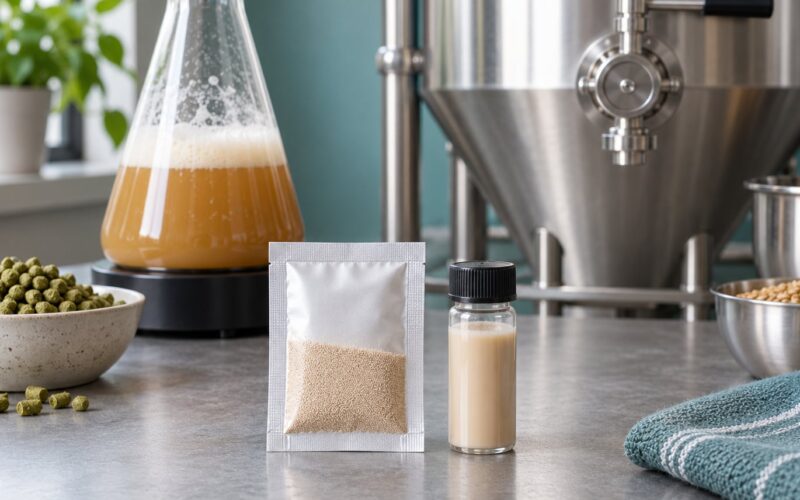
- Yeast. One liquid yeast vial or pack, ideally within date. An expired vial is fine for a starter since the whole point is to grow new cells out of it.
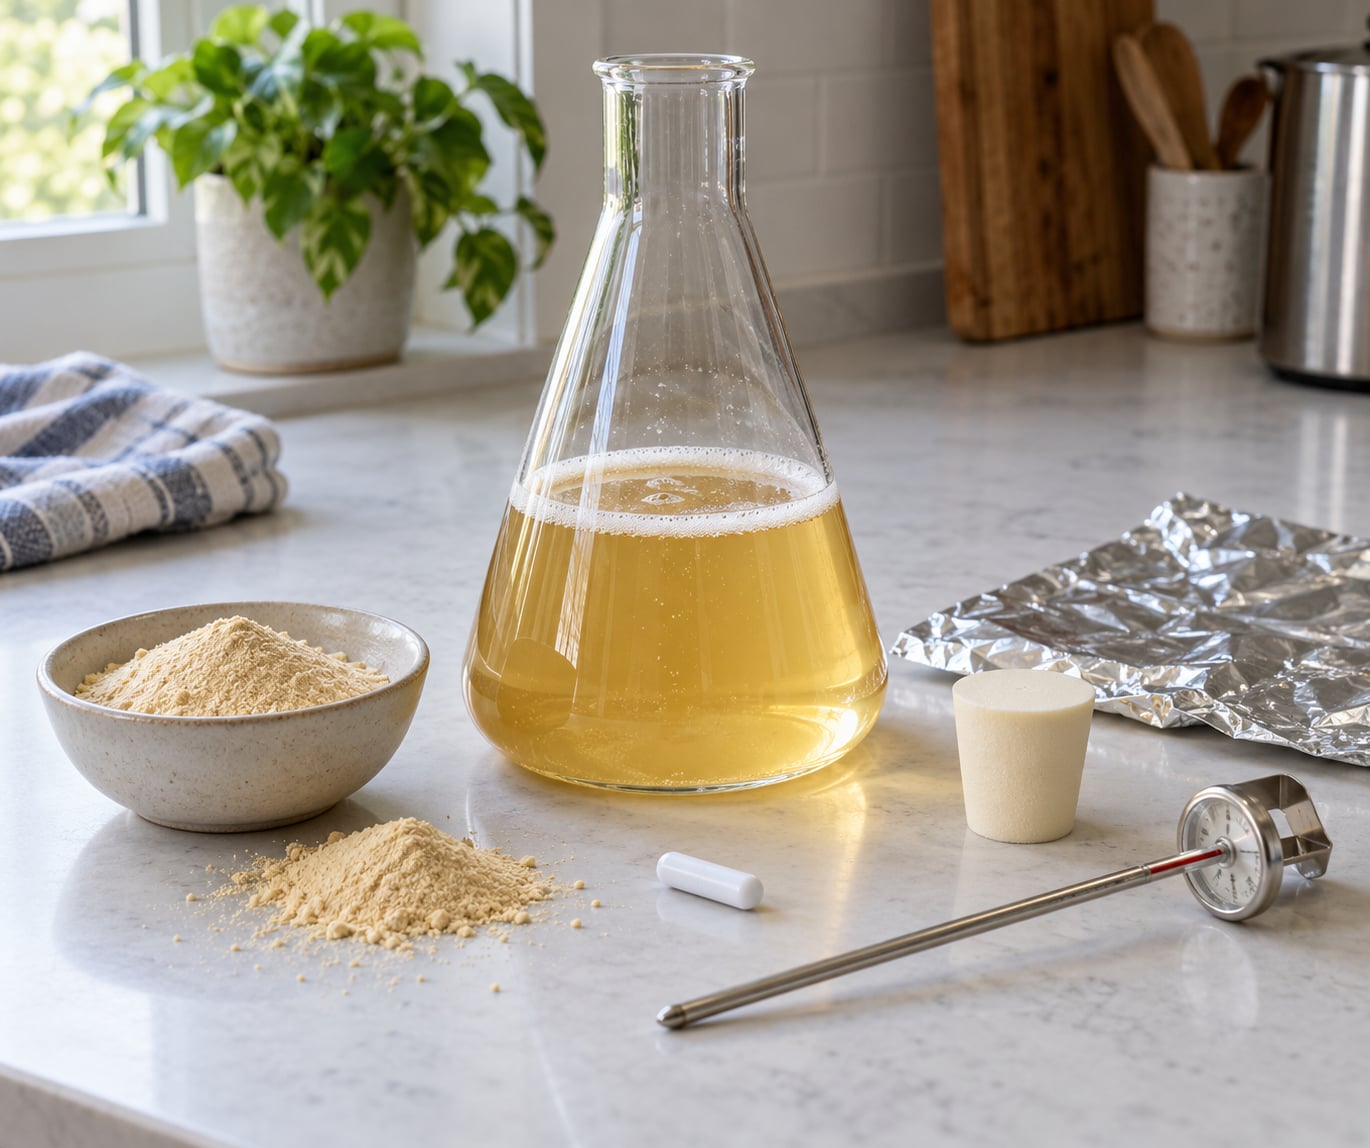
- Dry malt extract (DME). About 100 g per liter of water, which lands near 1.040 specific gravity. Liquid malt extract works too at roughly 120 g per liter.
- A vessel with headspace. A 2 liter Erlenmeyer flask is the standard, but a glass jar or a sanitized growler works fine.
- A breathable cover. A foam stopper or a strip of sanitized foil. Leave it unsealed so carbon dioxide can escape.
- Water. 1 liter of tap or distilled water, or 1 liter of your brew water if it is treated and not heavily chlorinated.
- A thermometer. You need to know you are cooling to room temperature and holding the strain’s temperature afterwards.
- Sanitizer. StarSan or a no-rinse iodophor. Everything the wort or yeast touches gets sanitized first.
- Optional: yeast nutrient. A half teaspoon of Fermaid-O or DAP per liter helps a hungry yeast finish the sugar and reach a higher cell count.
- Optional: stir plate and stir bar. A magnetic stir plate keeps yeast suspended, which raises your cell count noticeably. Swirling by hand three or four times a day gets you close enough for most ale.
- Optional: a blow-off tube. A 1 liter starter on a vigorous strain can push foam past a foam stopper. A blow-off tube set in a sealed jar is cheap insurance.
The flask and stir plate are the two things beginners think are mandatory. They are not. A glass jar with a foil cover works fine for most 5 gallon ale batches, which is the answer you get on r/Homebrewing whenever the same question comes up.
Step-by-Step: How to Make a Yeast Starter
Step 1: Choose Your Yeast and Container
Pick the strain you plan to brew with. Building a lager starter for a pilsner and a 1056 starter for a pale ale are different jobs, and the lager one is much bigger and slower.
Leave at least twice the starter volume as headspace. A 1 liter starter in a 2 liter flask can foam up hard during high krausen, and a jar filled to the neck will make a mess of your counter.
Step 2: Prepare the Starter Liquid
Bring 1 liter of water to a boil, then stir in about 100 g of DME. Boil for 10 minutes to sterilize and drive off chlorine, then cool to room temperature, roughly 65 to 75 F.
A ten to one water-to-DME ratio gives you about 1.0375, which most brewers treat as close enough to 1.040. Getting the gravity exact is not the point; a consistent, weak, sterile wort is the point.
Speed up the cooling with an ice bath. The faster the wort cools, the better, because a starter should hit its target temperature fast and stay there.
Step 3: Combine the Yeast and Starter Liquid
Sanitize the vessel, then pour the cooled wort in. Add the yeast, swirl gently to distribute, and add your nutrient if you are using one.
Splitting a packet is normal. For a 1 liter starter, half a packet of dry yeast is plenty, and with a liquid vial you pitch the whole thing because you want every cell you can get.
Step 4: Cover and Ferment the Starter
Fit the foam stopper or foil cover. Do not seal it airtight. Yeast makes carbon dioxide fast, and a sealed vessel with no gas outlet can build pressure and pop its lid.
Hold the starter at the strain’s recommended temperature. Most ale strains sit between 65 and 75 F. Lager strains want 50 to 55 F, which is why lager starters take longer and grow larger.
Step 5: Check the Starter’s Progress
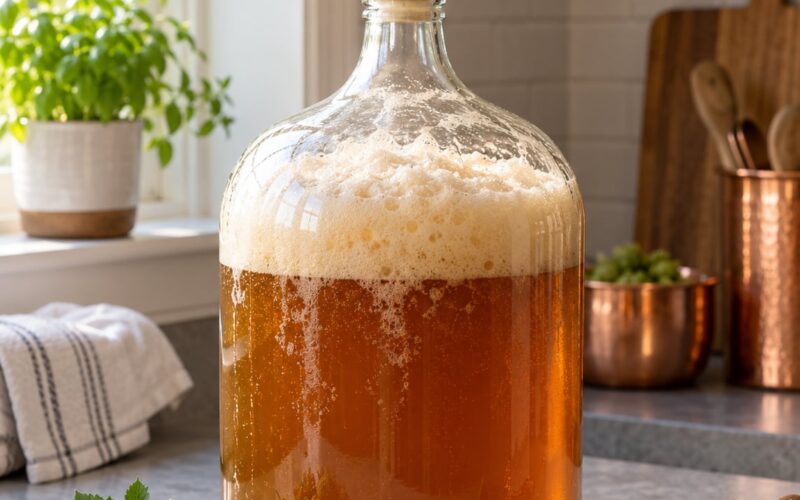
A healthy starter shows activity within 12 to 24 hours: foam, a rising liquid line and a swirl of yeast when you swirl the flask. The foam cap that forms during the peak, high krausen, is the single best sign you have a growing culture.
Expect the starter to double roughly every four to eight hours while it is actively fermenting. After 24 to 48 hours you should have enough cells for a 5 gallon batch at a healthy pitch rate. If you have a cell count microscope, a target near 3 million cells per mL is a reasonable place to pitch from.
Pitch while it is still active. A starter that has peaked and dropped does not have the cell count you hoped for, no matter what it looks like.
Step 6: Use or Maintain the Starter
Pour the whole starter into your wort on brew day. This is the common homebrew approach and it works, though the spent starter wort can add a touch of extra character.
Decanting is the other option, and it is the one most lager brewers use. Chill the starter to drop the yeast into a compact cake, pour off the spent wort, and pitch only the yeast. You get the cells without the fermentables, which keeps delicate styles clean.
If brew day slips, feed the starter. Split off 100 to 150 ml, add fresh sterile starter wort at the same gravity, and let it recover. The Homebrewers Association forum’s standard advice is to take about a fifth to a tenth of the solids from a grown starter and build a new one from it.
You can also divide a single starter into two smaller starters this way, which is how people cover two batches at once. Do not keep feeding one starter indefinitely. A stepped-up culture drifts toward a strange, fruity profile, and eventually toward bacteria, so treat it as something to use and then replace.
Common Mistakes and How to Fix Them
Nothing happens after 24 hours. The usual causes are wort that was too hot when you pitched, a starter kept too cold for an ale strain, or a dead packet. Check your temperature first, then move the vessel somewhere warmer and give it another 12 hours. If the yeast was killed by heat, there is no recovery, so start over.
The starter blows its cover. High krausen on a fast strain pushes foam up. Use a bigger vessel with more headspace, a blow-off tube, or step the starter down to a smaller size. Foam on the outside is cosmetic; losing half your cells is not.
Stringy, ropy texture or a sour smell. That is usually a bacterial infection, and no amount of feeding fixes it. Dump it, sanitize everything the starter touched, and check your sanitation routine. Starter wort is weak and sits at a pH where bacteria can grow, so clean equipment matters more here than in your main brew kettle.
Too much aeration. Some brewers shake starter vessels vigorously to oxygenate. Bottled yeast propagates best with plenty of oxygen at the start, but shaking hard later in the ferment can oxidize the wort and push acetic flavors. Swirl gently, and if you have a stir plate, use a low setting.
Feeding too soon. Adding fresh wort while the old sugar is still fermenting gives you a large vessel of weak wort instead of more cells. Wait for the activity to peak and drop before you add anything new.
Waiting too long. A starter left alone for a week past its peak has run out of food and started to decline. Use it at peak activity, or split and refill it within a day or two.
Underpitching anyway. A starter that looks ready is not always big enough. If your batch is high gravity, if it is a lager, or if the yeast is a few months past its date, size up. Two 1 liter starters beat one 2 liter starter built from a single vial, because you can pitch them both and split the risk.
A last piece of safety advice, since starter wort gets made in bulk by some people: do not seal hot wort in a container that cannot vent. If you are canning bulk starter wort, a pressure canner at 250 F for 15 minutes is the forum-recommended approach, because ordinary canning does not kill everything that survives a boiling wort.
Frequently Asked Questions
What can you use as a yeast starter?
Most brewers use 1 liter of water with about 100 g of dry malt extract, which makes a weak wort near 1.040 specific gravity. Liquid malt extract works at roughly 120 g per liter, and first-run wort from your brew kettle boiled briefly and chilled is a common shortcut. A flask is not required. A sanitized glass jar with a foil cover produces plenty of yeast for a 5 gallon ale.
Can you make a yeast starter with dry yeast?
Yes, and for most homebrewers it is the easiest option. Dry packets are cheap, widely available and already contain enough cells for a 5 gallon batch, so a 1 liter starter is more about insurance and freshness than necessity. A starter from dry yeast grows fast, often doubling every four hours, and is perfectly fine for pitching into a normal ale batch.
How long to let a yeast starter sit before pitching?
Plan on 24 to 48 hours. Start it 24 to 48 hours before brew day, hold it at the strain’s recommended temperature, and look for a foam cap and steady activity rather than a clock. Pitch while it is still active, before the fermentation peaks and drops. A starter left for a week after its peak will have lost cells and aroma.
How do I know when my yeast starter is ready?
Look for high krausen: a thick foam cap that rises when you swirl the vessel. Rising liquid level, visible activity within 12 to 24 hours, and a healthy yeast smell all point the same way. Without a microscope, time and temperature are your best tools. If you have one, pitching near 3 million cells per mL is a solid target.
Do I need to decant my yeast starter before pitching?
Pouring the whole starter in is standard for most homebrews, and the spent wort is a small amount of extra fermentables. Decanting means chilling the starter, letting the yeast drop into a cake, and pitching only the yeast. Lager brewers usually decant to keep delicate styles clean, and it is the better choice for a high gravity or very pale beer.
Can you make a yeast starter with brewing water?
Yes, and many people do. Your brewing water works as long as it is not heavily chlorinated or loaded with salts, since a weak wort is more sensitive to bad water than your main brew. Distilled water is the safest default. If your tap water leaves rings or smells strongly of chlorine, treat it or switch to distilled before you make the starter.
Conclusion
Your first move is simple: boil a liter of water with 100 g of DME for 10 minutes, cool it to room temperature, and pitch your yeast into a sanitized jar with a foil cover. Hold it at the temperature the strain calls for, watch for the foam cap, and use it while it is still fermenting rather than waiting for it to look perfect.
None of this needs a flask or a stir plate, and as 2026 homebrewers keep trading tips online, the jar method is still the one that works for most people brewing 5 gallon ales. Buy the equipment later if your batches get bigger.