Most bad-tasting homebrew comes down to one of five things: sanitation, yeast health, temperature, oxygen, or measurement. Name the flavor first, because the smell and taste tell you which chemical to look for, and the chemical points straight at the step that failed. Some faults fade with a few extra days of conditioning, some are correctable with a change you can make tonight, and a few are permanent the moment they happen.
Working out how to fix off flavors in homebrew takes about an hour if you do it in the right order, and most of that hour is spent tasting and taking notes rather than doing anything to the beer. This guide walks through a seven-step process built for a home setup: a kettle, a fermenter, a bottle or two, and no lab. Updated for 2026.
Table of Contents
- What You Need
- Step-by-Step
- Step 1: Identify When and How the Off Flavor Appears
- Step 2: Check for Common Contamination and Paper Goods Flavors
- Step 3: Fix Acetic, Sour, or Ridiculous Sour Flavors
- Step 4: Correct Diacetyl, Solvent, and Excess Yeast Flavors
- Step 5: Treat Oxidation, Cardboard, and Old-Flavor Problems
- Step 6: Address High-Alcohol, Hot, Burnt, or Raw Flavors
- Step 7: Re-test, Condition, and Prevent the Flavor From Returning
- Common Mistakes
- Frequently Asked Questions
- Can I fix a bad flavor in beer after it is already packaged?
- How do I know whether an off flavor comes from yeast or bacteria?
- Does adding more yeast remove diacetyl or other unwanted flavors?
- How long should I let a beer with an off flavor condition?
- What is the best way to prevent oxidation in homebrew?
- Conclusion
What You Need
Troubleshooting goes much faster when you gather the context before you start guessing. None of this is exotic equipment, and none of it requires spending money.
- The style and the full recipe. An American pale ale and a saison share a yeast but nothing else. The recipe tells you the original gravity, the mash and sparge temperatures, the yeast strain, the hop schedule, and the water profile you used.
- Your fermentation temperature log. Most people keep none. If the batch ran in a warm closet, that single fact explains fusels, harsh alcohol, and a stuck finish faster than any other clue.
- Hydrometer readings with dates. Terminal gravity, final gravity, and any reading taken at packaging tell you whether the beer actually attenuated before you sealed it.
- A sample of the packaged beer and one of the same beer from the fermenter if you kept it. Comparing the two is the fastest way to prove whether the fault arrived during conditioning or during packaging.
- Clean, unscented glassware. Two identical small glasses. Rinse with hot water, no detergent, no scented soap, and let them air dry. A plastic cup you used for chili will invent flavors that are not in your beer.
- A thermometer, a cleaner, and a no-rinse sanitiser. Something alkaline such as PBW or OxiClean for cleaning, and an iodophor or unscented Star San for sanitising. Cleaned and sanitised are not the same job.
That is the whole kit. If you add one thing later, make it a small bottle of propylene glycol and a neutral flavour reference oil, because a reference lets you calibrate your nose the way a BJCP judge would, and a single sip of propylene gives you a known “chemical” benchmark to compare plastic and solvent notes against.
Step-by-Step
Step 1: Identify When and How the Off Flavor Appears
Record exactly when the flavor appears, and when it does not. That single question separates most faults into different rooms.
Pour a sample into a clean glass and smell it before you taste it. Acidity, solvents, and sulfur all hit the nose harder than the tongue, and smelling first stops you from chasing a taste sensation that is really an aroma. Then take a small sip, hold it on the tongue, and swallow before you write anything down.
Work through these checkpoints in order and note the aroma at each one:
- Right after fermentation ends. Anything harsh here points at the yeast or the water.
- After conditioning, before packaging. If the beer was clean here, the fault is yours and it happened at packaging or bottling.
- Straight out of the bottle or keg. Compare against the pre-packaging sample. Aroma loss, cardboard, and a flat, papery finish show up immediately.
- After a few minutes in a warm glass. Acetaldehyde and green apple hide in cold beer and surface as the glass warms, which is why a bottle straight from the fridge can taste fine and then change.
Here is the short decoder to match what you found:
- Green apple, fresh paint, latex, raw pumpkin: acetaldehyde from early yeast stress or an underpitch.
- Butter, butterscotch, cream soda, yogurt: diacetyl, usually an unfinished fermentation or a crash before the yeast was done.
- Rotten eggs, struck match, burning rubber: hydrogen sulfide. The one fault where time is usually the entire fix.
- Cooked corn, canned cabbage, asparagus, DMS: dimethyl sulfide, a byproduct of the boil and the wort handling after it.
- Band-aid, antiseptic, plastic, nail polish remover on the nose: chlorophenol, from chlorine or chloramine reacting with malt phenols.
- Wet cardboard, sherry, bruised apple, stale bread: oxidation, and the damage is done.
- Hot, prickly, burning, headache disproportionate to the ABV: fusel alcohols from a warm or over-pitched fermentation.
- Puckering, drying, tea-like: tannin and polyphenol extraction, mostly an all-grain or steeping problem.
- Banana, bubblegum, pear, nail remover on the palate: esters from too much yeast activity at the wrong temperature.
- Vinegar, harsh sour, horse blanket: bacteria, either Acetobacter for acetic or Lactobacillus for a clean tartness.
Write the aroma down in plain words before you look anything up. Homebrew forums can only help you once you can describe the smell.
Step 2: Check for Common Contamination and Paper Goods Flavors
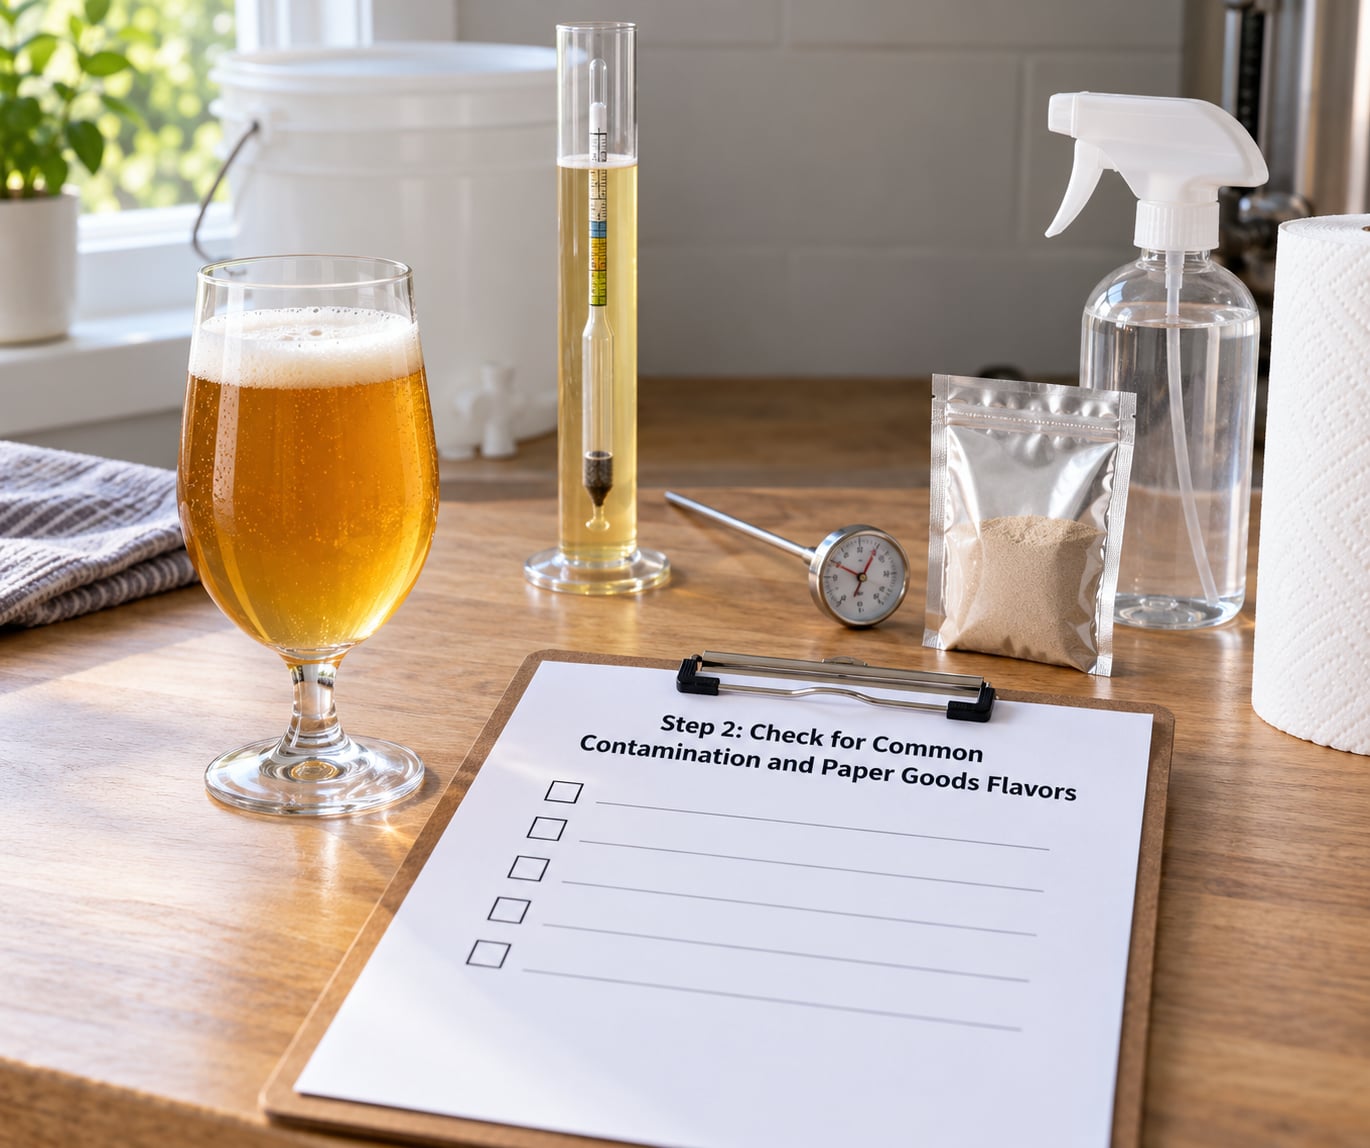
Band-aid, plastic, antiseptic, and metallic notes all trace back to one compound: chlorophenol. It forms when chlorine or chloramine in the brewing water reacts with phenols in the malt during the mash, and it is nearly impossible to remove once it exists.
This is the most common fault that gets misdiagnosed as a sanitation problem, because the word “chemical” sends people straight to their equipment. It is usually the water. Municipal tap water carries both, chloramine is the tougher of the two because a 24-hour stand does nothing to it, and brewers on chlorinated mains report this plastic note batch after batch until they treat the water.
Check in this order:
- Your water. If you brewed with tap water and never treated it, that is your leading suspect. Crush one Campden tablet, which is potassium metabisulphite, per 40 to 75 litres, stir it in fully, and wait 20 minutes before adding malt. That dose neutralises both chlorine and chloramine.
- Your cleaning products. Any scented detergent, or a bleach-based cleaner used and not fully rinsed, leaves exactly this signature. Switch to PBW or OxiClean for cleaning and unscented Star San for sanitising.
- Your tubing and closures. Old racking hose, perished gaskets, and a stopper that has gone hard can leach plastic and rubber notes. Replace anything scratched, cloudy, or flexible in the wrong way.
- Your yeast health. A stressed or contaminated yeast culture will throw off odd solvents and phenols of its own. If the same plastic note appears in a beer brewed with treated water, the yeast is now the suspect.
- Your fermentation temperature. Warm, stressed yeast produces phenols alongside esters. Keep an ale between about 18 and 22C, or 64 and 72F.
The verdict on chlorophenol: unrecoverable. You can treat the water for the next batch and you can mash in, but the beer in the glass will keep the note. If a single glass of finished beer tastes like a sticking plaster, that is the fault, and no amount of extra conditioning will shift it.
Step 3: Fix Acetic, Sour, or Ridiculous Sour Flavors
Sharp vinegar sourness comes from acetic acid, and a clean, tart, almost lime-like sourness comes from lactic acid. Telling them apart tells you what happened, because they come from different organisms under different conditions.
Acetic acid is produced by Acetobacter, which is an aerobic organism. It is also produced by your own yeast when it is in poor health or when a beer sits warm and unconditioned. Lactic acid comes from Lactobacillus and Pediococcus, and it shows up in beer exposed to unchlorinated tap water, dirty equipment, or a bottle that was not sealed properly.
What to check:
- Pitching temperature. Pitching a sachet of dry yeast into hot wort shocks the cells. Most lager strains want a crash pitch in the low 60sF, and pitching above the yeast’s tolerance leaves it stressed and sour-tasting.
- Oxygen exposure. Acetobacter needs air. Splashy transfers, an unsealed fermenter sitting for a day, and racking with a lot of turbulence all feed it.
- Sanitiser discipline. A no-rinse sanitiser works only if the surface was already clean. Biofilm under a scratched fermenter wall survives cleaning and then inoculates every batch you make in it.
- Signs of infection. A pellicle, a rubbery or very sour smell, a slimy ring at the airlock, or a beer that goes sour after packaging rather than before it all point to bacteria rather than yeast.
Save or bin: if the sourness shows up right as the beer finishes fermenting and the beer still attenuates, conditioning at 20C, or 68F, for another two weeks can smooth a mild acetic edge into something drinkable. If a pellicle formed, the beer smells of vinegar, or the sourness appeared after packaging, the batch is contaminated and there is no recovery. Drain it, clean everything with a proper alkaline cleaner, and consider replacing a scratched plastic fermenter, which never fully sanitises.
Step 4: Correct Diacetyl, Solvent, and Excess Yeast Flavors
Diacetyl is the compound that makes beer taste like butter, butterscotch, or cream soda. It is always a byproduct of yeast metabolism, and it always goes through the same two-stage path: the yeast produces an alpha-acetolactate precursor during active fermentation, then converts that precursor to diacetyl once the yeast is done eating.
That second step only happens while yeast is still alive and warm. So the classic mistake is packaging too early, or crashing cold before fermentation has genuinely finished. Cold, dormant yeast leaves the precursor sitting there, and the buttery note lands in the bottle anyway.
The diacetyl rest, the standard fix, works in the other direction:
- Confirm fermentation is really finished. Stable final gravity across two readings three days apart, and stable temperature. No movement means no yeast eating, and no yeast eating means no conversion.
- Warm the beer back into the yeast’s range. For a clean ale strain, raise the fermenter to about 20 to 22C, or 68 to 72F.
- Hold it there for two or three days. This is the 3:30 rule: three degrees up, 30 minutes, and check. If the butter is fading, hold longer. If nothing changes after a few days, the yeast is already gone and the rest will not work.
- Crash and package. Bring the beer down to 0 to 4C, or 32 to 39F, for two to three days, then package low and quickly.
If the yeast is truly spent, there is one more lever. A healthy active fermentation reintroduces the same reduction pathway, which is why brewers report that a vigorous krausen after adding a fresh culture or a healthy yeast starter measurably reduced a sudden acetaldehyde note. It is a real technique and it costs you a few days.
The same section covers excess yeast character: banana, bubblegum, pear, and nail-polish on the palate are esters, produced when yeast is too active for the temperature, when you over-pitch or under-oxygenate, or when the wort ferments too fast on a simple sugar. A healthy pitch rate at the right temperature gives the cleanest result.
Verdict: fixable in most cases. Diacetyl and acetaldehyde both fade with time and warmth, which makes them the two friendliest faults a beginner will meet.
Step 5: Treat Oxidation, Cardboard, and Old-Flavor Problems
Wet cardboard, brown paper, bruised apple, and sherry are oxidation. Oxygen does not add a flavor so much as it converts existing aroma compounds into stale, papery ones, which is why an oxidized beer can still have hops in the nose and taste like an empty cardboard box underneath.
Where it comes from:
- Headspace. A carboy or fermenter with several litres of air above the beer is a slow oxidation chamber. Keep the volume high during fermentation and use an airlock you trust.
- Splashy transfers. Racking from the bottom of the fermenter into a bottling bucket aerates the beer badly. A siphon that stays submerged and a slow, steady pour make a measurable difference.
- Stale ingredients. This is the fault source most guides skip. Old, oxidised malt, stale dry hops, and hop packets left open absorb oxygen and then bring it straight into your wort. Vacuum-seal unused hops, keep hops cold and dark, and buy dry hops in quantities you will use within a season or two.
- Poor seals. A cap that leaks in a bottle will do more damage in three weeks than the whole boil.
What you can still do is stop the bleeding. Package the remaining beer with as little headspace as you can, purge the bottle or keg with carbon dioxide before filling, keep everything cold, and stop opening it. Conditioning will not reverse it, but cold and sealed is what keeps it from getting worse.
Verdict: permanent. There is no step that takes cardboard out of beer, and pretending otherwise wastes a batch you could have learned from. Note the packaging date in your log so you can trace the fault to the day you sealed it.
Step 6: Address High-Alcohol, Hot, Burnt, or Raw Flavors
A beer that tastes hot, solventy, or prickly, and gives you a headache that feels out of proportion to the alcohol, is usually carrying fusel alcohols. Higher alcohols such as isoamyl alcohol and isobutanol form when yeast is stressed or when fermentation runs warm and fast.
The classic home setup for this is a free-rising fermenter in a warm room, where the first 72 hours climb into the high 20sC without anybody noticing. Forum brewers describe this exact pattern repeatedly: hot garage, no temperature control, and a beer that tastes like nail polish remover warmed in your hand.
What to adjust:
- Control the first 72 hours. For most ale strains, 18 to 22C, or 64 to 72F. Lagers want 9 to 13C, or 48 to 55F. A fridge or a closet with a fan is often enough to hold a range; an inexpensive fermentation cooler is the upgrade that pays for itself.
- Do not over-pitch. A very large pitch drives fermentation hard and fast, which is exactly the condition that produces fusels and esters. Pitching rate is best expressed as cells per millilitre per degree Plato for ales, and the practical short version is to use roughly a pint to a quart of healthy starter for a five-gallon batch.
- Watch your mash temperature. A mash running hot makes a beer that already tastes full and raw; add hot, dry grain to a stalled mash and it gets worse. Keep an all-grain mash under about 76C, or 168F.
- Give it a cool, long rest. Conditioning cold for four to eight weeks lets the harshest edge settle. It softens fusel character, it does not remove it.
Raw and doughy flavours on the front of the tongue are a different problem: under-attenuated starch. If your final gravity sat well above the target, the beer never finished converting sugar, and no amount of waiting will change that. Fix the temperature, check the yeast, and pitch healthy next time.
Verdict: partially fixable. A hot, over-fermented beer improves with cold conditioning, but the warming edge that was created at 27C will never fully disappear. Thin out a gusher by serving it colder and further from the face if you need to drink the batch.
Step 7: Re-test, Condition, and Prevent the Flavor From Returning
Once you have made a correction, prove it worked instead of assuming it did. Pour a clean sample into a fresh glass, taste it at the same temperature and in the same glass style as the original sample, and compare them side by side.
A simple retest plan:
- Day one. Sample from the fermenter, note the aroma, and write one sentence describing what changed.
- After any correction. Diacetyl rest, chlorine treatment on the next batch, warm conditioning, or cold crash. Taste again under identical conditions.
- Before packaging. Take a hydrometer reading and a smell. Beer that is not clean at this point will not get cleaner in a bottle.
- Two to four weeks after packaging. Taste it cold and then warm. This is the fairest judge of the finished batch.
- Log the result. Date, style, gravity readings, temperature range, water treatment, and the flavor. The batch that gets written down is the batch that never repeats.
On timing, most homebrew needs two weeks in the bottle before it is worth judging, and a pale ale often keeps improving for a month or more. But a severe flaw does not need the same patience as a young beer. Acetaldehyde, diacetyl, and sulfur fade. Phenols, oxidation, and tannin do not. If the fault is on the permanent list, do not wait a month hoping.
Professional lab testing is worth it in one situation: a fault that repeats batch after batch with no pattern you can see. A brewery-style sensory panel or a beer judging class will train your palate faster than anything you can buy for home use, and an off-flavour reference kit lets you calibrate against a known standard. When the same fault appears three batches running despite every change you made, get a second set of eyes on the beer before you change the process again.
Common Mistakes
Guessing before observing. People buy new yeast, change water, and rerun the brew day before they have written down what the beer smells like. You cannot diagnose what you have not described, and every change you stack makes the next batch harder to read.
Tasting from dirty glassware. A glass that held coffee, or that was washed with scented detergent, will add flavors you then spend an evening blaming on your yeast. Rinse with hot water only, and keep a dedicated tasting glass if it helps.
Changing five variables at once. Water profile, yeast strain, hop schedule, mash temperature, and pitch rate in the same batch gives you a new beer and zero information. Change one thing, write it down, and taste the result before the next change.
Confusing yeast character with contamination. A healthy fermentation smells like banana, pepper, or citrus. Bacteria smell like vinegar, dirty socks, or a wet gym bag. If the beer is attenuating and the smell is fruit, that is yeast. If the smell is sour or the beer stopped early, that is something else.
Waiting forever on a permanent flaw. Papery, plastic, and puckering flavors are not going to fade. Give the fadeable faults their time, then make a decision about the rest so you can get on with the next batch.
Adding yeast to rescue a contaminated batch. Folding a new culture into a sour or infected fermenter does not clean it. It adds a second fermentation in a hostile environment and usually makes the beer worse. Clean the vessel properly or replace it, sanitise, and start fresh.
Ignoring the same fault twice. The most expensive fault is the one you never diagnosed. If the same flavor shows up three batches running, the fault is in your process or your water, not in your luck. That is exactly when a second opinion, a water report, or a sensory class is worth the cost.
Prevention, in short: keep the fermenter in range for the first 72 hours, treat your water, sanitise rather than just clean, keep oxygen out at packaging, and taste every batch at a known stage so you have something to compare against.
Frequently Asked Questions
Can I fix a bad flavor in beer after it is already packaged?
Sometimes. Acetaldehyde, diacetyl, and hydrogen sulfide all fade, and a package with headspace is the worst possible place to wait them out, so if the beer is only young, keep it cold and sealed for three more weeks. Phenols, oxidation, and tannin never fade. Once cardboard or band-aid is in the beer, no amount of extra conditioning will remove it.
How do I know whether an off flavor comes from yeast or bacteria?
Check the final gravity and the aroma together. A yeast character smells fruity, peppery, or citrus, and the beer keeps attenuating. A bacterial infection smells sour, vinegary, or like a wet locker, and it often arrives with a pellicle or a slimy ring at the airlock. Stable gravity plus a sour smell is a problem; falling gravity plus banana is not.
Does adding more yeast remove diacetyl or other unwanted flavors?
It can, indirectly. Diacetyl is released when living yeast converts a precursor it made earlier, so a healthy, active fermentation re-runs that conversion and the buttery note drops. A warm rest at 20 to 22C, or 68 to 72F, for two or three days does the same thing more cheaply. More yeast will not help a fault caused by chlorine or oxygen.
How long should I let a beer with an off flavor condition?
Give fadeable faults real time: three to four weeks cold for acetaldehyde, diacetyl, and sulfur, and up to eight weeks if the beer also tastes hot. Give permanent faults none. Papery, plastic, medicinal, and puckering flavors will not change with age, so waiting a month on those only delays your next batch. Judge a beer cold and then warm before you decide.
What is the best way to prevent oxidation in homebrew?
Limit headspace, keep beer cold, and move it without splashing. Siphon from the bottom of the fermenter into a bottling bucket, fill bottles or keg from the bottom up, and purge the receiving vessel with carbon dioxide first. Use oxygen-barrier caps, keep hops cold and vacuum-sealed, and store dry ingredients away from light and moisture.
Conclusion
The first action is always the same: taste the beer at a known stage, write down the aroma in plain words, and write down the date. Everything after that follows from the decoder in Step 1.
Then work the checks in order. Contamination and water problems first, because they are permanent and they hide everything else. Then fermentation health, temperature, and attenuation. Then oxidation and packaging, where the damage is already done. Then recipe adjustments for hot, raw, or astringent beer.
Some batches are worth protecting: anything young with acetaldehyde, diacetyl, or sulfur. For those, correct what you can, condition cold, and retest. Some batches are not, and the honest call on a plastic or cardboard beer is to drain it, fix the cause, and brew the next one properly.