A well-organized beer cellar is one where every bottle has a known location, a known age, and a cool, dark, steady home. You get there by counting what you own, sorting it by format and by when you plan to drink it, matching containers to shelf space, coding every shelf location, and writing each bottle down so you can find it again.
That whole setup is one afternoon’s work for most home cellars, and it pays for itself the first time you find a bottle before it turns instead of after. Forget the gear first, though. The system comes before the shelving.
If you’re starting from a chaotic pile, this guide walks the order of operations: what to gather, how to sort, how to shelve, what conditions keep beer tasting like beer, and how to track it all without losing track of it. It’s written for basements, garages, closets, and under-bed boxes, not for commercial coolers.
Table of Contents
- What You Need to Organize a Beer Cellar
- An inventory method
- Labels and markers
- Shelving or racks
- Dividers and storage bins
- Temperature and humidity tools
- Cleaning materials
- Step-by-Step
- 1. How to Organize a Beer Cellar by Format
- 2. Sort by Brewery, Style, and Region
- 3. Set Shelves by Size, Weight, and Access
- 4. Keep Bottles and Cans in the Right Conditions
- 5. Create a Simple Collection Inventory
- 6. Label, Check, and Maintain the Cellar
- Common Mistakes
- Frequently Asked Questions
- What is the best way to organize a beer cellar?
- Should beer bottles be stored upright or on their sides?
- How do I organize a large beer collection without labels?
- What temperature is best for storing beer in a home cellar?
- How often should I inventory and rotate my beer cellar?
- Conclusion
What You Need to Organize a Beer Cellar
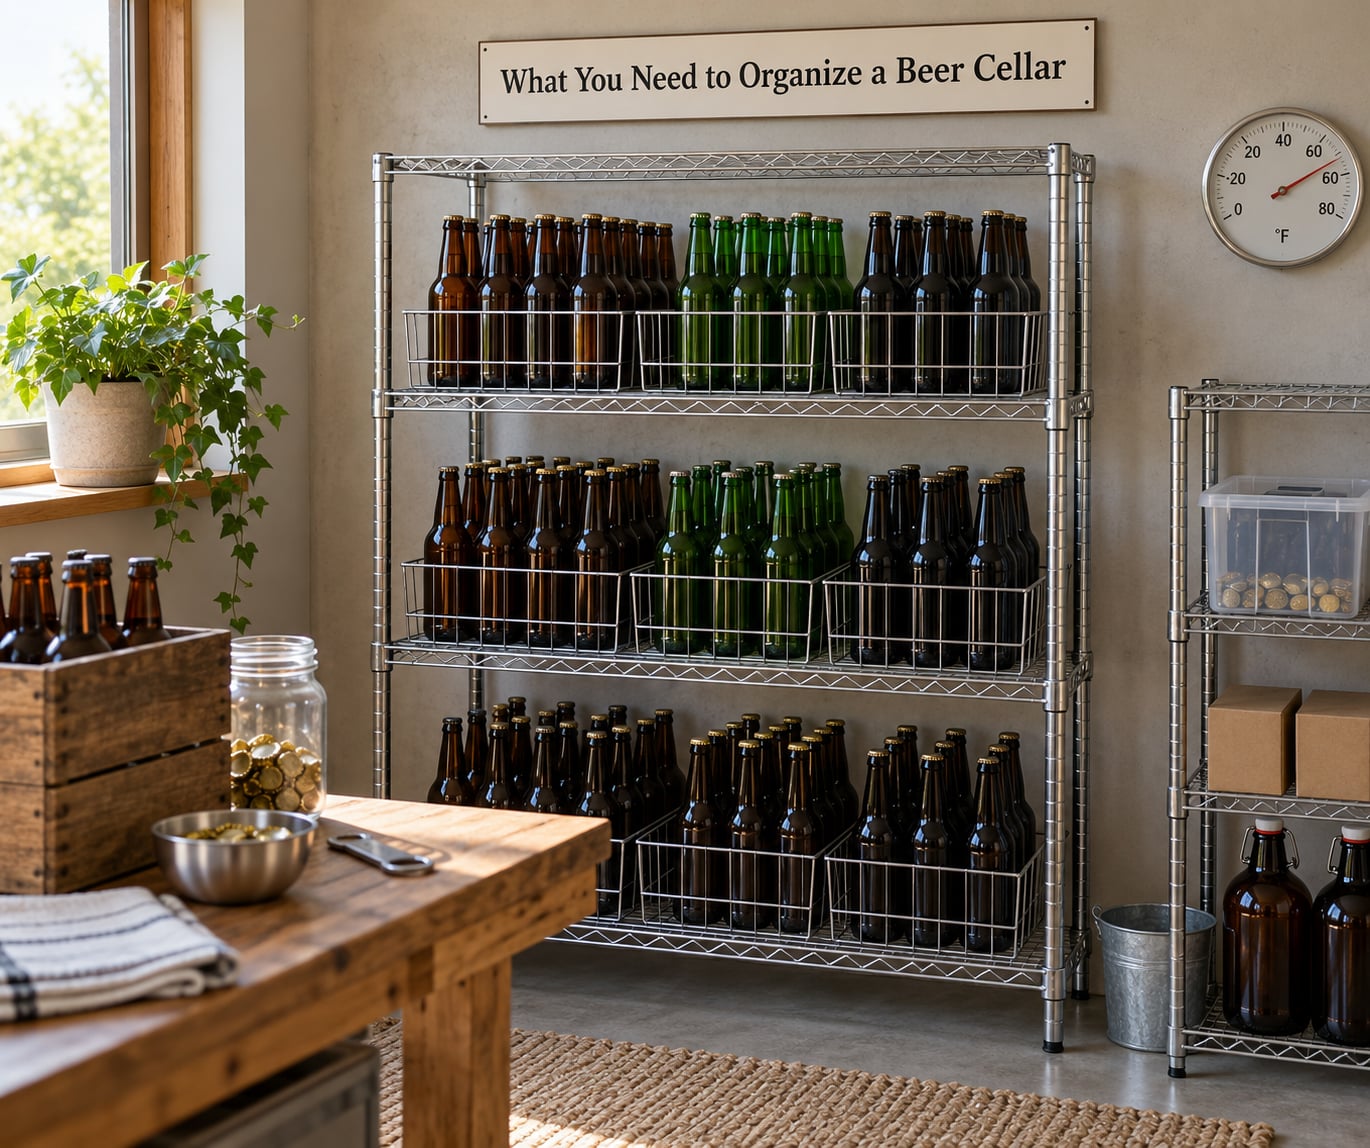
None of this is mandatory. A closet with two plastic crates and a notebook is a real system, and collectors on tight budgets run exactly that way. Everything below is stuff that makes the system easier to keep, not stuff that makes it correct.
An inventory method
This is the only item that really matters. It can be a spreadsheet, a notebook, a dedicated tracking app, or plain index cards in a shoebox. Choose the one you’ll actually keep current, because a beautiful system you abandon in March is worth less than a scruffy one you still use in November.
Labels and markers
Waterproof shelf labels, a label maker or plain masking tape, and a permanent marker or cap marker. You’ll use them for shelf codes and for marking dates on caps. Cheap, and they do the most work of anything on this list.
Shelving or racks
Wire shelving, sturdy wooden bottle racks with square holes, or stackable plastic crates. The right choice depends on whether you’re storing loose bottles, unopened cases, or both. Step 3 covers how to match them to your space and their weight limits.
Dividers and storage bins
Bottle separators stop rows from clinking and rolling, and they keep a fallen bottle from taking out a neighbor. Lidded plastic bins are useful for cans, mixers, glassware, and homebrew accessories kept in the same room. Cardboard beer cases count too: the box blocks light and carries the brewery’s own label info.
Temperature and humidity tools
A refrigerator-style thermometer that records minimums and maximums is far more useful than a stick-on dial, because it tells you what happened overnight and while you were at work. A small hygrometer tells you whether you have a mold problem. If your space runs warm in summer, a small dehumidifier or a fan on a timer may be worth adding later.
Cleaning materials
A damp cloth, a mild degreaser, and a dry brush for dust on rack shelves. Spills happen in a cellar, and beer that dries on a label or a shelf becomes sticky and unreadable within a week.
Step-by-Step
The order below matters. Sorting before measuring means shelves that don’t fit, and labeling before sorting means relabeling twice. Work through it in sequence and most of the backtracking disappears.
1. How to Organize a Beer Cellar by Format
Start by separating containers, not beers. Format is the one grouping that has to happen first, because cans, standard bottles, and large-format bottles do not stack, roll, or weigh the same way.
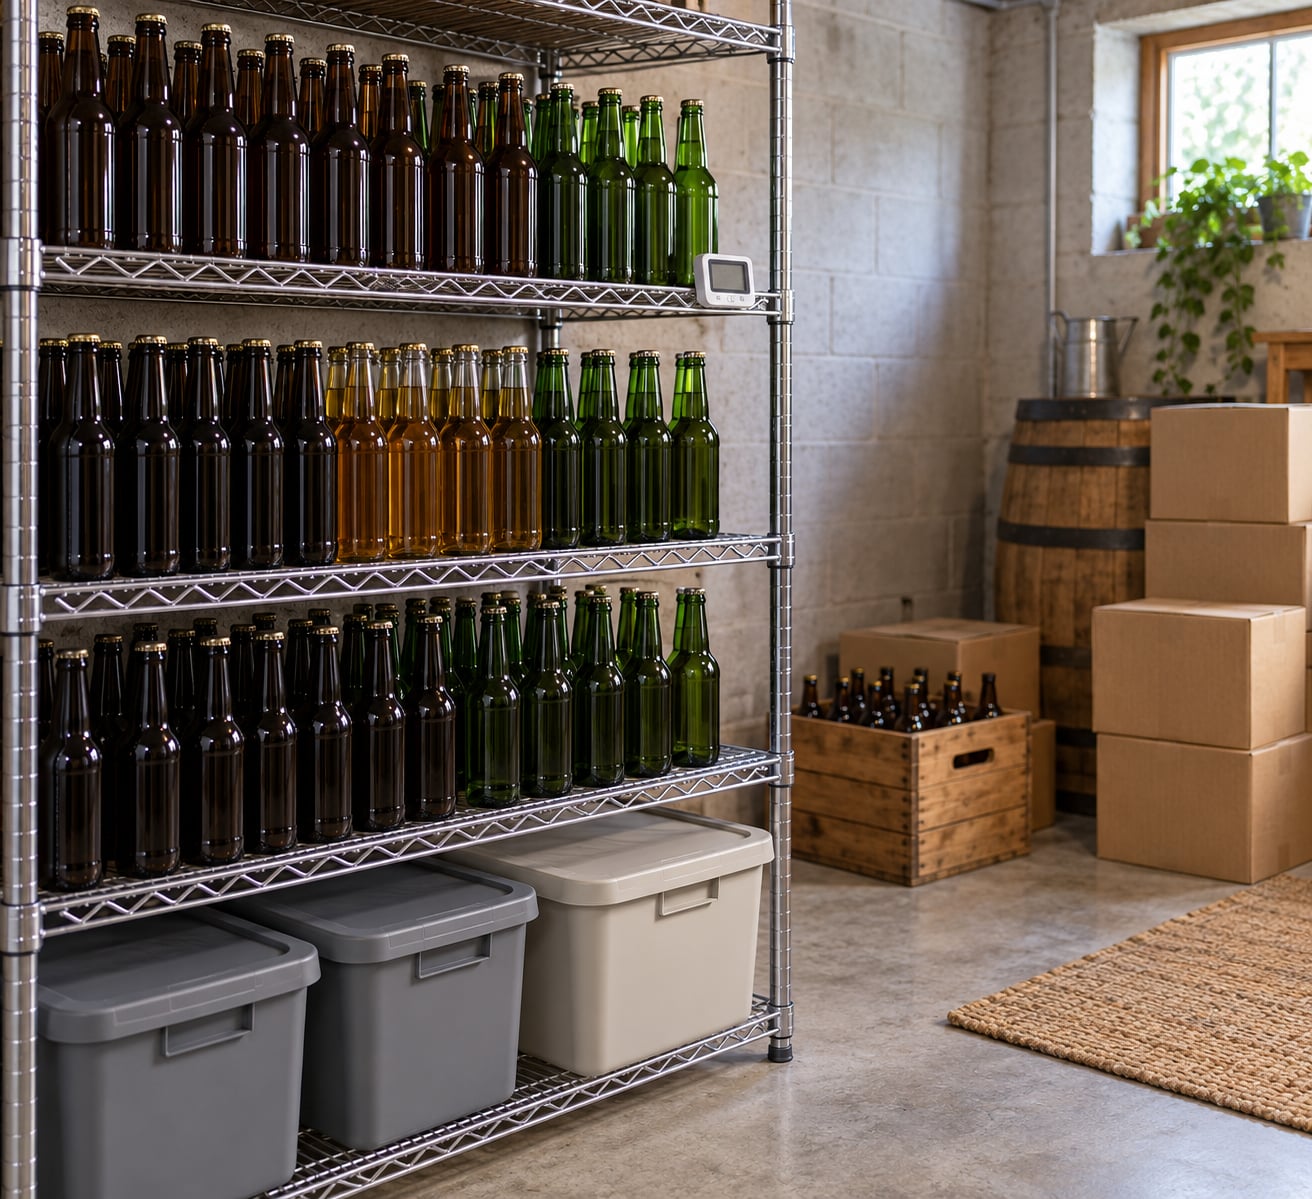
Keep unopened cases whole. A cardboard case is already a good storage unit: it blocks light, holds twelve bottles in a tight footprint, and keeps the brewery’s labeling intact. Most collectors store these exactly as they come, stacked on the floor or on the lowest shelf. It also means you can move four cases at once instead of forty-eight bottles.
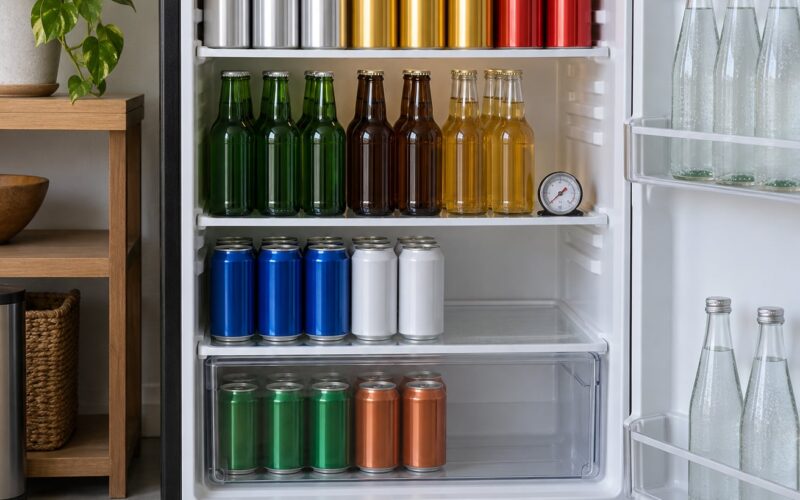
Give cans their own shelf or bin. Cans dent, and a dented can is a compromised seal. Keeping them off glass shelves in lidded bins protects both the cans and the bottles above them. Cans also drink faster than most people expect, so put that shelf at working height rather than at the back of a low rack.
Separate large-format bottles. Anything 750 ml or bigger needs a low shelf and a shelf rated for the weight. Magnums and verticals are not stackable, and a full case of large-format bottles is heavy enough to matter. Store them upright, like everything else in your beer cellar, and give them a shelf where nothing heavy sits on top.
Isolate rare and trade-only bottles. The releases you can’t replace deserve a labeled shelf of their own, away from the everyday drinking zone where things get moved around. It takes thirty seconds to protect a bottle you’d be annoyed to lose, and it makes the good stuff easy to show off.
Group empties separately. Cans, bottles, and kegs pile up faster than fulls and they end up in the aisles. Give empties a bin or a shelf of their own. Forum threads about home brewery storage hit this same wall repeatedly, and it’s the least glamorous fix in this guide.
2. Sort by Brewery, Style, and Region
Once formats are separated, pick one sorting rule and stick with it. Beer cellar organization only works when there’s exactly one answer to the question “where does this bottle live?”
Brewery is the most popular rule because it makes restocking easy. A single brewer’s output often shares a drinking window, so bottles from the same brewery can sit together and age together. Style is better if you plan tastings, since all the stouts or all the IPAs are already grouped. Region works well for mixed collections and reads nicely on a shelf label.
Whichever you choose, write it down before you start shelving. The label on the shelf edge is the record, and it should say something a stranger could read without a key: “A-2: Belgian,” not “A-2: shelf two.” If you acquire a beer out of that grouping, the rule bends once and breaks. Decide now what happens when it does.
3. Set Shelves by Size, Weight, and Access
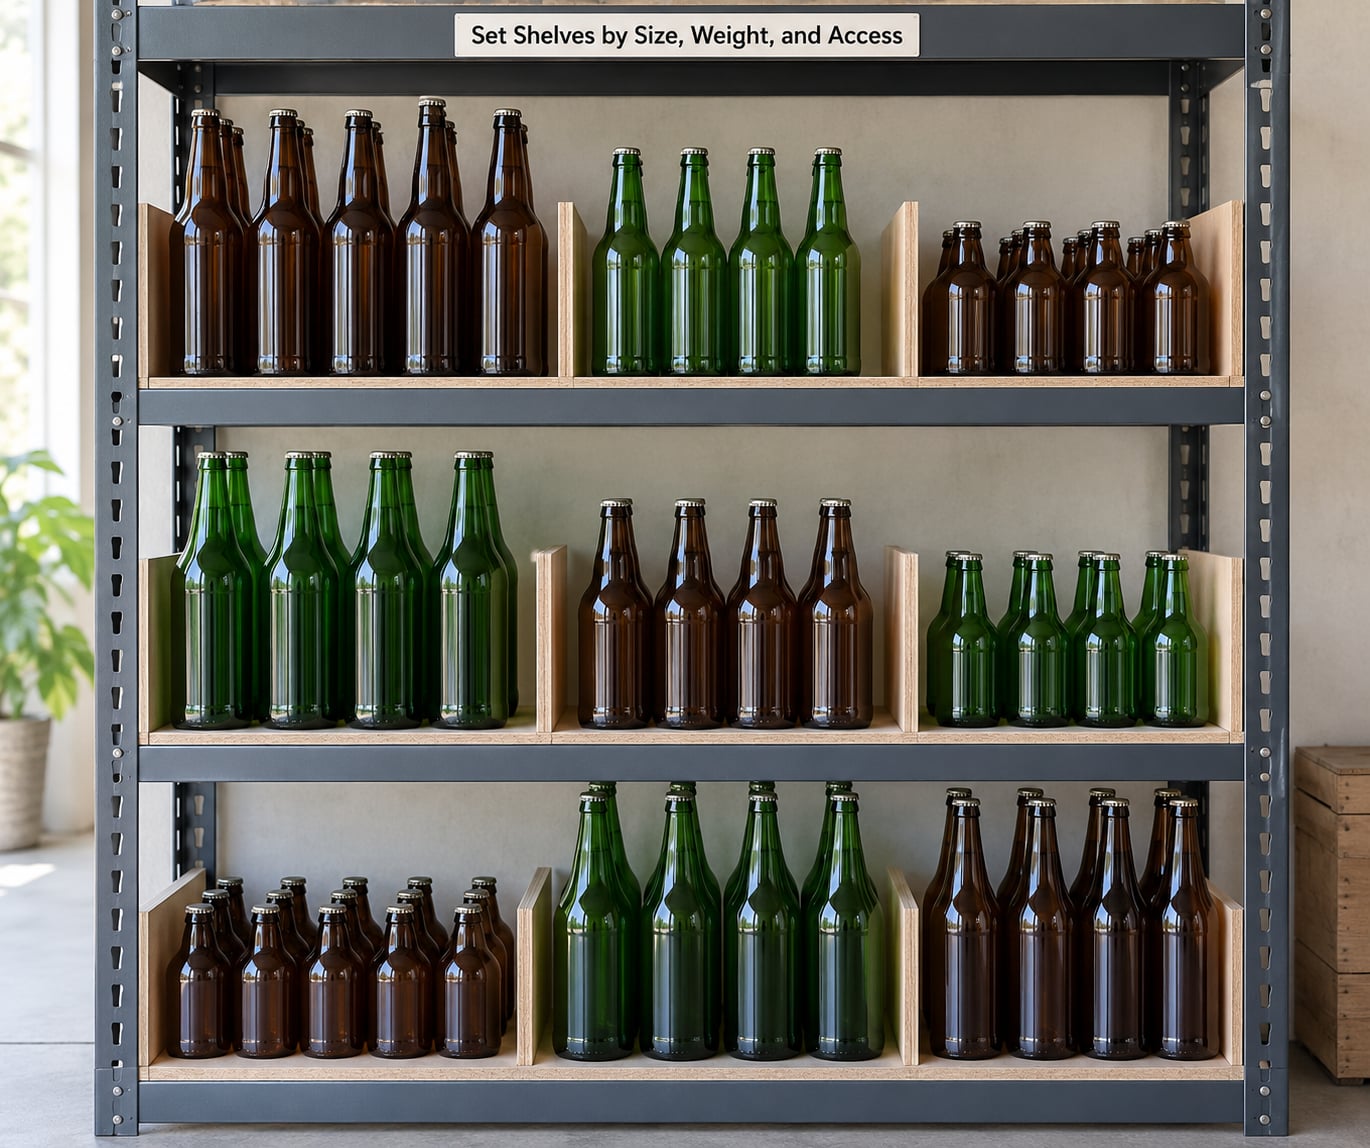
Match the shelf to the bottle, not the other way around. A standard 12-bottle case is roughly 9 inches long, so a 48-inch shelf holds about five laid flat; a 24-bottle case is closer to 16 inches, so the same shelf holds three. Do the math on your shelf length before you buy anything.
Put the heaviest things low. Full cases of large-format bottles, unopened cases, and anything ceramic belong on the bottom two shelves where a dropped bottle can’t land on someone’s head. Keep the frequently opened stuff between roughly waist and shoulder height, because that’s the band you can see into without pulling a case out onto the floor.
Check the load rating before you fill anything. Most residential wire racks are rated somewhere around 100 to 150 pounds per shelf, but yours is the number that counts, and it’s printed on the frame or in the manual. A full case of 12-ounce bottles is roughly 35 pounds, which adds up faster than people expect when a case is stored on its end.
Two safety notes worth taking seriously. Anchor tall shelving to a wall stud with the hardware the manufacturer supplied, and keep glass stacks below eye level, especially in a room with a doorway or a stairs. If the job needs a structural change to the room, get a licensed contractor to do that part. Follow the rack’s instructions rather than improvising fasteners.
For the standard 12-ounce bottle, a wooden rack with square holes is dense and stable but fixed in size. Wire shelving is flexible, takes any container, and is easier to wipe clean. Stackable plastic crates are the most mobile option and the easiest to move between an apartment closet and a garage. For 500 bottles, crates win. For 100 bottles that need to age, racks or shelving win.
4. Keep Bottles and Cans in the Right Conditions
Light, heat, and swings are what actually ruin beer. Organize the space so those three things never get a chance.
Keep it dark. Brown glass blocks some ultraviolet light, not all of it, and hops break down under light exposure into compounds that smell like cardboard or skunk. Clear bottles, cans, and bottles sitting in direct light are the exposed ones. Closed cardboard cases, opaque bins, and shelves in an interior room are the fix. The crawl space under a deck is not a cellar.
Hold a stable temperature. The useful target for most beer is 50 to 59 °F, or 10 to 15 °C, and stability matters more than hitting a specific number. Beer survives a cellar that stays 55 °F all year far better than one that sits at 50 °F in February and 72 °F in August. Seasonal swings are what push beer into oxidation, and heat rises, so the top shelf of a tall rack in a warm room is the worst spot in it.
Read the 3-30-300 rule carefully. You’ll see it repeated constantly in storage advice, and it’s worth knowing what it actually is: 3 years for most wine meant to be drunk young, 10 years for better reds, 30 years or more for big reds. It is a wine rule, and applying it to beer gives you the wrong answer in both directions. A hazy IPA from last summer is past its peak at 3 months; a barleywine is still improving at 3 years. For beer, ignore the rule and use the brewery’s stated drinking window, or the best-by date on the can.
Keep humidity moderate and moving air. Somewhere around 50 to 70 percent relative humidity keeps corks and labels in decent shape without encouraging mold. In a damp basement, watch for condensation on the outside of bottles, musty smell, or black spotting on the wall: those mean the dew point is being hit and something needs to change, usually airflow, a dehumidifier, or moving the racks off the concrete floor.
Store away from strong smells. Cellars next to furnaces, paint, solvents, or a workshop absorb odors, and beer is porous enough to pick them up through the cap liner. A sealed bin is a reliable barrier if the room itself is unavoidable.
For barrel-aged releases, high-alcohol styles, and anything sold with specific storage instructions, follow the brewer or the seller. Some producers specify a warmer band for aging than the general 50 to 59 °F target, and a bottle conditioned in a brewery is not the same problem as a bottle sitting in your basement.
5. Create a Simple Collection Inventory
This is where most beer collections get lost. You bought something, you know you bought it, and you find out you already own it while standing in the store aisle. A written record fixes that, and duplicate purchases are the single most common complaint in collector threads.
Track these fields at minimum: brewery, beer name, style, format, quantity, shelf location, and the date you acquired it. Add the bottling or brew date and the drinking window if you’re serious about timing, plus a short tasting note, because “was the peach one last year’s batch or the year before” is a real question you’ll ask later.
Use a spreadsheet for anything over a few dozen bottles. It sorts, filters, and adds up quantities without effort, and a location column turns your spreadsheet into a map of the cellar. A notebook works well below that, and index cards in a box beat a system you abandoned.
Apps are worth it when the collection is large or you want ratings and tasting notes in one place. Untappd is the closest to a beer-focused social log for check-ins and drinking history. CellarTracker is built for inventory with quantities and locations across devices, and it is a paid subscription. Beer-tracking and barcode-scanning apps exist for people who want to point a phone at a label instead of typing. Pick one, use it for a full season before you judge it, and keep a written backup of shelf codes either way.
One date convention trips people up. Brew date is when the beer was made. Bottling date is when it went into the bottle. Best-by is the brewer’s estimate of peak drinking, and it sits somewhere after the bottling date. For a bottle-conditioned homebrew, both dates are usually the same day. When a bottle has no date at all, use the acquisition date and assume a fresh-hopped beer is best within a few months of release.
6. Label, Check, and Maintain the Cellar
Label every shelf edge with a code that matches your inventory exactly: A-1, A-2, B-1, B-2. The letter is the rack or zone, the number is the shelf. A code that mirrors the written list is the thing that makes a system survive past a few hundred bottles, because looking up a bottle becomes reading a location instead of searching a room.
Put the labels where you can see them without pulling anything, and mark dates on caps with a cap marker if the bottles will be there a while. Rotate oldest to the front of each shelf so you’re always reaching past the newer bottles. That’s the FIFO rule, and it’s the whole rotation system most cellars need.
Tie inventory checks to events instead of a calendar. Count after a delivery, before a tasting, and a few times a year on your own. While you’re counting, look for leaking caps, swollen or cloudy bottles, and labels that have come loose. Wipe shelves down gently and keep the floor clear of empties as you go.
Common Mistakes
Overcrowding the shelves. Bottles packed shoulder to shoulder can’t be removed without moving six neighbors, and the whole shelf slows to a stop. Leave gaps, use dividers, and accept that a full cellar with space in it beats a packed one you fight every time.
Storing everything in one undifferentiated pile. No grouping rule means every search is a full excavation. Pick one sorting rule per zone, write it on the shelf, and hold the line when new bottles arrive.
Ignoring light and heat. A shelf next to a window or a furnace vent will undo everything else you did. Move the beer before you buy more shelving, and recheck the placement at the start of each season.
Overloading shelving that wasn’t rated for it. Check the per-shelf limit, keep heavy cases low, and anchor tall units to the wall. Sagging shelves and tip-overs are the one storage mistake that injures people.
Inconsistent labels. Codes that mean different things on different shelves, or codes with no matching entry in the inventory, are worse than no codes. Use the same format on every edge and keep the list current as you shelve.
Tracking by memory. Memory is why you buy the same bottle twice and why a bottle you meant to drink in the spring is still sitting there two years later. Even a crude written list beats a good memory.
Letting empties take over the space. Cans and empties take up working room and hide the inventory you’re trying to manage. Empty them into a lidded bin, or take them out on your next run.
Frequently Asked Questions
What is the best way to organize a beer cellar?
Sort by format first, then by brewery, style, or region, and keep the choice consistent. Store unopened cases in their cardboard boxes, large-format bottles on low shelves, and empties in a separate bin. Give every shelf edge a code that matches your inventory, and log each bottle with its location and date. That combination is what makes a bottle findable in seconds instead of minutes.
Should beer bottles be stored upright or on their sides?
Upright. Beer is not wine: most beer has no cork to keep wet, so laying bottles on their side only wets the label, wastes shelf space, and makes bottles prone to rolling or falling. Upright storage also keeps sediment sitting at the base where it stays out of the pour. Leave a few months of upright space between a bottle and the next row so you can lift it without disturbing its neighbors.
How do I organize a large beer collection without labels?
Use position instead of writing, and accept the trade-off. Group by brewery or style and keep each group in one continuous block, so a bottle you can’t identify can still be traced by where it sits. Rotate each group so the oldest bottles face front. This works fine to a few hundred bottles. Past that, shelf codes and a written list stop being optional and start being the only way you’ll find anything on a dark shelf.
What temperature is best for storing beer in a home cellar?
Aim for 50 to 59 °F, or 10 to 15 °C, and prioritize stability over hitting an exact number. A cellar that holds 55 °F year-round protects beer better than one that swings from 50 °F to the low 70s across the seasons. A recording refrigerator thermometer catches the swings a wall dial hides. Check the temperature at the start of each season, and adjust the room before you add more beer to it.
How often should I inventory and rotate my beer cellar?
Rotate continuously by keeping the oldest bottles at the front of each shelf and pulling from the front first, then do a full count after deliveries, before tastings, and a few times a year on your own schedule. A complete count is how you catch leaks, loose labels, and bottles that have aged past their drinking window while they were at the back. Ten minutes per shelf is usually enough for a few hundred bottles.
Conclusion
Start with a complete inventory of what you already own, including the bottles you’re sure are gone. Then choose one grouping rule per zone and hold to it. Get shelving that matches your bottle sizes and their weight, keep the room dark and steady in the 50 to 59 °F range, and code every shelf so the written list matches the physical layout. Refine the collection later. The system is what makes a bigger collection worth having.