Whirlpool hopping is a brewing technique where you add hops to the wort after the boil ends, let it cool to roughly 167-185°F (75-85°C), and hold it there with gentle circulation for 10 to 30 minutes before you move the wort to the fermenter. You get hop aroma and flavor without the bitter edge of a kettle addition.
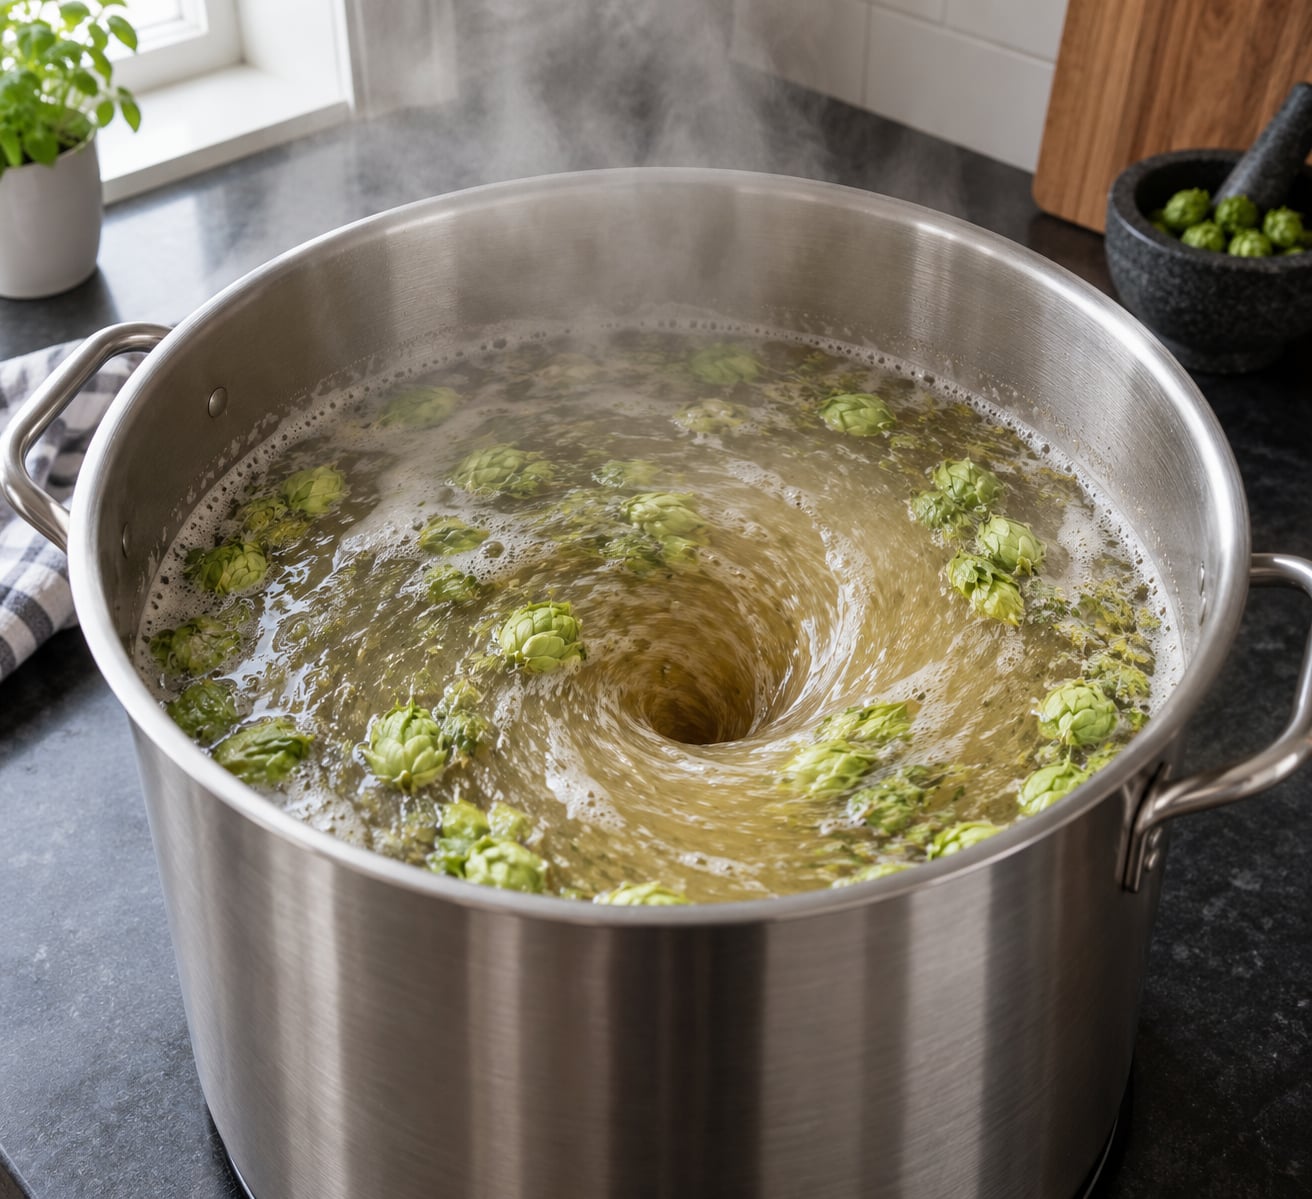
The name comes from what happens to the hops. Once the wort stops being a rolling boil, the brewer spins the kettle so the wort rotates in a slow vortex, and the hop material gathers into a cone in the middle. Hot wort keeps washing over that cone for the whole rest, which is a gentler and more efficient extraction than a full boil.
It is also the step most often confused with three neighbours, so here are the defining parameters up front:
- When: after the boil has ended, before the wort is transferred to the fermenter
- Temperature: usually 167-185°F (75-85°C), which is hot but not boiling
- Duration: 10 to 30 minutes, with hot-and-short and cool-and-long both in common use
- Dose: roughly 1 ounce of hops per gallon as a homebrew starting point
If you have never done it, read the temperature and timing sections below first. Almost every mistake people make with whirlpool hops comes from adding them straight off the boil instead of chilling first.
Table of Contents
- What Is Whirlpool Hopping?
- Where it sits in the hop schedule
- How Does Whirlpool Hopping Work?
- Why Do Brewers Use the Whirlpool?
- When Should Hops Be Added During the Whirlpool?
- What Temperature Is Best for Whirlpool Hopping?
- Does Whirlpool Hopping Make Beer Bitter?
- Whirlpool Hopping vs. Dry Hopping
- How to Use Whirlpool Hopping at Home
- Common Whirlpool Hopping Mistakes
- Adding at flameout when you wanted a clean aroma
- Holding too hot for too long
- Over-dosing out of caution
- Letting the hops block the run-off
- Confusing a whirlpool with a dry hop
- Using hops that are not fresh
- Frequently Asked Questions
- How long should I whirlpool hops?
- Do whirlpool hops need an actual whirlpool?
- How many hops should I use for a whirlpool in a 5 gallon batch?
- Should I add whirlpool hops before or after chilling the wort?
- Do whirlpool hops count toward my IBU total?
- Can I dry hop and whirlpool hop the same beer?
- Conclusion
What Is Whirlpool Hopping?
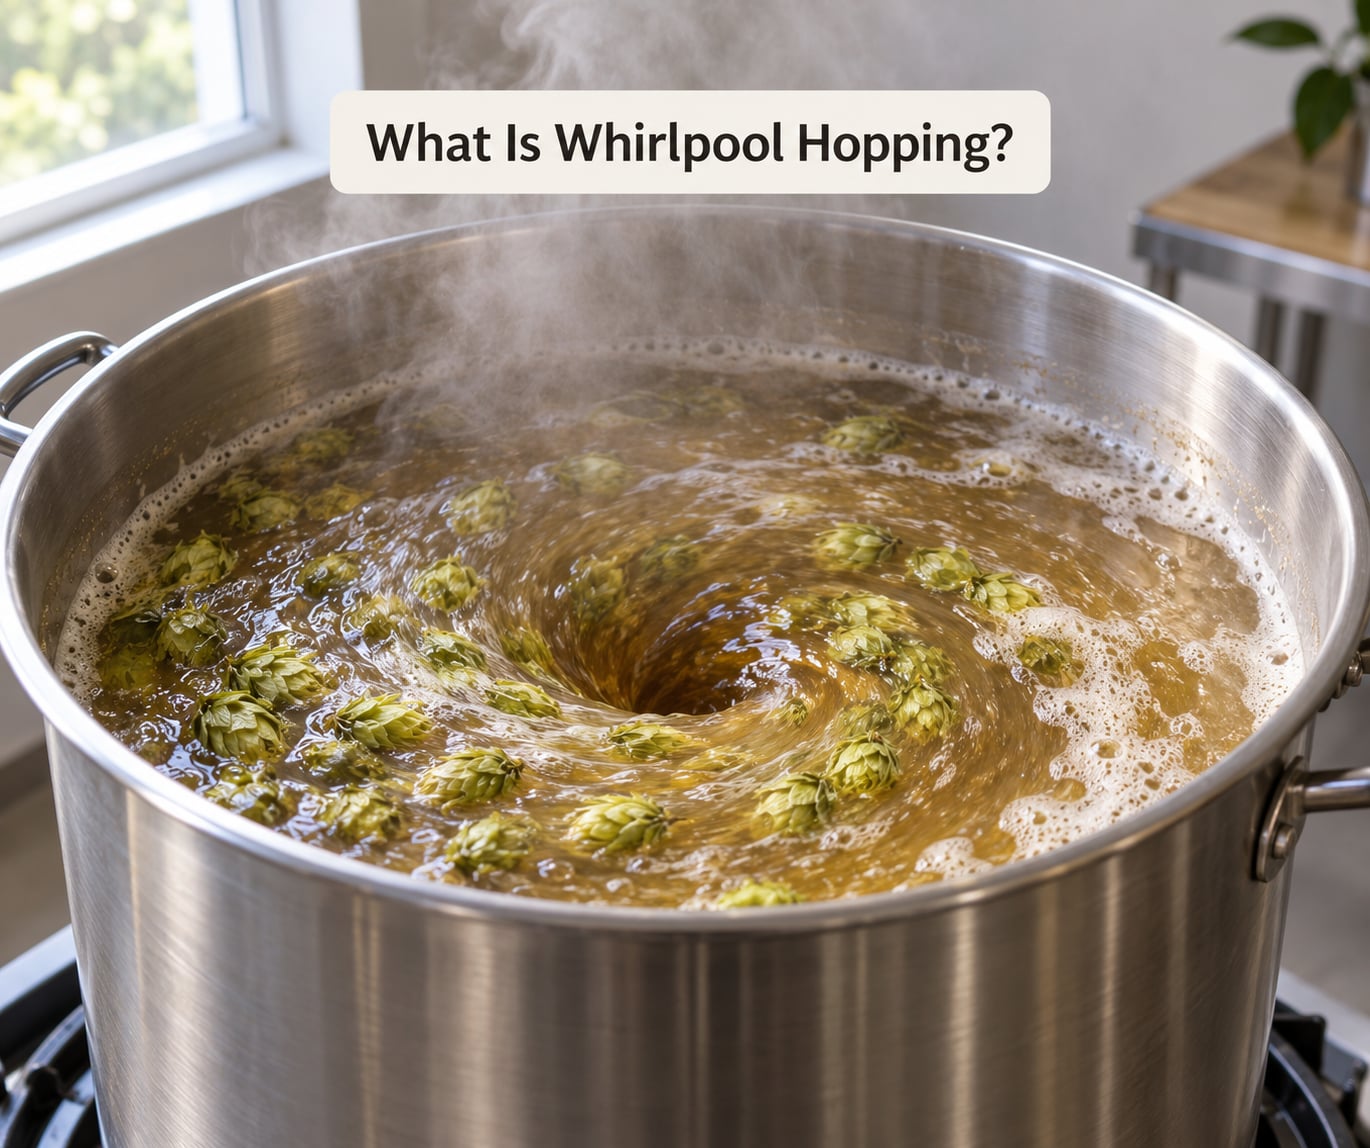
Whirlpool hopping is a post-boil, pre-transfer hop addition where the hops sit in hot wort that is being circulated in a vortex, absorbing hop oils and flavor without the full bittering conversion that happens in a rolling boil.
In practice it is the gap between two things that each fall short on their own. A full 60-minute boil extracts bitterness efficiently but strips out much of the delicate aroma. A dry hop on cold wort preserves aroma but extracts slowly and unevenly because the compounds barely dissolve. The whirlpool sits in the warm middle of that spectrum.
The technique has been around for decades, but it went from optional to standard as modern American hop varieties arrived. Citrus and tropical varieties such as Citra, Mosaic, Simcoe and Idaho 7 do not taste like the hops they replaced in the boil. A lot of breweries now put more hops in at the whirlpool than at any other point in the schedule.
Where it sits in the hop schedule
| Addition | Typical temperature | Primary purpose |
|---|---|---|
| First wort hopping | Run-off, near 168°F | Earthiness and a smooth bitter base |
| Bittering addition | Boiling, 60-75 min | Bitterness via alpha acid isomerization |
| Mid-boil addition | Boiling, 20-40 min | Flavor, some bitterness, a little aroma |
| Late addition | Boiling, 5-15 min | Hop flavor and aroma, light bitterness |
| Flameout addition | End of the boil, 212°F | Aroma, with real bitterness risk |
| Whirlpool addition | 167-185°F, 10-30 min | Aroma and flavor with minimal bitterness |
| Hop stand | Held at 160-170°F | Same as whirlpool, held not spun |
| Dry hopping | Fermentation temperature | Fresh aroma over days, no bitterness |
| Double dry hop | Late fermentation or conditioning | Peak aroma at packaging |
Reading down that table, the temperature drops steadily and the bitterness drops with it. That is the whole idea of a whirlpool addition: buy aroma with heat, but buy it below the temperature where heat starts converting alpha acids.
How Does Whirlpool Hopping Work?
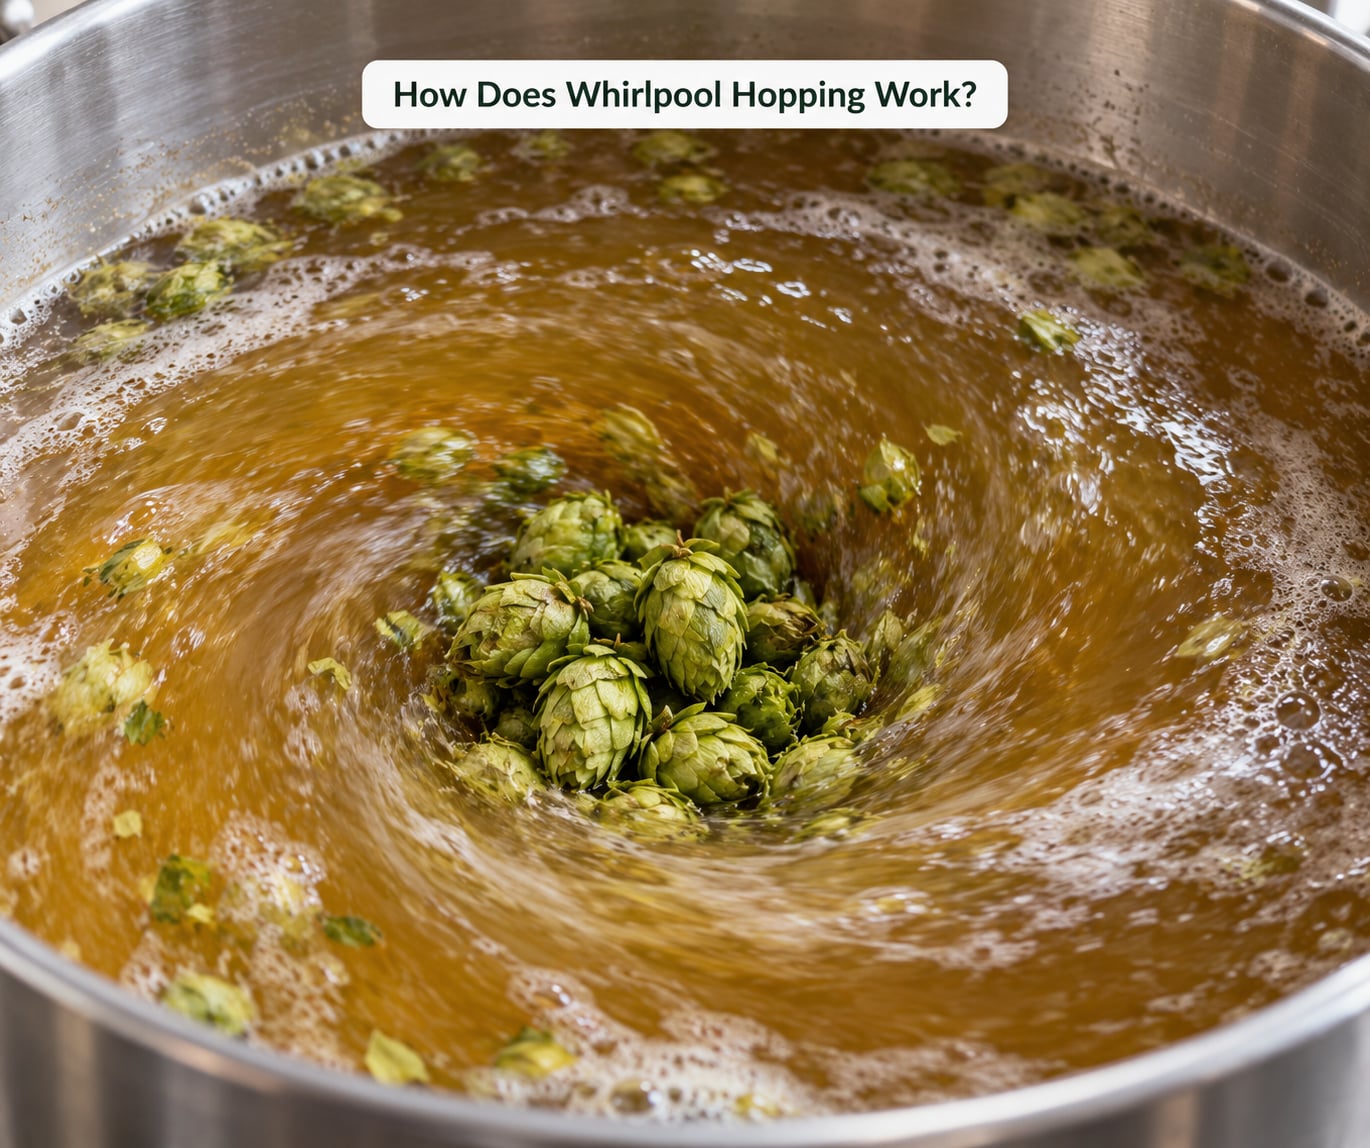
It works because a moving body of hot wort keeps fresh liquid in contact with the hop cone, and because sub-boiling water still pulls hop oils out of the plant material without driving off the volatile parts.
Three things happen at once when the hops go in. The hop pellets or cones swell and break open as they soak. Wort circulates over them, so more of the surface area is wetted than if the hops were sitting still on the bottom. And heat keeps the extraction running without the agitation of a boil that would strip volatiles into the air.
The bittering side of the equation moves in the opposite direction. Alpha acids only convert into their bitter iso-alpha form efficiently at or near boiling, and that conversion rate collapses as the wort cools. Brewing software such as BeerSmith models this at roughly 20 percent conversion in the 170°F range, which is a fraction of what the same hops would do across a 60-minute boil. That single number is why whirlpool hops contribute aroma while contributing very little to your bitterness budget.
Whether you actually spin the kettle matters less than most recipes suggest. Hop stand brewers on Homebrew Talk describe the two as the same technique with a different water movement, and at homebrew scale they are right. If you can hold the wort at temperature and get it moving, you have everything you need. If you cannot spin a kettle, a hop stand basket that sits above the drain does the same job.
Why Do Brewers Use the Whirlpool?
Brewers use the whirlpool because it is the only step where you get genuine fresh hop aroma at full strength without paying for it in bitterness.
The case rests on what boiling takes away. Work published by Toru Kishimoto in 2008 measured how quickly hop aroma compounds break down under heat, and the headline figure is that linalool can drop by as much as 85 percent in under fifteen minutes of boiling. Linalool is the compound behind much of the floral character in European and noble-type hops, and boiling throws it straight out of the kettle. A little hop oil survives; most of the character does not.
Dry hopping solves the loss problem but creates a different one. Cold water is a poor solvent for hop oils, so a dry hop relies on time rather than heat, and extraction stays uneven. You get less from the same weight of hops, and what you do get leans heavily on the surface oils because nothing inside the bract dissolves.
The whirlpool works because it lands in the middle. Warm wort mobilizes the oils, the vortex keeps fresh solvent moving past them, and the temperature stays below the range where iso-alpha conversion runs hard. Aroma-heavy varieties benefit most, which is why Citra, Mosaic and Simcoe dominate whirlpool use, though Simcoe and Mosaic get the most repeat recommendations from homebrewers who have run enough side-by-side batches to know.
Professional methods vary more than the internet suggests. Brett Wilson at Beachwood Brewing is credited with a coolpool approach that keeps things gentle, James Gentile at Workhorse has run 20 to 25 minute rests, and brewery methods reported by the trade press include additions right at flameout for some and at 185°F for others. There is no single correct number, and any brewer who tells you otherwise is selling something.
Freshness matters more here than at any other addition, too. You are asking these hops to deliver aroma almost entirely, with none of the bittering effect that can mask an old, stale hop. Old hops do not just underperform at the whirlpool; they contribute dull, papery character that is hard to argue with later.
When Should Hops Be Added During the Whirlpool?
Add whirlpool hops after you have knocked the wort down toward your target temperature, not straight off the boil, and give them a rest you can actually measure.
Adding at flameout, while the wort is still at 212°F, is a different technique with a different result. Homebrew forum consensus is unusually consistent on this one: hops added right at flameout produce noticeably more bitterness than the same hops added after chilling toward 170°F. Some brewers do it deliberately, because a couple of extra IBUs of bitterness is the point in a big American IPA. If you want clean aroma, chill first.
On duration, there are two schools and both work.
- Short additions run 10 to 15 minutes at the hotter end of the range. You get the volatile top notes and very little body, and it fits a West Coast IPA where you still want a firm bitterness underneath.
- Long steeps run 20 to 30 minutes at the cooler end. More of the resinous and herbal character comes across, and this is the approach that suits a hazy or New England IPA where aroma is the point.
The pairing matters more than either number alone. Hot and short gives you top notes; cool and long gives you depth. Asking for both at once, a hot 30-minute rest, is how you end up with a beer that smells like cut grass.
You can also split the charge. Some brewers add half after the initial chill and the rest at a lower temperature a few minutes later, which layers the top notes over the deeper character. Nothing about the technique requires a single addition.
What Temperature Is Best for Whirlpool Hopping?
The useful range is 167 to 185°F, and within that window temperature and time trade off directly against each other.
Here is the cheat sheet most people wish someone had shown them before their first batch:
- 180-185°F for 10-15 minutes for the brightest top notes, with a touch of bitterness and a grassy edge if you push the time
- 170-175°F for 15-20 minutes as the balanced middle that works on most hop-forward beers
- 167-170°F for 20-30 minutes for the softest, roundest character with the least risk of vegetal flavors
- Below 160°F where extraction slows down sharply and you are drifting toward a wet hop rather than a whirlpool hop
That inverse relationship is the single most useful idea in the technique. Anything hotter needs less time; anything cooler needs more. Pick a temperature, then set the clock for the matching window rather than guessing.
Going hotter than 185°F is where problems start. Vegetal and green notes come from compounds that come out of the hop at high heat, and hop burn, the harsh flat character you get from over-extracted green material, is the same family of mistake. Extended contact at high temperature is also the worst possible combination for bitterness.
Going cooler is safe but wasteful. Below about 160°F you are extracting slowly enough that you need a long rest to get anywhere, and at that point you have a wet hop in the kettle rather than a whirlpool.
Does Whirlpool Hopping Make Beer Bitter?
Only a little, and only if you push it. Whirlpool hopping is an aroma technique first and a bitterness technique second.
Bitterness comes from alpha acids converting to iso-alpha acids, and that conversion needs heat. Once you are holding wort below boiling, the conversion rate drops sharply, which is why a pound of whirlpool hops adds so much less bitterness than the same pound in the boil.
The practical consequence for recipe design: do not build your whirlpool addition into your IBU target. Plan your bitterness from the 60-minute and 30-minute additions, then treat the whirlpool as free aroma on top. Brewers who count whirlpool hops toward the IBU budget end up with thin, underbittered beer and no idea why.
What does add bitterness at the whirlpool, a little, is adding at flameout and holding there. Variety plays a role too. High alpha noble hops used in pils-style whirlpool adds will contribute more than a low alpha modern hop at the same weight. And contact time is the quiet variable: the same hops at 180°F for 30 minutes will taste different from 180°F for 10.
So a whirlpool charge is not bitterness-free, but in normal use the bitterness is small enough to taste as a pleasant drying edge rather than as an IBU you can measure.
Whirlpool Hopping vs. Dry Hopping
Whirlpool and dry hop both add aroma and almost no bitterness, but they work at opposite ends of the temperature range and deliver different parts of the hop.
They are not rivals either. Most hop-forward beers do both, one for flavor and one for fresh aroma.
| Method | When | Temperature | Best for |
|---|---|---|---|
| Flameout | Last seconds of the boil | 212°F | Aroma plus a real bitterness hit |
| Whirlpool | After the boil, before transfer | 167-185°F, 10-30 min | Tropical, citrus and herbal depth |
| Hop stand | Same window, held not spun | 160-170°F, 15-45 min | Homebrewers without a spinning kettle |
| Dry hop | Days 2-4 of fermentation | Fermentation temperature | Fresh aroma over the finished beer |
Whirlpool hopping extracts more from less. Warm wort plus movement gets at the oils that a cold dry hop mostly leaves behind, so a whirlpool charge delivers flavor and texture, not just scent.
Dry hopping delivers the top. Those volatile oils sit on the surface and reach your glass without any processing at all, which is why a dry-hopped beer smells so vivid and a whirlpool-hopped one tastes so good.
Use the whirlpool when you want the hop to be part of the beer and dry hop when you want it sitting on top of the beer. A New England IPA typically runs a moderate whirlpool and a generous dry hop. A pils might take a small whirlpool charge and no dry hop at all.
You can absolutely do both in one batch, and plenty of people also do a second dry hop near packaging. If you are short on brew day time, a hop-in-the-kettle-while-cooling variation gives you something close to a whirlpool without extending the day.
How to Use Whirlpool Hopping at Home
You need very little equipment: a kettle you can heat, something to stir it with, and a way to keep it hot for 10 to 30 minutes. A recirculation pump is nice but not required.
- Finish the boil and start chilling. Get the wort moving immediately after flameout. A kettle with a chiller running and a paddle in the wort will drop to the target temperature faster than you expect.
- Watch the temperature, not the clock. Aim for 170 to 175°F as a starting point. Going cooler is safer than going hotter because you cannot add bitterness back out later.
- Start the rotation. If you have a pump, run it and let the wort circulate. If you do not, stir slowly and continuously with a paddle or a large spoon. You want movement, not a vortex that jumps the wort over the rim.
- Add the hops and start the timer. Roughly 1 ounce per gallon is the common homebrew dose, and hop-forward brewers sometimes go higher. If you are using whole cones rather than pellets, remember they will need straining out.
- Rest, then sample. Take a hydrometer reading and, if you can spare a little, a small taste of the wort. If the character is already where you want it, the rest is finished.
- Rack carefully. Pour or siphon off the top, leaving the hop cone and trub behind. Hops sitting over the drain can plug a ball valve, a pump intake or a run-off line.
On pellets versus whole cone, most people land on pellets for the whirlpool because the smaller surface area extracts better in a short rest. Whole cones make sense when you plan to leave the hops sitting in the vessel, since a loose bag of pellets in a keg will gum the ports shut.
Keep the kettle lid on if you are worried about infection, and understand what that trades. A lid holds heat in and keeps stray organisms out, but a covered kettle through the 150°F range is exactly where DMS loves to form. Forum advice splits on this, and the honest answer is that the risk is small over a 20-minute rest.
Cryo-pelletized and concentrated hop products are a lower-volume alternative if you brew in small batches and hate wasting a half ounce of leaf. Hop extract works too, though it is fussier to handle.
Whichever route you take, write down what you did. Temperature, minutes, dose and variety, and you will have a real answer next brew day instead of somebody else’s guess.
Common Whirlpool Hopping Mistakes
Most bad whirlpool hops trace back to timing, temperature or a clogged kettle, not to the hops themselves.
Adding at flameout when you wanted a clean aroma
This is the big one. Hops hitting 212°F wort will give you bitterness whether you budgeted for it or not. Chill first, and only add at flameout deliberately.
Holding too hot for too long
High temperature plus long contact is what produces grassy, vegetal and hop-burn flavors. Keep the rest inside your chosen window and shorten the time when you run hot.
Over-dosing out of caution
Because whirlpool hops are weak on bitterness, it is easy to keep adding until the aroma is right, and then you end up with a beer that tastes like a hop sack. Pick a dose, taste it at the end of the rest, and adjust on the next batch.
Letting the hops block the run-off
A whirlpool leaves a large mass of wet hop material sitting in the bottom of the kettle. Rack from the top, never straight off the drain, and screen or bag anything whole cone.
Confusing a whirlpool with a dry hop
They extract different things. Expecting one to deliver the other is why some people feel they never got the aroma they paid for.
Using hops that are not fresh
At the whirlpool there is no bittering contribution to mask a tired hop. Buy smaller bags more often, especially for the varieties you rely on most.
One more worth mentioning: doing an oversized boil and hoping the hops fix it. A 90-minute boil does not buy back aroma that was boiled off. Adding more hops late is what buys aroma back.
Frequently Asked Questions
How long should I whirlpool hops?
Most brewers hold whirlpool hops for 10 to 30 minutes, and the useful range at homebrew scale is 15 to 45 minutes. Time and temperature trade off against each other: hotter additions need shorter rests, cooler additions need longer ones. At 180 to 185u0026deg;F stay near 10 to 15 minutes. At 167 to 170u0026deg;F you can stretch to 25 or 30 minutes for a softer, rounder result.
Do whirlpool hops need an actual whirlpool?
No. What matters is hot wort in contact with the hops, not a visible vortex. A hop stand basket above the drain, or a kettle you stir by hand, works just as well. Homebrewers on Homebrew Talk broadly treat whirlpool and hop stand as the same technique, and the practical difference is that a stand holds temperature while a whirlpool moves the wort. You need one or the other, not a spinning kettle specifically.
How many hops should I use for a whirlpool in a 5 gallon batch?
About 1 ounce per gallon is the common homebrew starting point, so roughly 5 ounces for a 5 gallon batch and 2 ounces for a gallon. Hop-forward brewers often go higher, particularly for hazy styles. Treat that as a baseline rather than a rule, and taste the wort at the end of the rest. Cryo pellets and hop extract are the answer if a full ounce per gallon is more hop than you want to buy.
Should I add whirlpool hops before or after chilling the wort?
After, for most brewers. Hops added right at flameout sit in 212u0026deg;F wort and pick up noticeably more bitterness than the same charge added once the wort is down near 170u0026deg;F. That is a legitimate choice if you want the extra drying edge in a big American IPA. If your goal is clean, bright aroma with almost no bitterness, chill toward the target temperature first and then add.
Do whirlpool hops count toward my IBU total?
Rarely, and most recipes treat them as contributing nothing measurable. Alpha acids only convert efficiently to bitter iso-alpha acids at or near boiling, so below that the bitterness contribution is small. Plan your IBU budget from the 60-minute and 30-minute additions and treat the whirlpool as extra aroma on top. Counting a large whirlpool charge toward your bitterness target usually leaves you with an underbittered beer.
Can I dry hop and whirlpool hop the same beer?
Yes, and it is standard practice. The two steps extract different things, which is exactly why they complement each other. A whirlpool charge at 170u0026deg;F builds tropical, herbal and resinous depth into the beer, while a dry hop a few days into fermentation delivers the fresh top-note aroma in the glass. Most New England and West Coast IPAs use both. A pils might take a small whirlpool charge and skip the dry hop.
Conclusion
Whirlpool hopping is a post-boil hop addition held in 167-185°F wort for 10 to 30 minutes, with the wort moving. It gives you the aroma a boil would have cooked away and the extraction a dry hop cannot reach, and it barely touches your IBU total.
If you have never done it, start small and controlled: about 1 ounce of a fresh aroma hop per gallon, added after the wort has knocked down to roughly 175°F, rested 15 minutes with the kettle in motion. Taste the wort before you rack it, write down what you did, and let the aroma and any bitterness edge tell you what to change on the next batch.