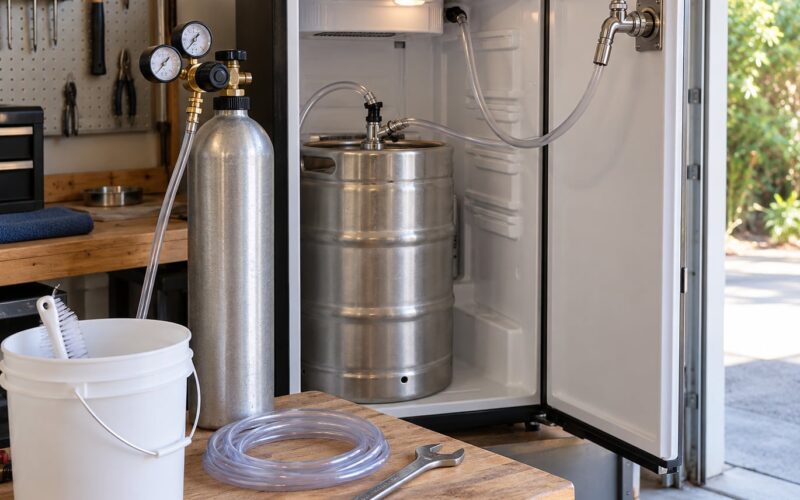
Learning how to clean draft beer lines at home takes about 45 minutes and needs nothing more exotic than an alkaline cleaner, a bucket and some patience. Disconnect the CO2, attach a cleaning rig to the faucet shank, push an alkaline solution through the line, let it sit, then rinse until the water runs completely clear.
The reason it matters is that beer leaves behind two kinds of mess. One is organic — yeast, protein and hop residue — and the other is mineral, a hard crust of calcium oxalate that brewers call beer stone. Neither goes away on its own, and both change how your beer tastes long before anything looks visibly wrong.
A sanitized line that was never cleaned still tastes off. That is the single most common misconception in home brewing, and the reason a lot of people clean their lines, taste something worse, and assume they made a mistake. You did not. You cleaned a dirty line and then rinsed it properly, and now the beer tastes like itself for the first time.
Table of Contents
- What You Need
- The chemistry
- The hardware
- Step-by-Step
- Which cleaning method should you use?
- How to clean draft beer lines at home without a manifold
- Common Mistakes
- Reaching for a sanitizer instead of a cleaner
- Never opening the faucet during the soak
- Stopping the rinse too early
- Skipping the coupler and faucet parts
- Leaving a line full of old beer for weeks
- Forgetting the ball lifter
- Frequently Asked Questions
- How often should I clean draft beer lines at home?
- What is the best cleaning solution for draft beer lines?
- Can I soak draft beer lines in cleaning solution?
- How do I remove mold or bad smells from beer lines?
- Do I need to clean the faucet and couplers separately?
- Can I use household bleach to clean draft beer lines?
- Conclusion
What You Need
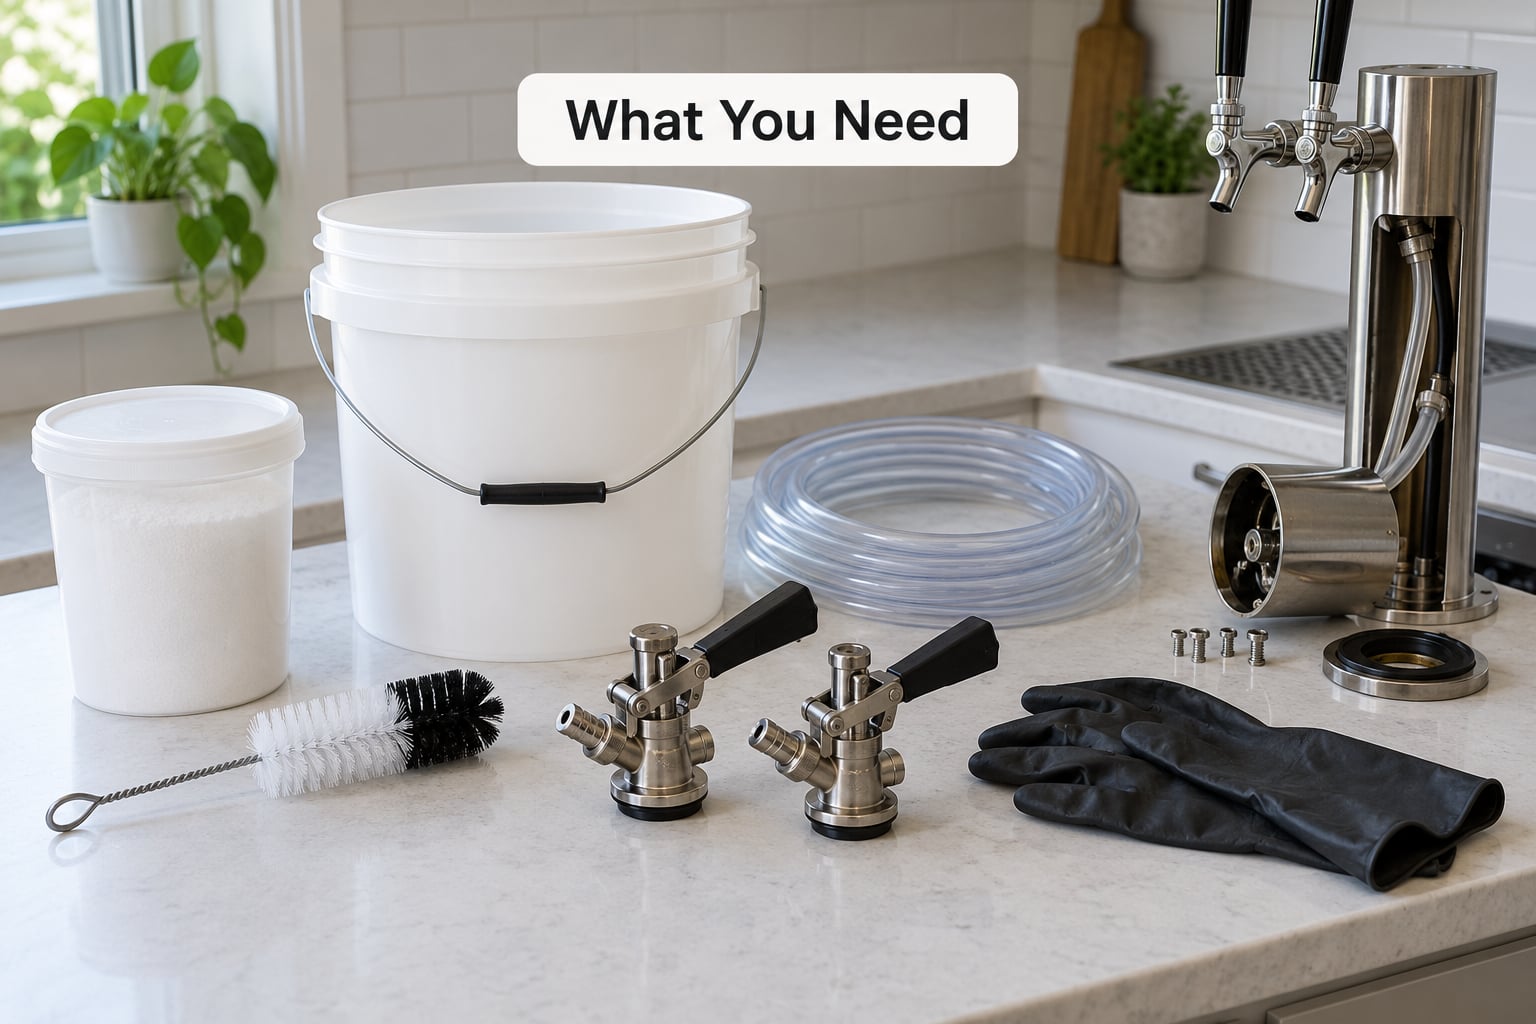
Most of the list is cheap and some of it you already own. Group it into three buckets: the chemistry, the hardware, and the safety gear.
The chemistry
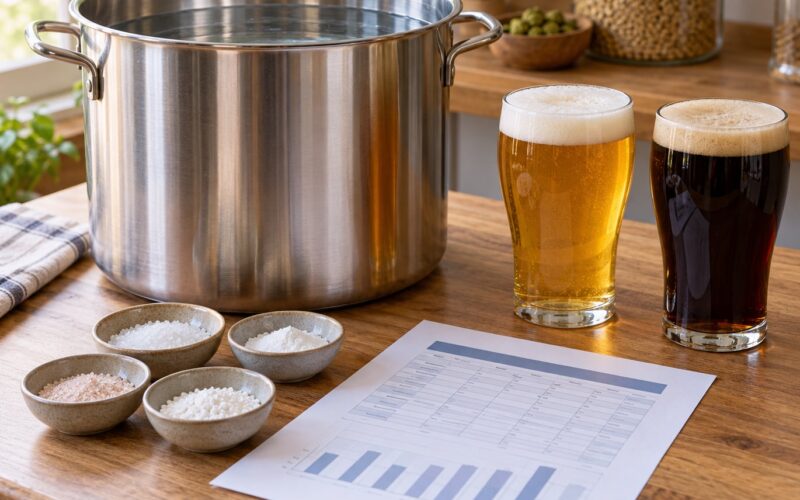
An alkaline cleaner is the one item you cannot skip. PBW (powdered brewery wash) is the standard home choice, and a tablespoon per quart of warm water is a good working strength for routine cleanings. OxyClean works too at a heavier dose, roughly two tablespoons per quart, because it is a weaker product. A dedicated liquid beer line cleaner is the third option and works at about one ounce per quart.
Acid cleaner is a different product for a different job, and it is optional. You reach for it after an alkaline cleaning when hard water has left real scale behind and your water never runs truly clear.
The hardware
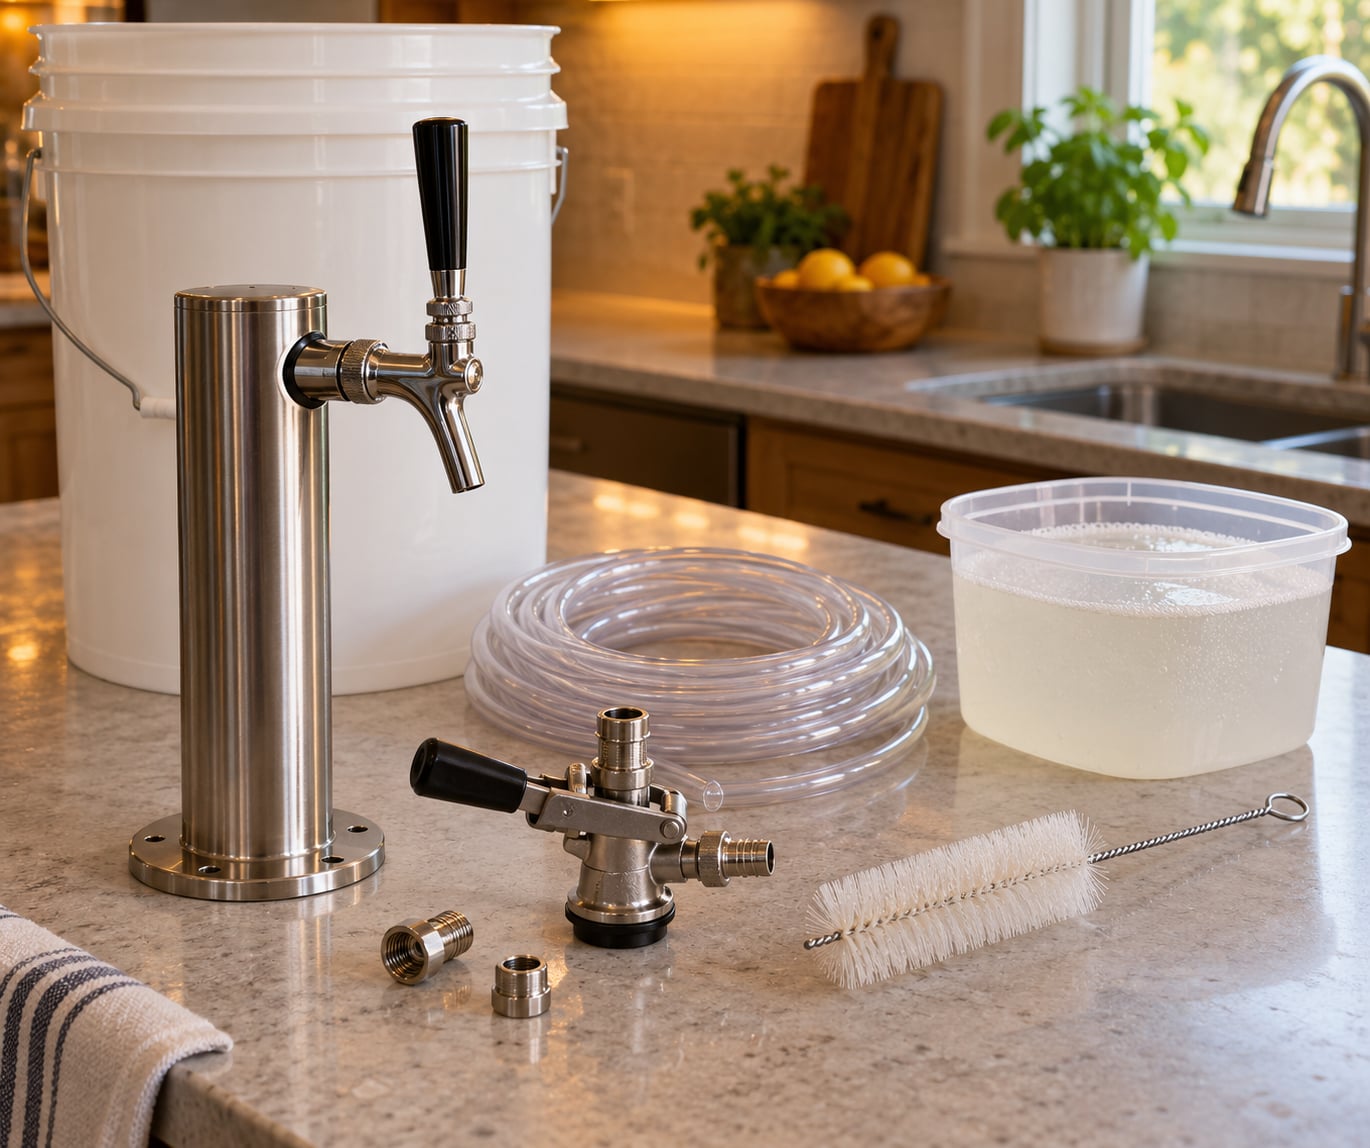
- A cleaning rig — the simplest version is a bucket, a length of vinyl tubing and a barb fitting that screws into the faucet shank.
- A coupler brush — a narrow bristle brush that fits inside a keg coupler. This is the piece people skip and then wonder why the coupler smells.
- A food-safe bucket — five gallons is the standard size, and you will want to catch several gallons of rinse water.
- Replacement jumpers — cheap insurance if yours have permanent crimps or look brittle.
- A faucet brush and a small screwdriver or Allen key for the shank and handle.
- Gloves and eye protection — not optional once you are handling concentrated cleaner.
If you plan to clean a four-tap system, get a rig that reaches all four faucets, or a second bucket and enough time to do two lines per pass. Running one line at a time through a single-bucket setup is fine, it is just slower.
Step-by-Step
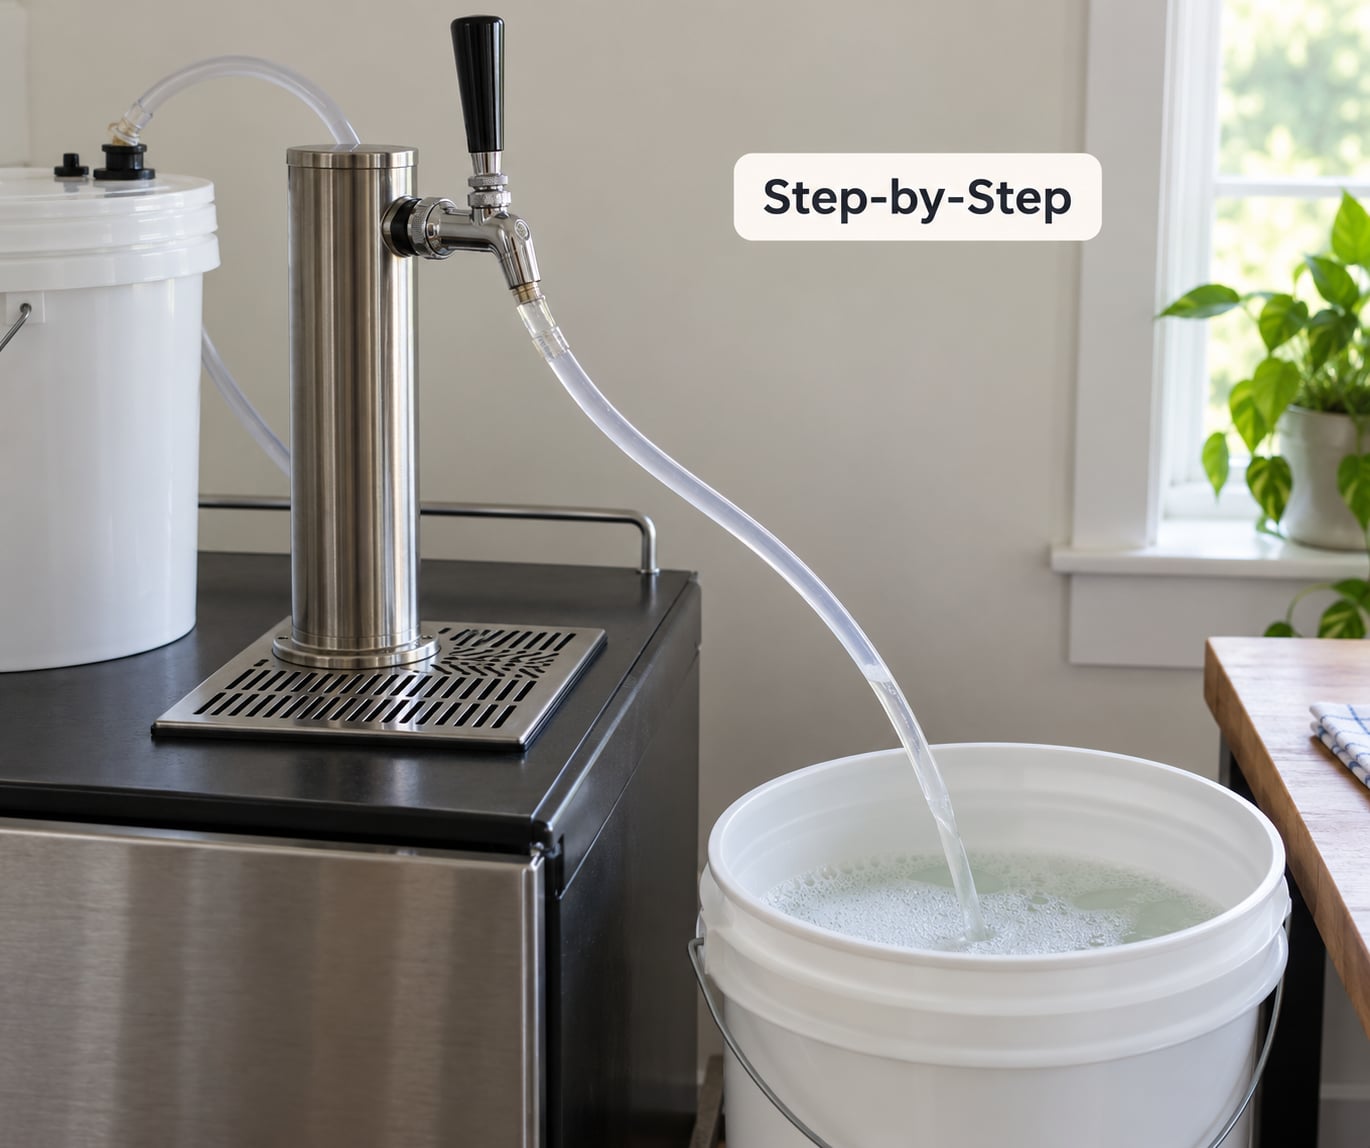
- Turn off the CO2 and vent the pressure. Close the cylinder valve first, then squeeze the trigger on your regulator to bleed off the line pressure. Trying to unbolt a coupler under pressure is how people hurt their hands.
- Disconnect the keg. Release the coupler by pulling the lever up, then twist and pull it off the keg valve. If a keg is still attached, the weight of the liquid fights you the whole time.
- Remove the faucet from the shank. Loosen the retaining nut underneath, slide the faucet up and off, and take the picture with your phone before you go further. Nobody remembers which washer goes where.
- Attach your cleaning rig to the shank. Run the cleaning hose or tubing into a bucket, connect the other end to the shank inlet, and seat the coupler on the outlet so the solution has somewhere to go.
- Fill and push the cleaner through. Mix your solution in a separate container, pour it into the cleaning vessel, and open the faucet so it flows until you have pushed roughly a quart through the line. Air in the line slows everything down, so work the flow until it runs steady.
- Close everything and let it soak. Shut the faucet, close the rig valve, and wait 15 to 30 minutes. Lines that have held old beer for weeks benefit from an overnight soak. This dwell time is where the actual cleaning happens, and skipping it is why so many lines stay dirty.
- Scrub the parts that never see flow. While it soaks, take the faucet apart as far as it comes, drop the removable parts into fresh warm solution, and work the coupler brush through every opening. Pull the coupler check ball out and clean it separately. This is also the moment to clean the ball lifter seat inside the faucet body.
- Rinse until the water runs clear. Drain the soak, refill with plain warm water and push it through repeatedly. You are looking for water with no foam, no smell and no cloudiness. Ten gallons of rinse water on a stubborn line is normal, and stopping early is the number one reason beer tastes bad right after a cleaning.
- Sanitize, reassemble and tap. Once the rinse water is perfectly clear, run a sanitizer solution through the line for the label’s contact time, drain it, and do one short final water flush. Reassemble the faucet, seat the coupler, reconnect the keg, and set the serving pressure you normally use.
Two safety notes before you start. Never mix an acid cleaner and an alkaline cleaner, ever — neutralise one completely and rinse the system before the other goes in, or you get a violent reaction and a lot of heat. And keep concentrated cleaner away from your regulator and cylinder, since a pressurized cleaning rig pushes straight at anything on the gas side.
Which cleaning method should you use?
Almost every method does the same chemistry. They differ in how the solution gets pushed, and that is the only real decision you make.
- Garden sprayer rig — a repurposed pump sprayer pushes solution through the shank. Cheapest DIY option and easy to set up for one line at a time, but pressure is low, so allow more soak time.
- Gravity kit — a sealed cleaning bottle hangs above the faucet and drains into a bucket. No CO2 connection needed at all, and slow, but almost foolproof.
- Hand pump kit — a manual pump on the bucket forces solution through the line. Best for repeat cleanings on a home system, though tiring on a four-line setup.
- Pressurized bottle — a hand-pumped bottle holds pressure to push solution through. Fast and self-contained with no electricity, but never exceed the bottle’s pressure rating.
- Re-circulating pump — a small pump returns solution to the bucket for reuse. Worth the extra setup on commercial systems or four or more taps; a home kegerator rarely needs it.
- Cleaning keg — an empty corny or swing-top keg becomes the cleaning vessel. Good for reusing gear you already own, and just rinse the keg well before serving beer from it.
How to clean draft beer lines at home without a manifold
You do not need a manifold, a pump or a cleaning kit to do this job well. If your system is a chest fridge with a faucet bolted straight to a shank and you cannot soak anything, work with what you have.
- Run hot tap water through the line for five minutes to loosen whatever is loose.
- Mix a slightly stronger alkaline solution than usual, since cold or lukewarm water is all you have.
- Push it through to the bucket, then close the faucet and leave the coupler submerged in the same solution for 20 minutes.
- Work a coupler brush into the coupler and the shank inlet while everything soaks.
- Push plain water through until it runs clear with no foam, which takes more passes than you expect.
- Sanitize, drain and reassemble.
For a long draw system with runs over 20 feet, drop the cleaner concentration by half and extend the soak, because more solution volume and more time beats more strength on a line that holds a lot of water.
Common Mistakes
Nearly every bad result traces back to one of these.
Reaching for a sanitizer instead of a cleaner
Sanitizers kill what is alive on a surface. They do not dissolve protein, hop resins or calcium oxalate. The analogy that lands with beginners is dirty hands and hand sanitizer — you have not washed anything, you have just killed the germs on top. Clean first, sanitize second.
Never opening the faucet during the soak
Solution that sits still in a line is not cleaning it. Let it dwell with the faucet closed, then flush it out and repeat. Two short passes are worse than one long push with proper dwell time.
Stopping the rinse too early
Fresh water coming out is not the same as clean water coming out. Keep pushing until there is no foam and no chemical smell in the bucket. If your tap water is very hard, add a final plain rinse with an acid-neutralising tablet, because residual alkaline in your line tastes sharp and flat.
Skipping the coupler and faucet parts
A sparkling line poured through a dirty coupler still tastes bad. Soak the couplers, brush the passages, pull the check ball and clean it on its own, and disassemble the faucet as far as the design allows. Sankey and S-couplers come apart further than ball-lock couplers, so those get the more thorough treatment.
Leaving a line full of old beer for weeks
If a line has been sitting with beer in it, soak it overnight before you do anything else. Old beer turns to a sticky mess that alkaline cleaner alone will not shift in 20 minutes.
Forgetting the ball lifter
When a faucet will not pour or dribbles, the cause is usually debris sitting on the ball lifter inside the faucet body. Disassemble the faucet, clear the seat, and the problem usually disappears without replacing anything.
The maintenance tip that matters most is cadence. Clean on every keg change when the system sees regular use, and at minimum every four weeks for a home kegerator. A line that has sat unused for months needs a full clean before the first keg goes in, not a quick rinse. Put a reminder in your phone for the day you tap the first keg, then repeat it from there.
Frequently Asked Questions
How often should I clean draft beer lines at home?
Every four weeks at most for a home kegerator, and every time you change a keg if you pour from it regularly. Taprooms running commercial volumes usually clean on a two-week cycle. If your system has been sitting unused for a month or more, do a full clean before tapping the first keg rather than a quick rinse. Mark the date on the fridge so the cadence runs itself.
What is the best cleaning solution for draft beer lines?
For a home system, PBW at about one tablespoon per quart of warm water is the standard and is enough for routine cleanings. A dedicated liquid beer line cleaner at roughly one ounce per quart works equally well. OxyClean needs a heavier dose, around two tablespoons per quart, because it is weaker. Dedicated caustic is worth reaching for only when a line has heavy build-up.
Can I soak draft beer lines in cleaning solution?
Yes, and lines with heavy build-up need it. After pushing the solution through, close the faucet and let the line sit for 15 to 30 minutes, then flush. Lines that have held old beer benefit from an overnight soak. Keep the concentration moderate on long-draw runs over 20 feet and extend the time instead of making the solution stronger.
How do I remove mold or bad smells from beer lines?
Mold and sour or vinegary smells mean the line has been dirty for a long time, so a routine flush will not fix it. Disassemble the faucet, soak every removable part, brush out the coupler and pull the check ball. Then run a stronger alkaline solution through the line, let it dwell overnight, and rinse until the water is clear with no smell at all.
Do I need to clean the faucet and couplers separately?
Yes, because those parts never see enough flow for line cleaning alone to reach them. Soak them in warm solution, run a coupler brush through the passages, and pull the coupler check ball out and clean it on its own. Sankey and S-couplers disassemble further than ball-lock couplers, so give them the more thorough pass.
Can I use household bleach to clean draft beer lines?
Avoid it. Bleach is corrosive, it attacks stainless steel and some brass fittings over time, and any residue left in the line harms the yeast in your next keg. It also leaves a smell that is hard to fully purge. An alkaline cleaner such as PBW does the same job without the corrosion risk. If you have already used bleach, rinse for a very long time and sanitise before serving.
Conclusion
Start at the keg and work forward: kill the CO2 pressure, take the faucet off, run warm alkaline solution through the line, and give it 15 to 30 minutes with the faucet closed. Then scrub the coupler and faucet parts, rinse until the water has no foam and no smell, sanitise, and put it back together.
Write the next cleaning date on the fridge before you connect the keg. That single habit is what keeps the off flavours away, and it takes less time than a bad batch ever did.